To make a distressed wood frame, You are going to apply a single coat of paint and then distress it using sand paper.
Here is an overview of the steps to making a distressed wood frame.
- Buy or build your frame.
- Stain Wood (optional)
- Paint a layer of paint.
- Do a light sanding all over your frame.
- Use folded over sand paper to create scratches.
If you are making your frame from scratch like I did, then I would recommend checking out this post. It details how to build a wood frame. If you want to make a frame to hold a photo check out this post I wrote.
Tools And Supplies
Supplies For Distressing A Wood Frame
- Paint
- Paint Brush
- Hand Sander (optional)
- 220 Grit Sandpaper (or lower)
- 320 Grit Sandpaper (optional smooth finish)
Supplies For Building A Wood Frame
Building A Wood Frame Instructions
For more detail in building a frame, then I would recommend checking out this post.
Step 1- Cut Your Pieces At 45 Degree angles
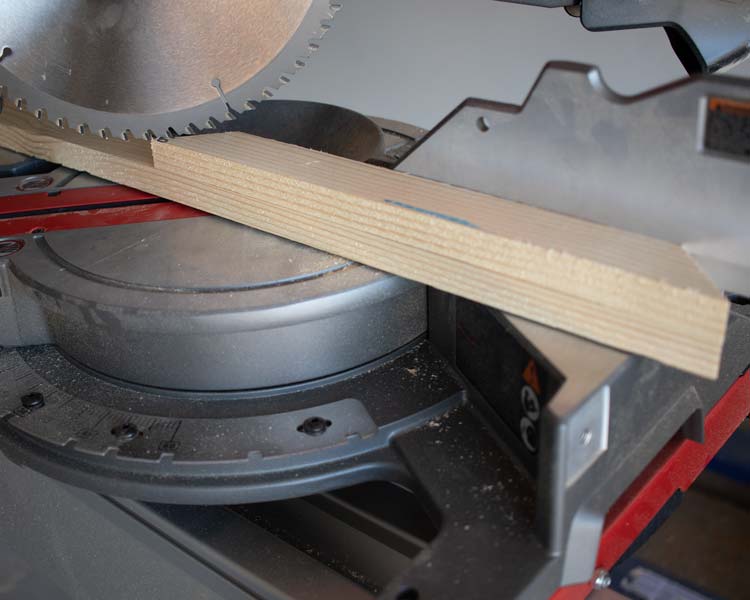
By stacking your pieces you can make sure that they come out the same size without measuring every time.
Step 2- Light Sanding

Give your pieces a light sanding then wipe the off to get rid of any extra dust.
Step 3- Apply Stain (optional)
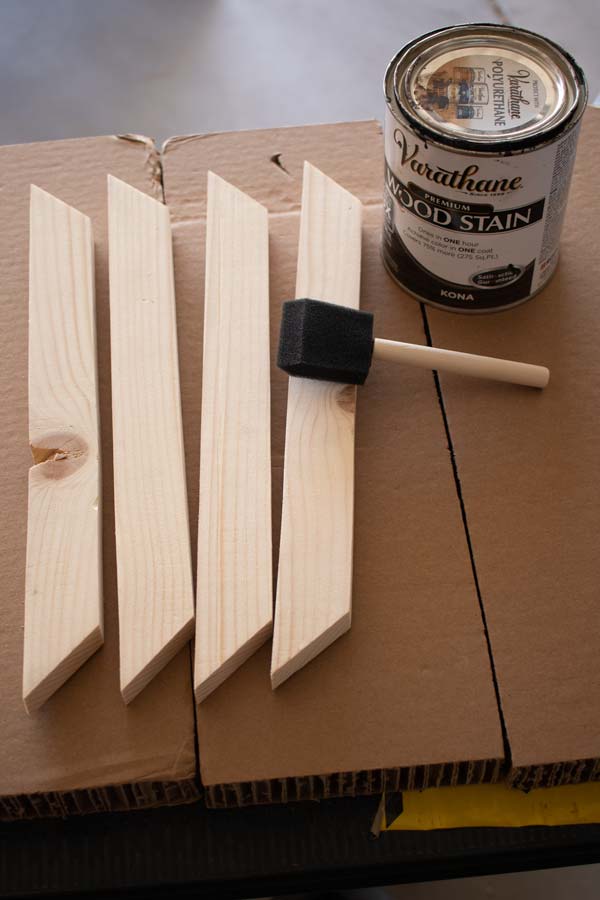
Apply your stain then wipe off any excess and let dry.
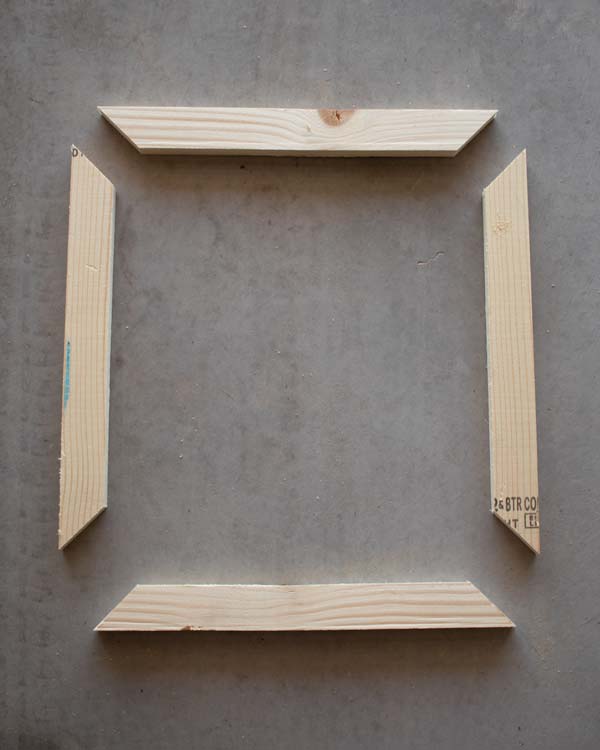
Step 4- Gluing Together A Wood Frame
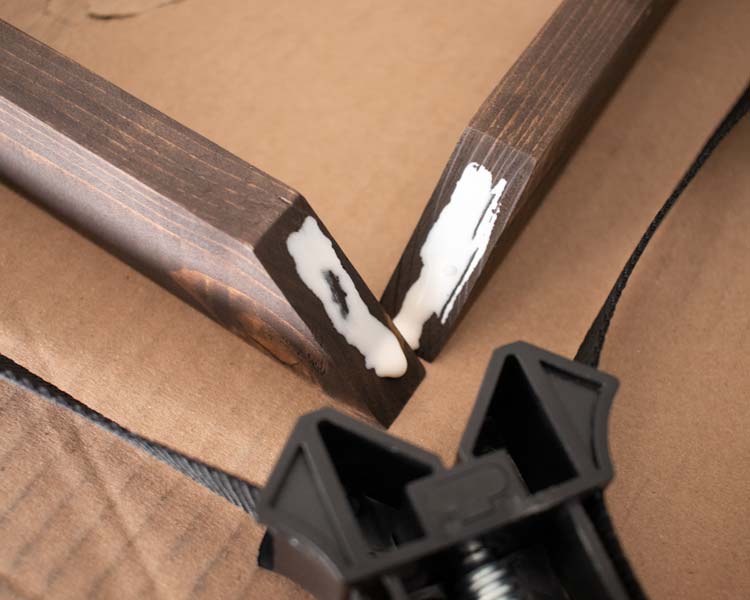
Place a strip of wood glue in all four corners of your frame.
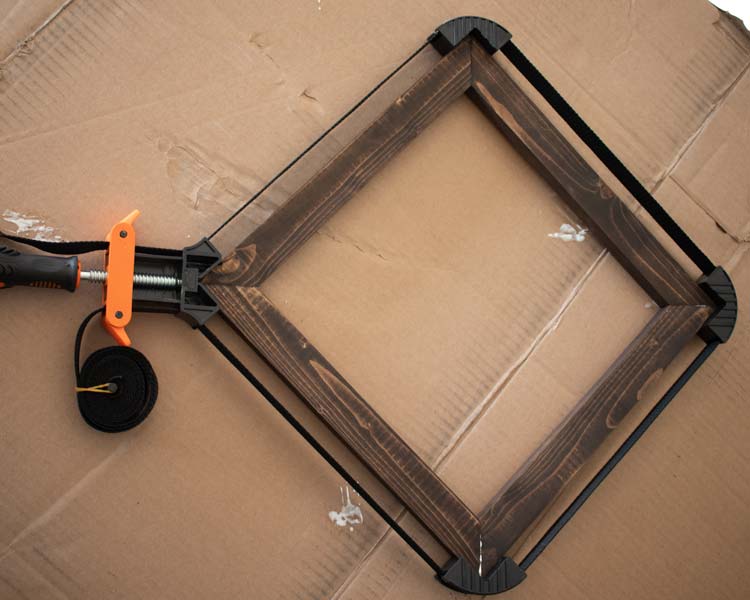
Tighten you band clamp until it is firm closed. Use a rag to wipe away any glue that seeps out of your corners. let the glue set before removing the clamp.
Step 5- Adding Staples
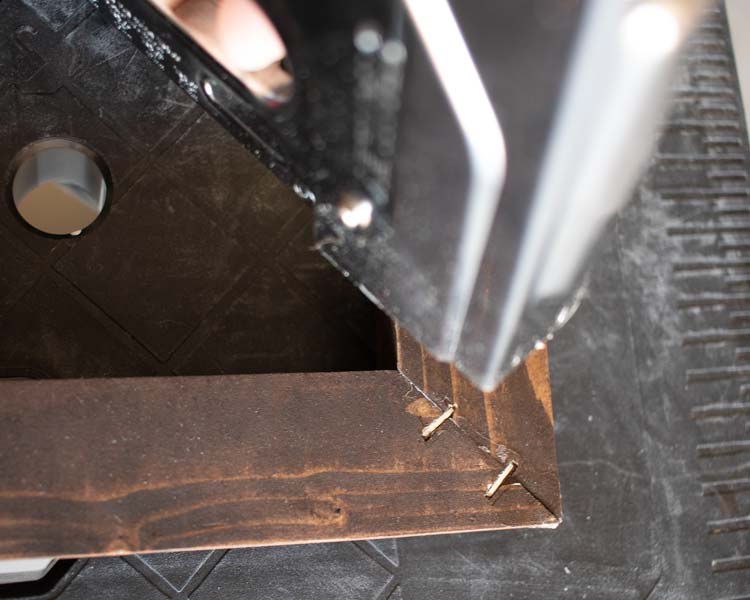
Adding staples to the back corners of your wood frame will add rigidity.
Distressing Frame Instructions
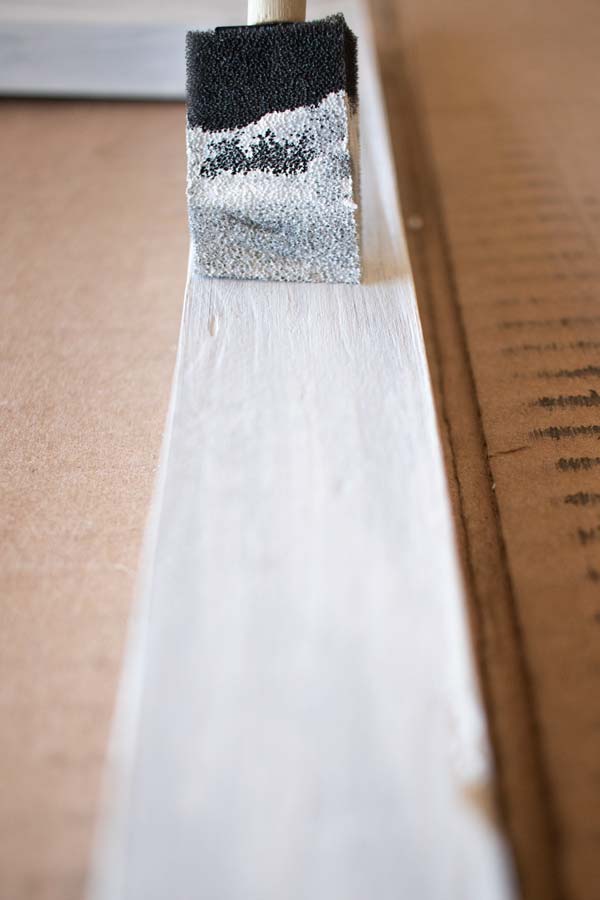
Step 1- Paint
Paint a light coat on all sides of your frame. I used Behr white paint, the same you would use to paint your house with.
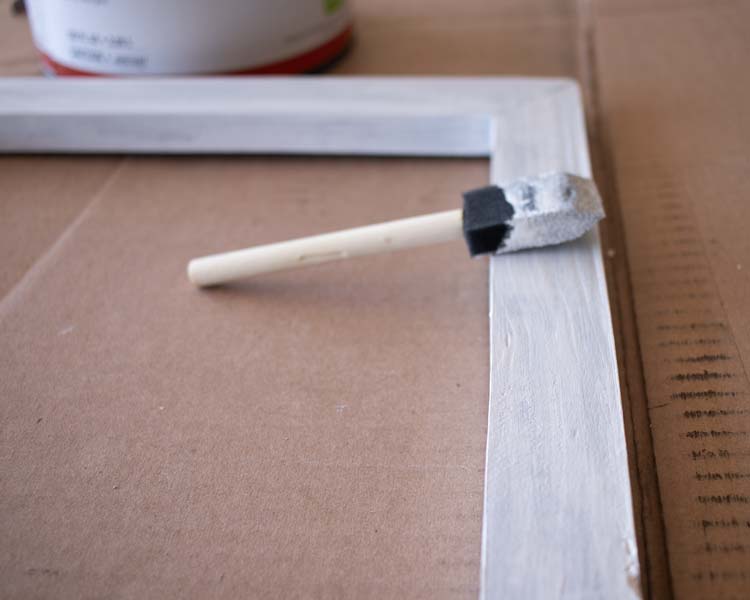
I recommend to paint in long strokes, with the grain of the wood.
Step 2- Sanding
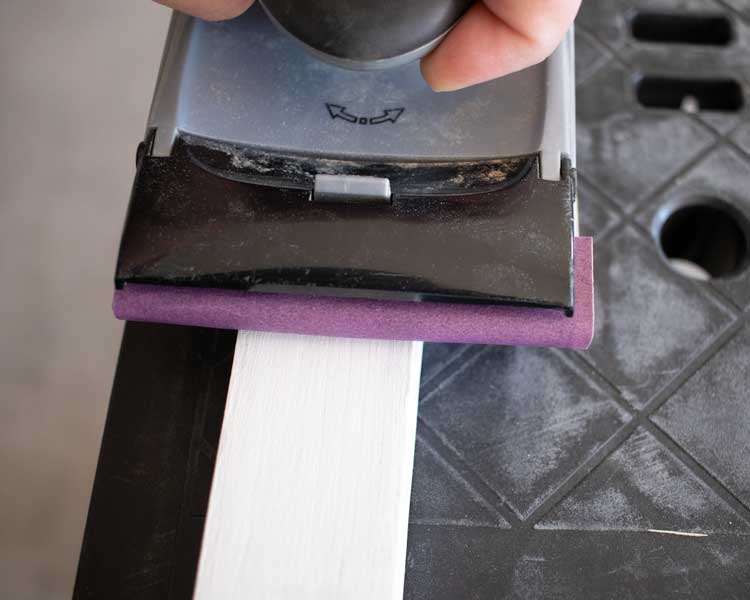
Once paint is dry, you can start sanding.
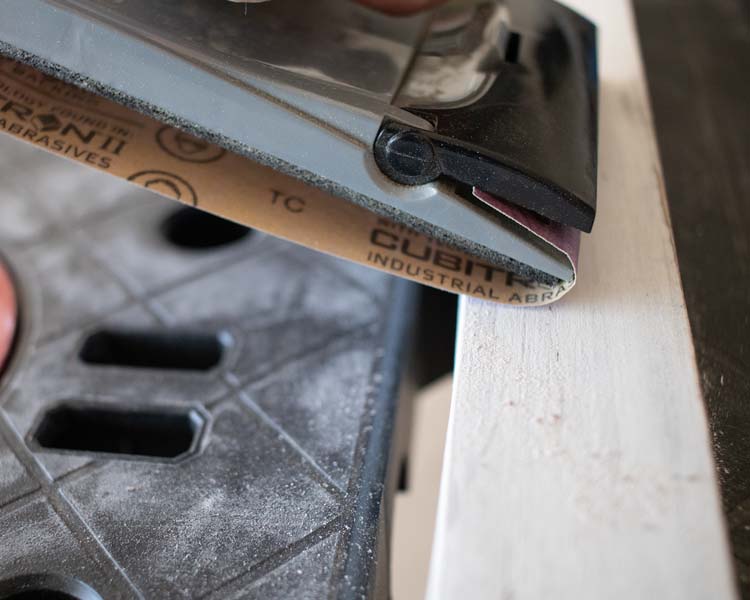
You can use your hand sander at this point and start sanding around you frame, but don’t sand down to much.
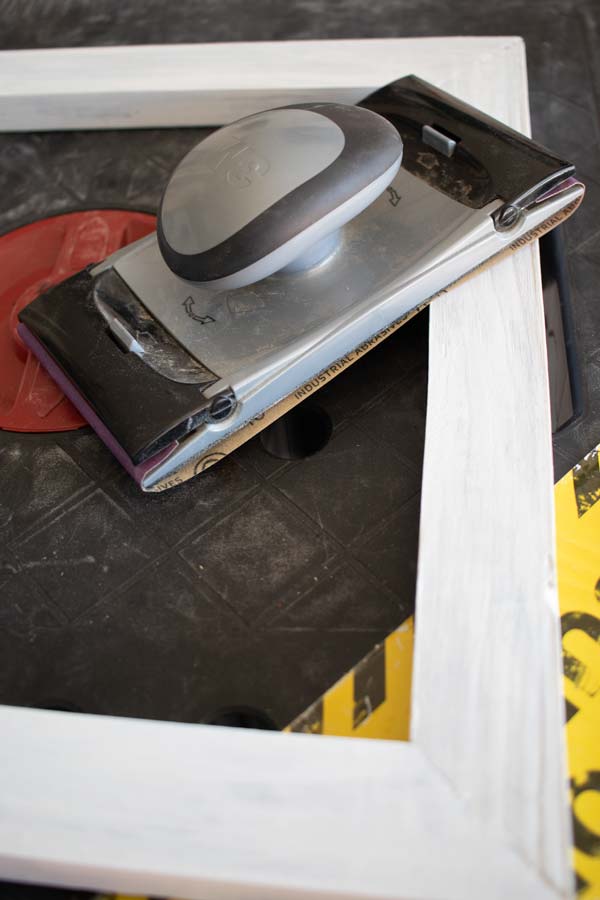
To add more texture and accents you can tilt you hand sander.
My favorite method is to fold you sand paper over forming a small contact point. It give great control on where you are adding details. I will also scratch at the frame with my sandpaper folded over like this.
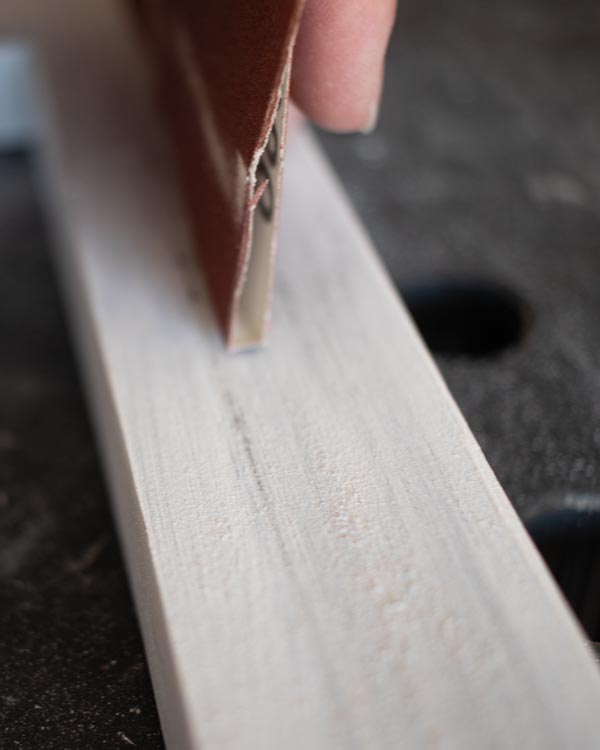
Make sure to sand with longer strokes, with the grain.
Step 3- Smooth Finish (Optional)
For a Smooth finish, that feel like it has been handled handled a lot, Use 320 Grit sand paper all over the frame.
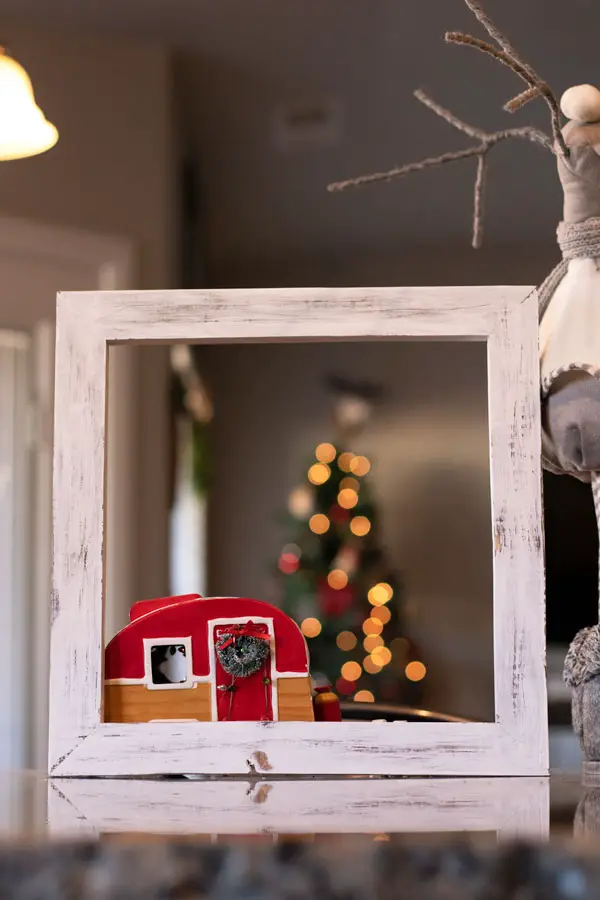
Decorate Or Use On Your Next Project
If you were doing this on a frame that you already had, then decorate! I am making this frame for a project that I am working on that I will be posting very soon.