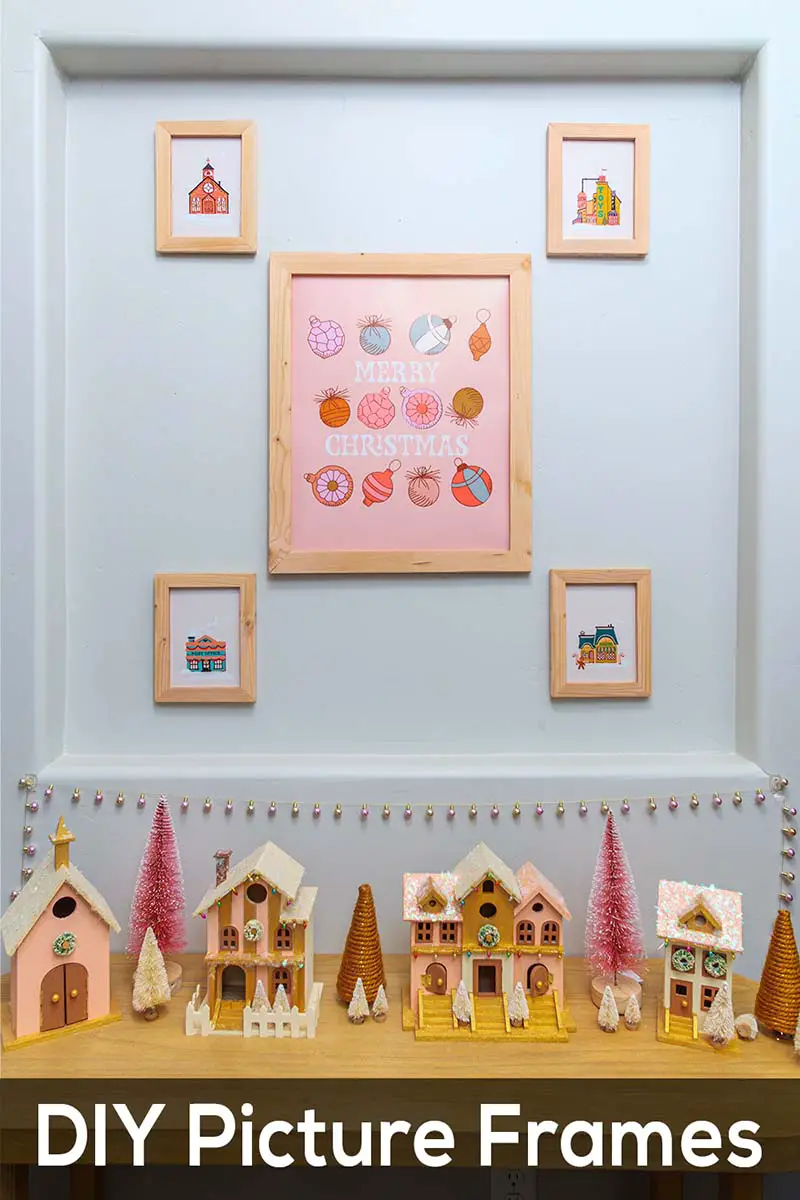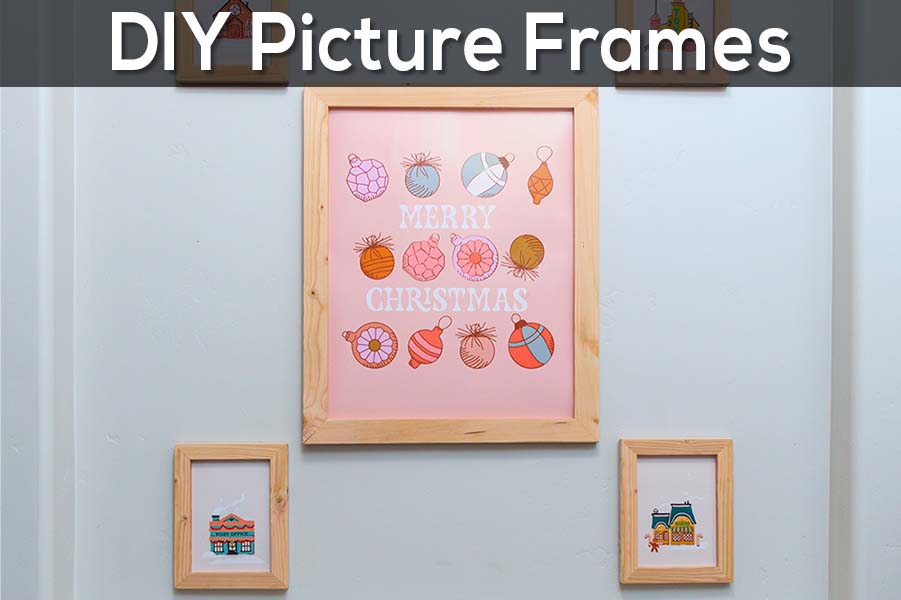
This is how we made cheap DIY picture frames from scrap wood from our last project. There are so may ways that you can style these and make them exactly how you want them. I went for a natural wood look this time, but I am also a fond of the weathered look.
Here is a post on how I distress wood frames.
Tools & Supplies To Make Picture Frames
- Wood Strips (This is personal to how large you want your frame to be. I started with strips that were 1.5″x.75″ and cut them down to 1″x.75″)
- Router
- Rabbet Router Bit
- Orbital Sander
- Miter Saw
- Table Saw (may be needed If cutting strips smaller lengthwise)
- Band Clamp
- Wood Glue
- Saw Tooth Picture Hangers
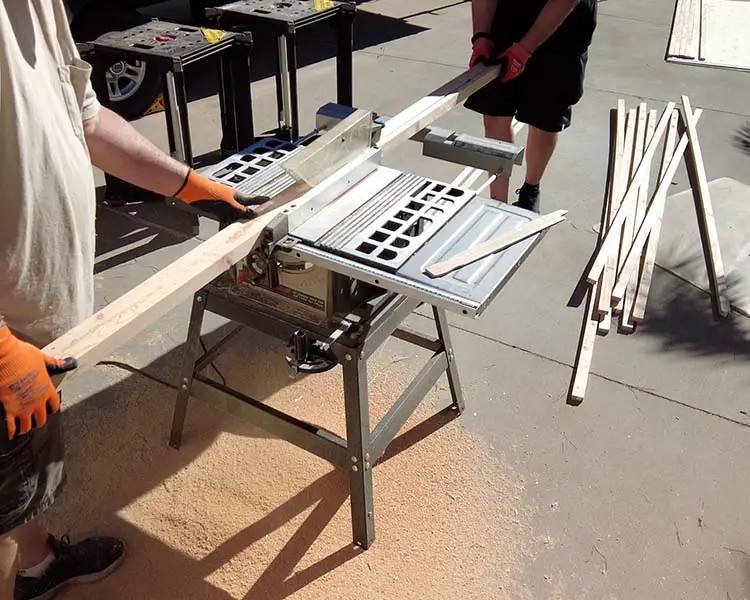
Step 1- Make Or Buy Wood Strips
You always have the option to buy furring strips and make your frames out of those, or you can make your own!
My strips where left over scrap pieces from when we made our wood slat barn door. To make those wood strips we used 2″x6″ material and rip cut them length wise to make slats.
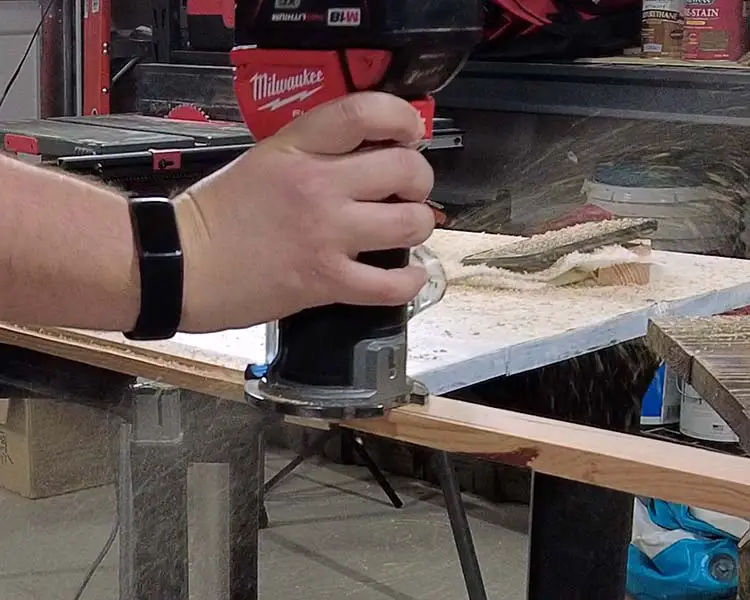
Step 2- Route Out A Groove For Your Picture And Backing To Be Recessed
Using your router with a rabbet bit, we cut a groove that was about .25″ by .25″ along one side of our wood strip. It is always nice to buy a rabbet bit that you can change the bearing on so you can adjust the depth of the cut in both directions.
Step 3- Cut Your Wood Frame Sides
First we cut down sides down our large wood strip into more manageable pieces that were oversized (we did 4″ extra or wiggle room). This made it easier to do measurements and additional cuts.
Tip- If you are making a bunch of repeat cuts you can attach a block to your miter saw, so you don’t have to constantly measure.
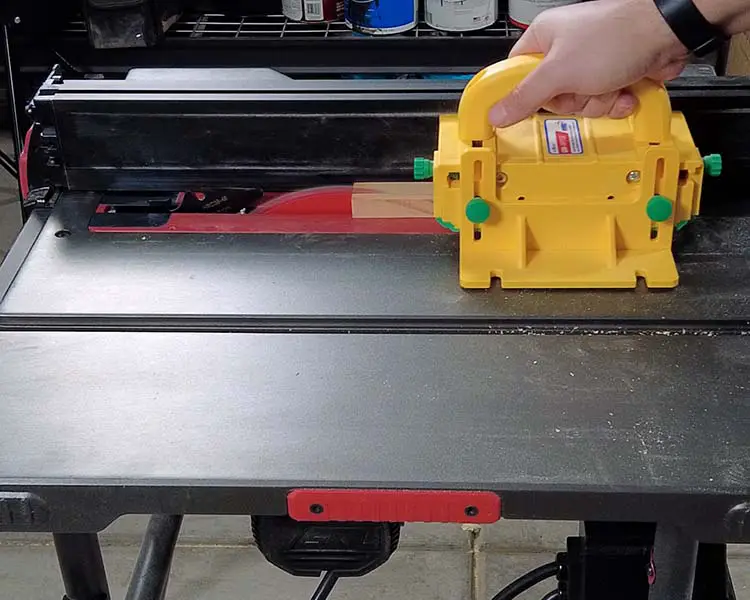
Because our wood strips were still to thick and we wanted them to be .5″ smaller, we cut them lengthwise on the table saw.
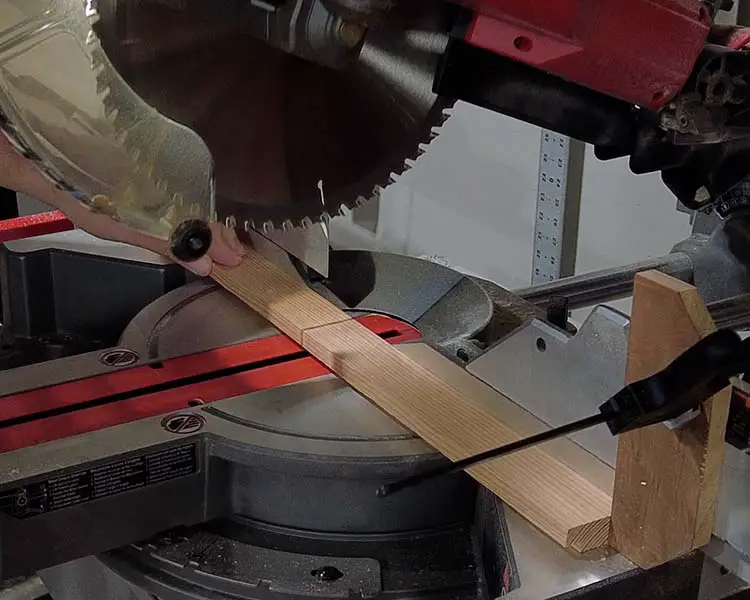
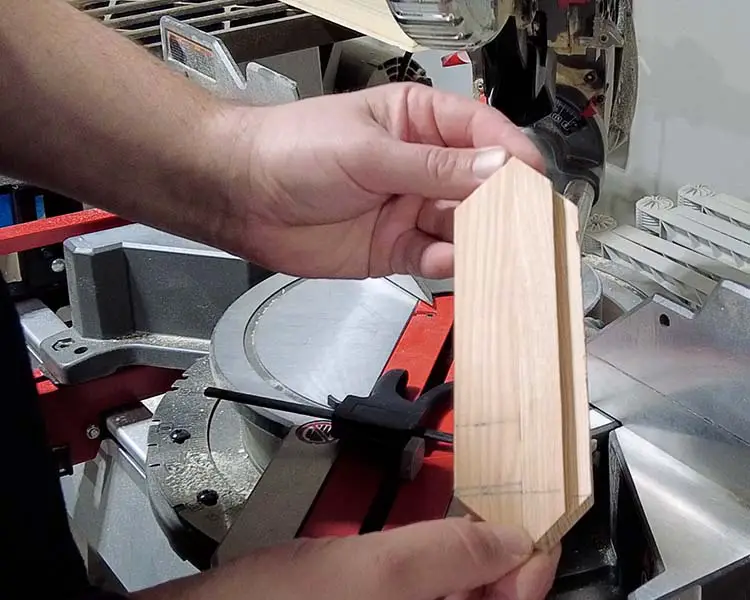
We then put a 45 degree cut on one side of our smaller wood strips. Depending on the size of frame you are making, you might not want your hands so close to the blade. It can help to clamp you pieces down to your miter saw when cutting smaller pieces.
Tip- Make sure you are cutting so the the short side will have the groove!
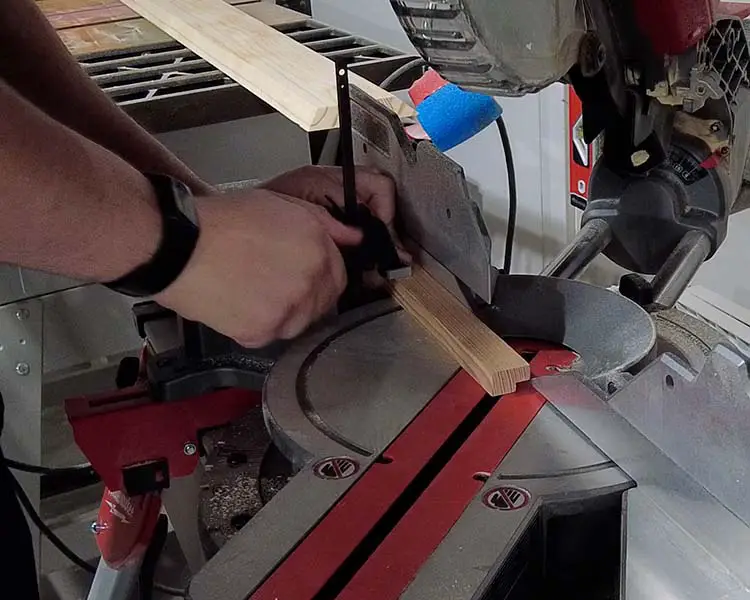
After we made these cuts, we measured and marked where our second cut should be. Since our photos were 5×7 we need our opening to be smaller then that to remove the chance of having gaps.
We ended making the opening .25″ smaller so 4.75″x6.75″. But, it might have been better to just match our groove. Meaning the the grooves dimensions on the back was 5×7. That way we wouldn’t have to fiddle with the picture as much to line it up later.
Make sure to cut your pieces so you have a small side and a long side, with the groove on the short side.
Tip- you can put you first piece over the top of your second (lining them up) and the make your cut. That way they are both the same size. When dealing with small pieces though remove the top piece before making the cut so you don’t get a piece thrown out at you!
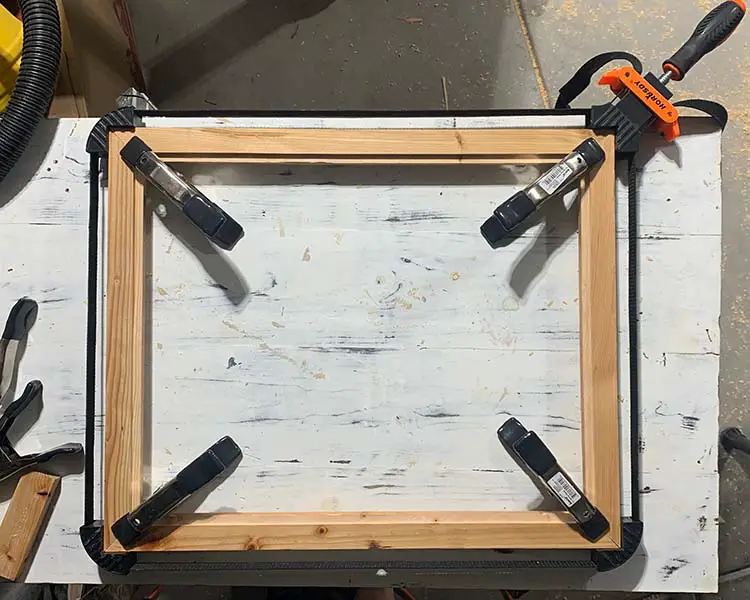
Step 4- Glue Your Frame Together
We a laid out our pieces and applied glue to all of the corners. Using a band clamp, we tightened all the corners together and made sure they were aligned properly. Spring clamps can also be helpful with larger picture frames.
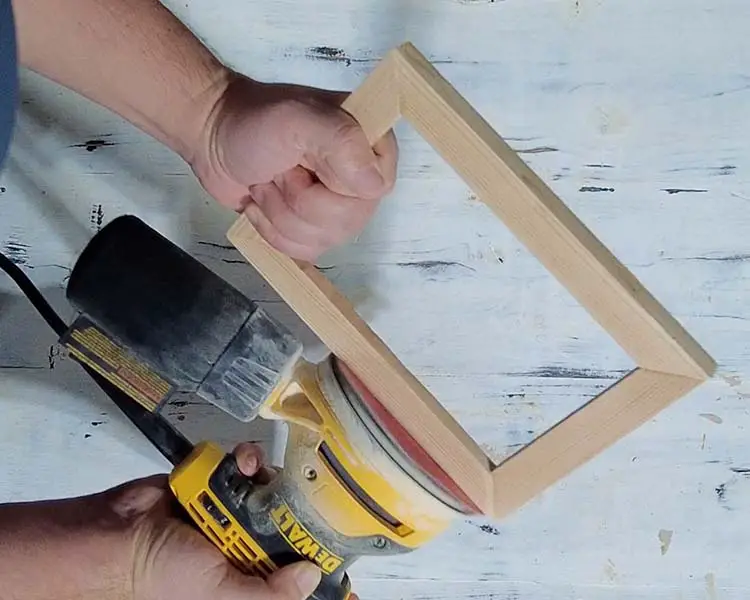
Step 5- Sand And Apply Finnish
We then sanded down all the sharp corners and any glue run off using a orbital sander.
If you are applying paint or some other type of finish you can do it after sanding.
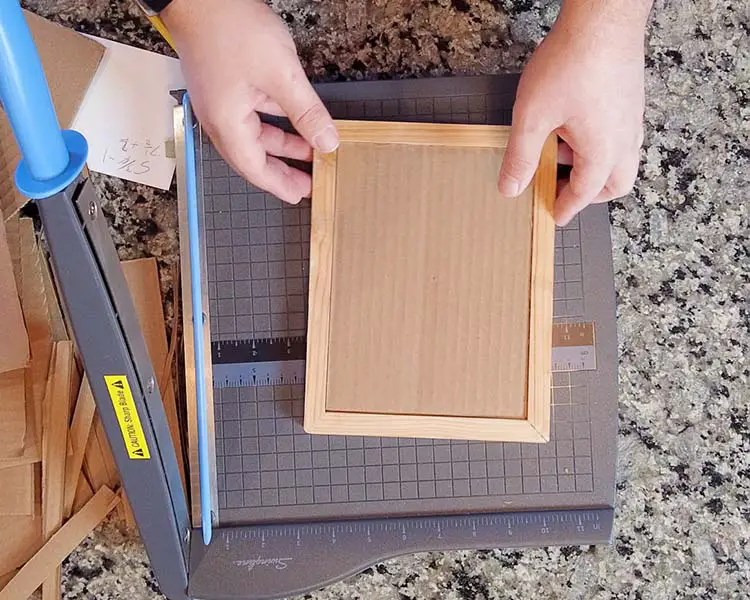
STEP 6- Making A DIY Picture Frame Backing From Cardboard
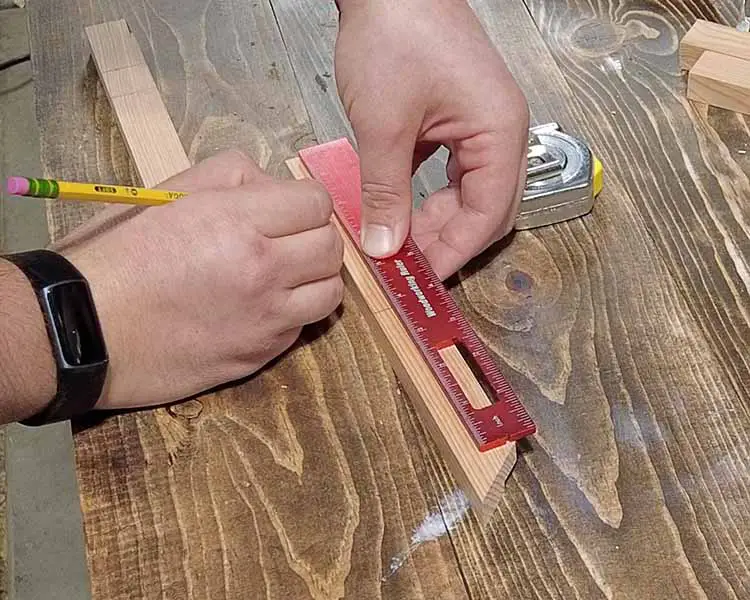
We measured out the exact dimensions of our groove on the back. Using a cardboard box we had laying around, we then cut the box to those measurements using some scissors and a guillotine paper cutter.
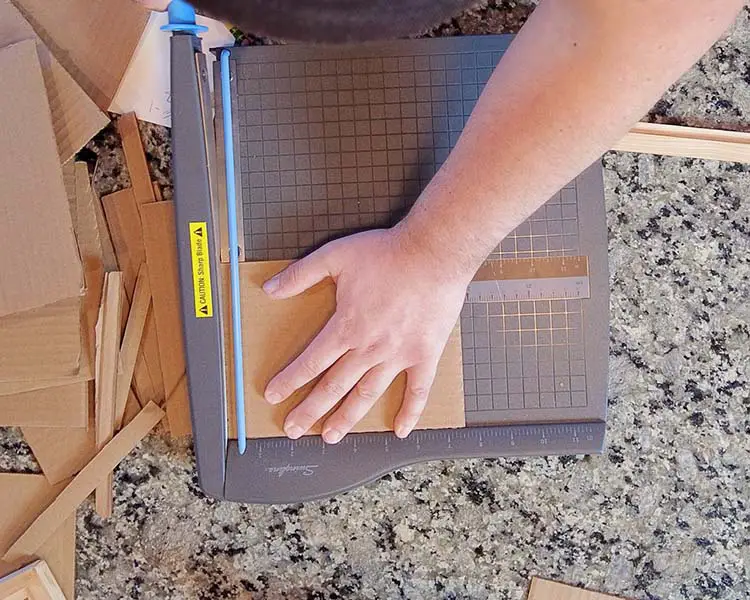
It is important to get a good snug fit, so that you aren’t fiddling with any gaps.
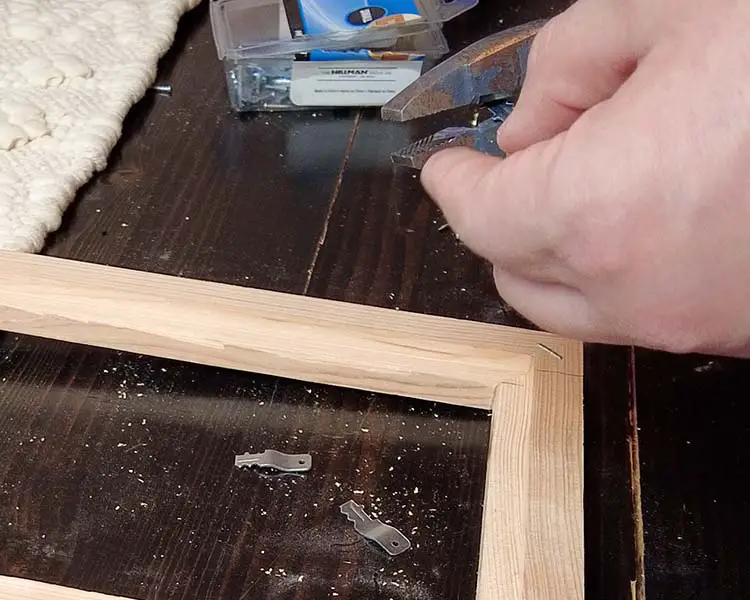
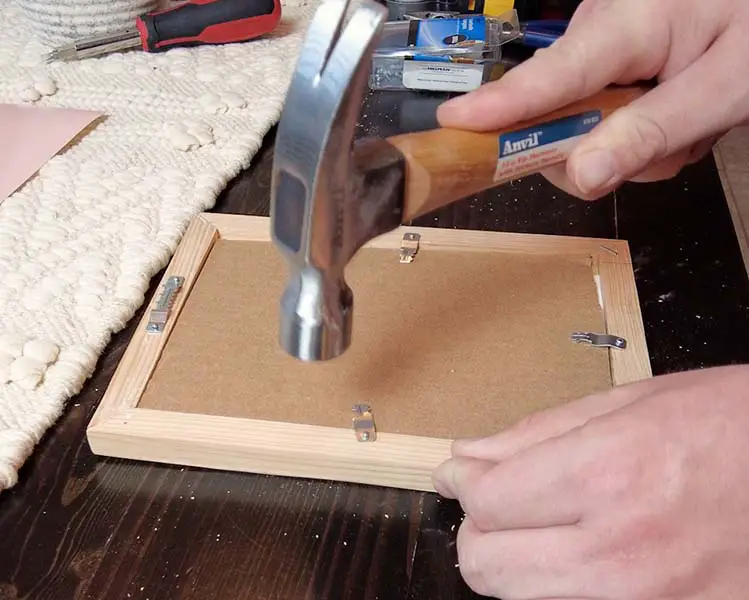
Step 7- Add Hanger And Making DIY Backing Clips
We didn’t have any backing clips so we decided to make our own from the sawtooth hangers we already had.
To make the backing clips we cut the sawtooth hangers in half with a pair of pliers. We then bent them into a shape that would hold the cardboard backing down tight.
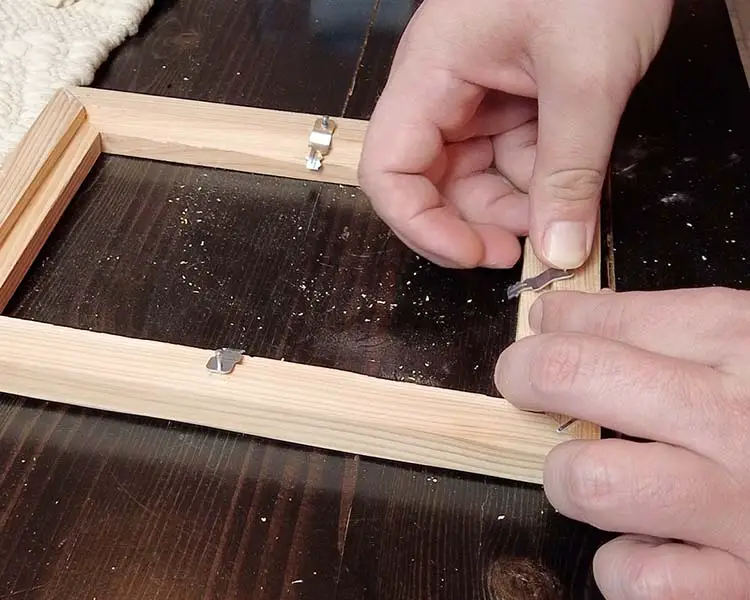
After the clips were made we piloted small holes, for a screw or nail.

Since nails come with the sawtooth hangars we used the nails and put them in place. If using nails don’t pilot the hole to deep you still want to be able to hammer the nails in.
Pilot your holes and hammer in your saw tooth hanger, at this point.
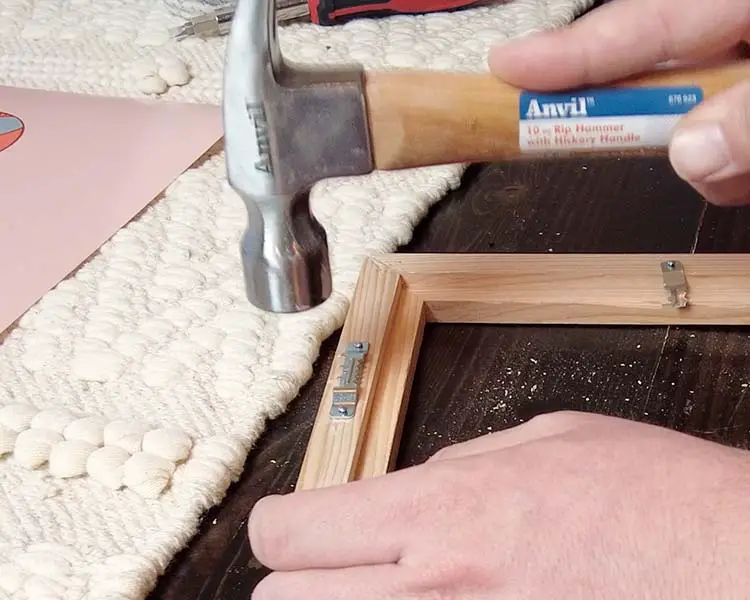
Finish hammering down tabs.
Here is the wall of pictures I made using these frames.