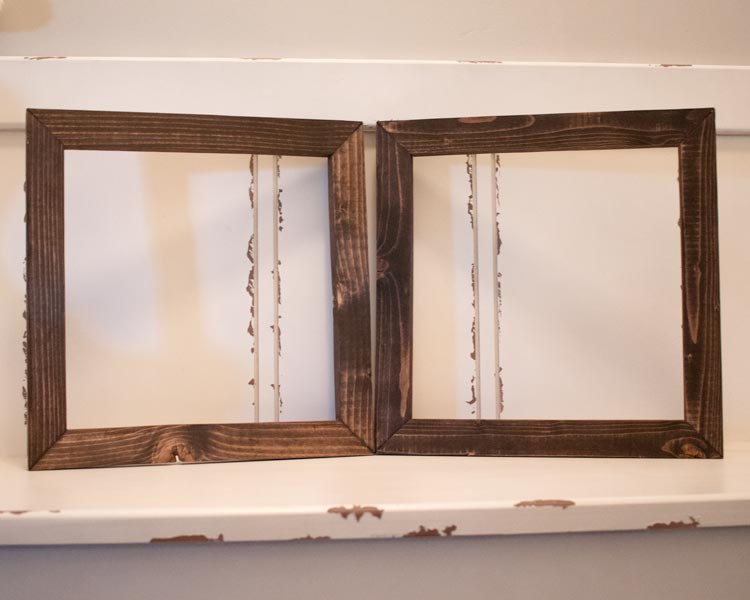
A Band Clamp is the best tool for making an angled corner frame, and with the right tools, making a wood frame with angled corners can be a breeze. This is a tutorial on how you can make a wood frame and what you will need to make one.
If you want to add a picture to your frame, here I make frames for photos.
Tools And Supply
Angled Frame Instructions
You are going to cut your wood with 45 degree angled and then bind them together. Here are the step by step instructions.
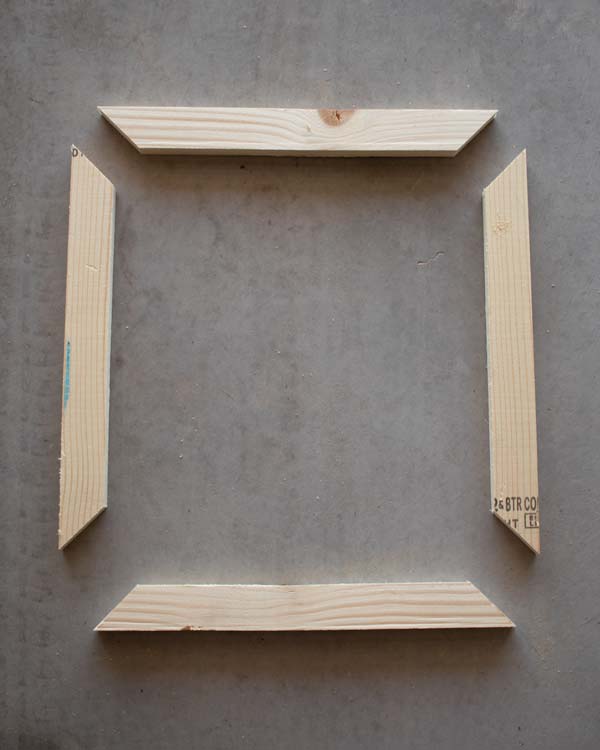
Step 1- Cut Your Wood Pieces
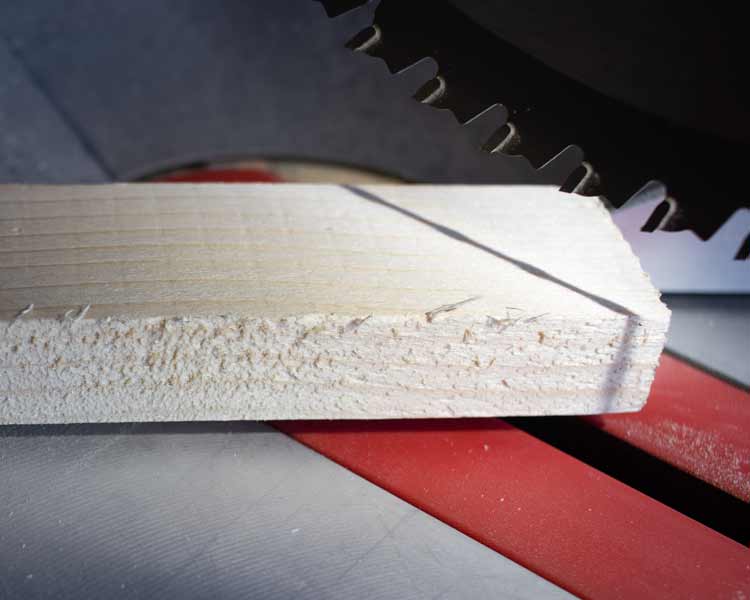
Set your Miter Saw to 45 Degrees.
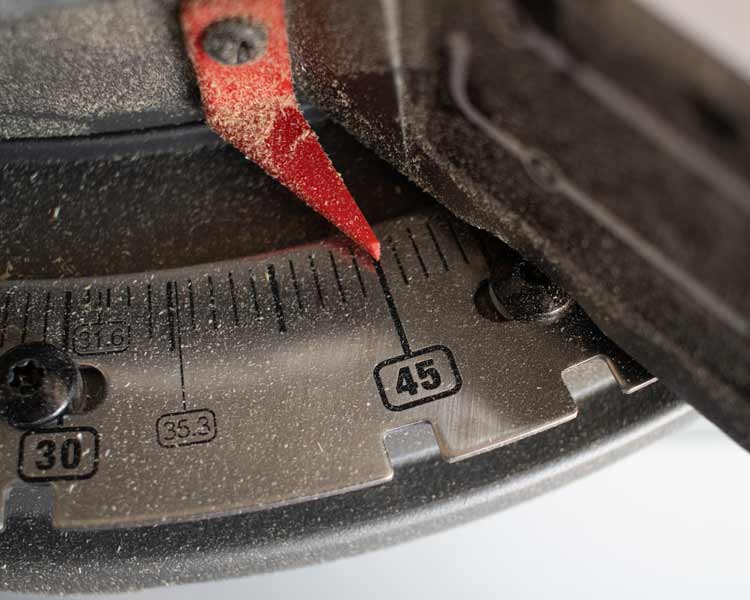
Cut off the end of your wood piece at a 45 degree angle.
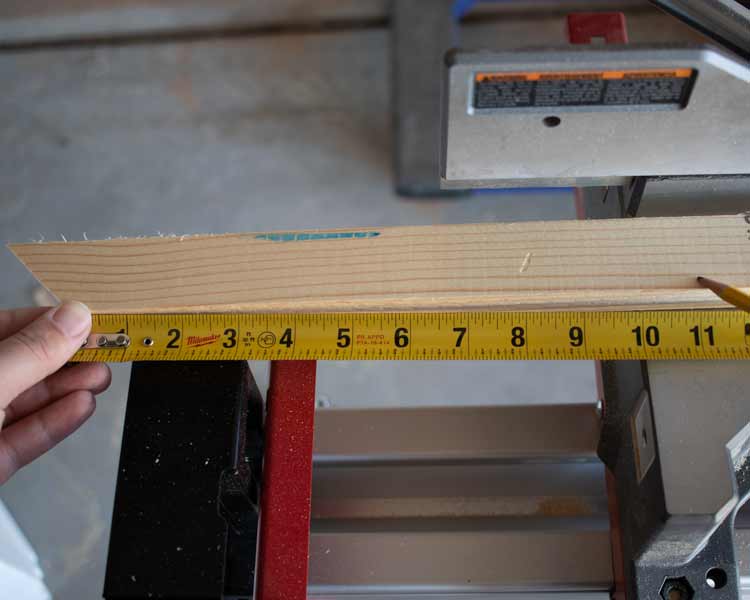
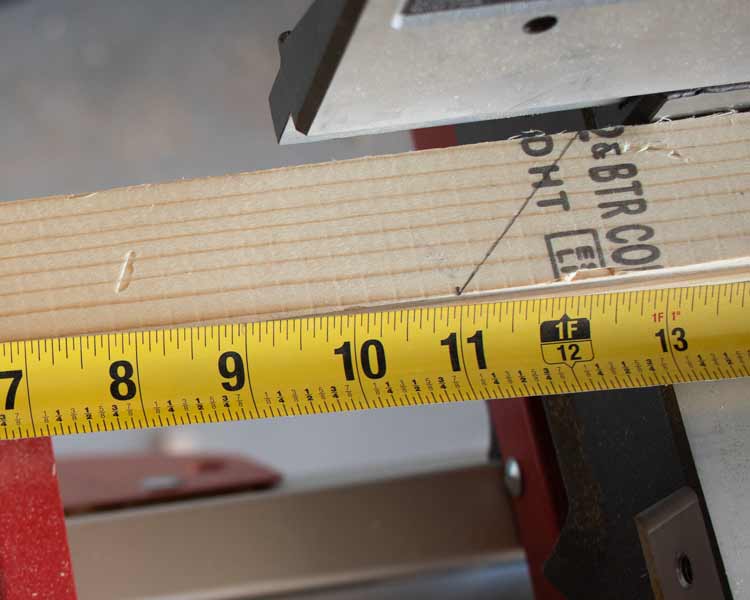
Measure from the inside edge (shorter side) to the length you want your blank space to be to fit for example your photo or wood sign. I am doing mine as 11″ by 11″.
Make sure to cut in the right direction. You will need to either adjust your miter saw to the other side at 45 degrees or flip you wood over.
The easiest way to cut the rest of the pieces is to line up your first piece over the top. Press right up to the saw blade, remove the top piece, and then cut.
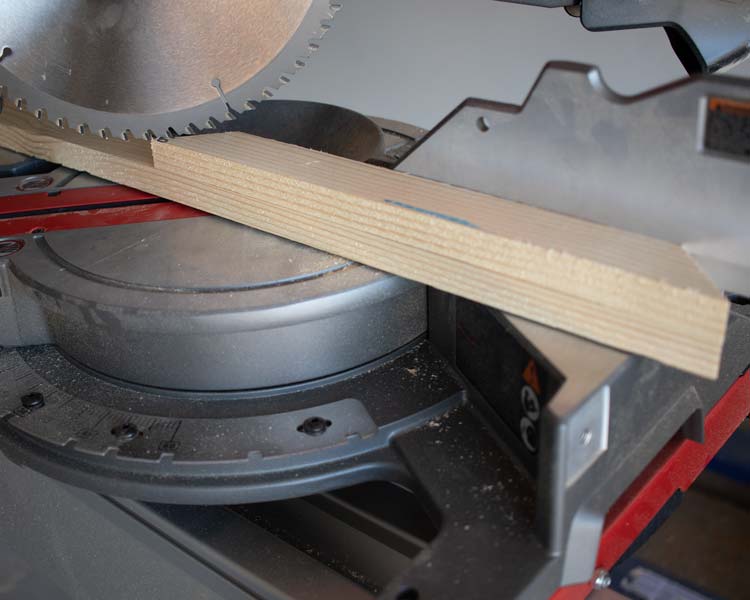
Do this until you have the four pieces you need, and then do a quality check to make sure the all opposing sides are pretty much identical.
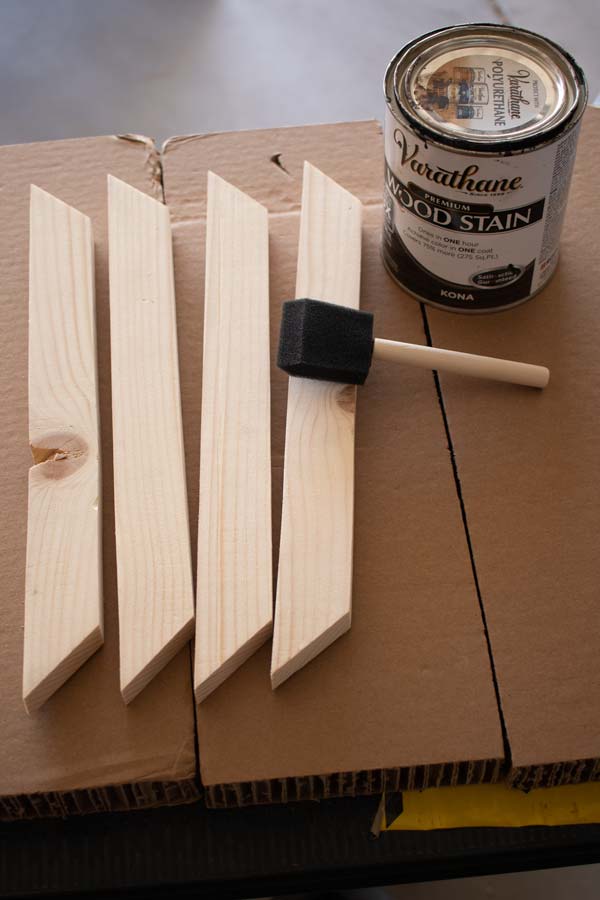
Step 2- Sand And Stain
Sand off any factory marks that may be on your wood pieces, and sand down to the smoothness you like. I generally use 220 grit and that is smooth enough for me.

You can hold off doing this to until the end, and I would if is was painting, but with stain I will do a coat at this stage. Wiping off the stain with a rag right after I finish a side. I do this because the Kona stain I am using is very dark.
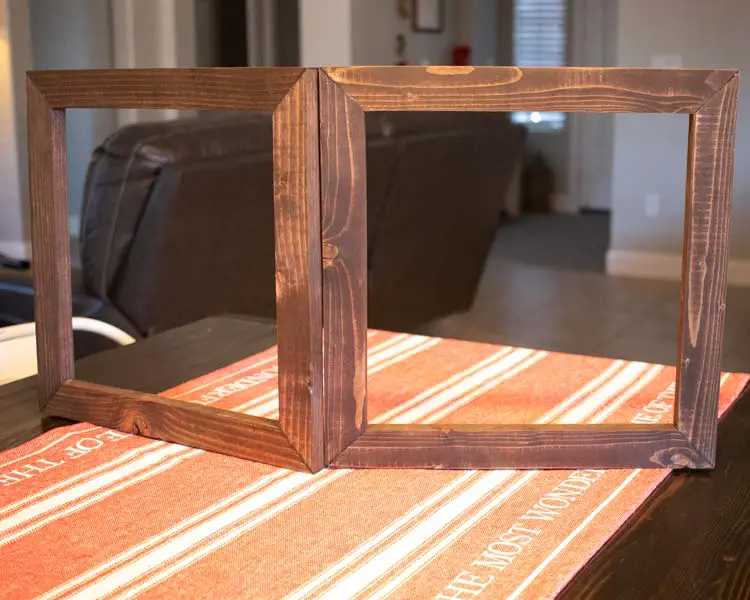
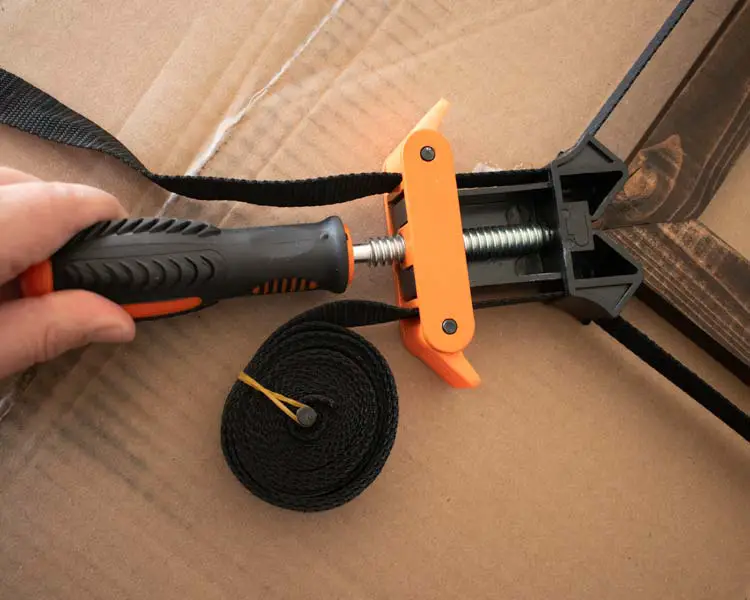
Step 3- Glue And Clamp
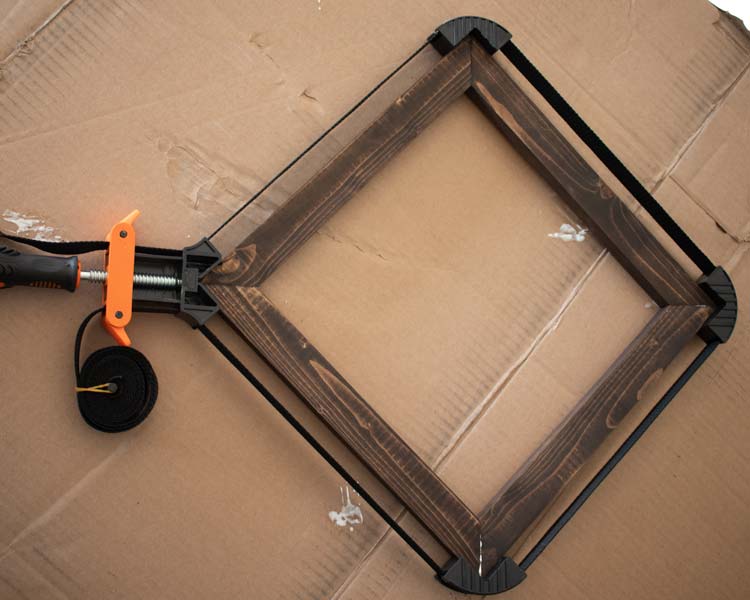
Arrange your pieces, and apply glue to your sides. To make the process easier place the Band Clamp around before you glue.
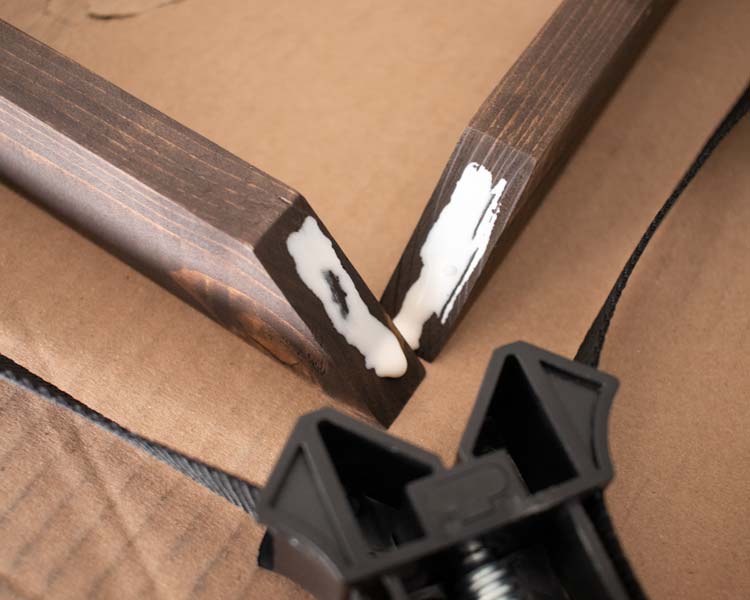
Tighten the strap and then screw It down tighter.
Wipe any glue that comes out, if your are able to get most of it you will not have to worry about getting rid of it later.
An important not is if you did not pre-stain glue will prevent your stain from penetrating and staining your wood and you will have to sand it all off before you can stain.
Let the glue dry, 24 hours is best, but you can get away with less.
If you have extra glue that you missed and it has poured out and has dried go ahead and take it off. You can chip off chunks and sand it down, if you go to deep you might have to re-stain.
After you have done any touch ups you can apply a sealer, like polyacrylic.
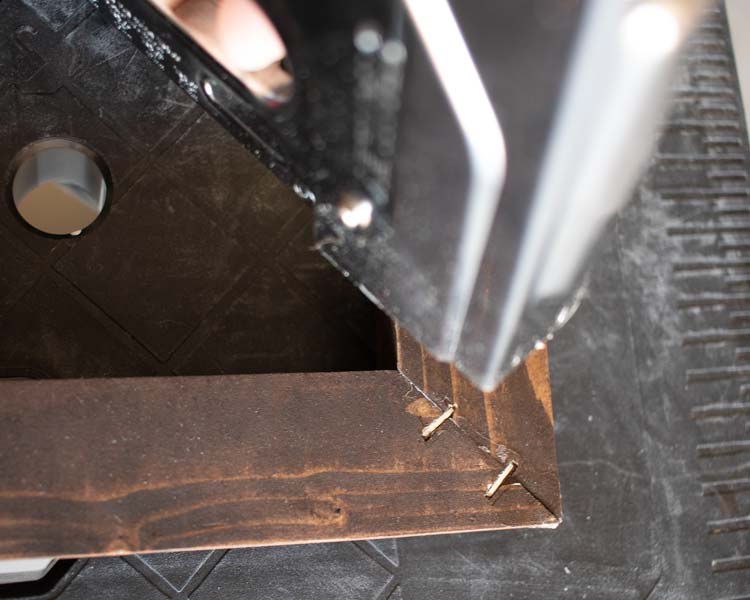
Step 4- Staple And Use It On Your Next Project
To make sure you the frame is extra secure, I will put two staples in each corner on the back of the frame. I used T50 staples (1/4″ 6mm) but you can use larger as well.