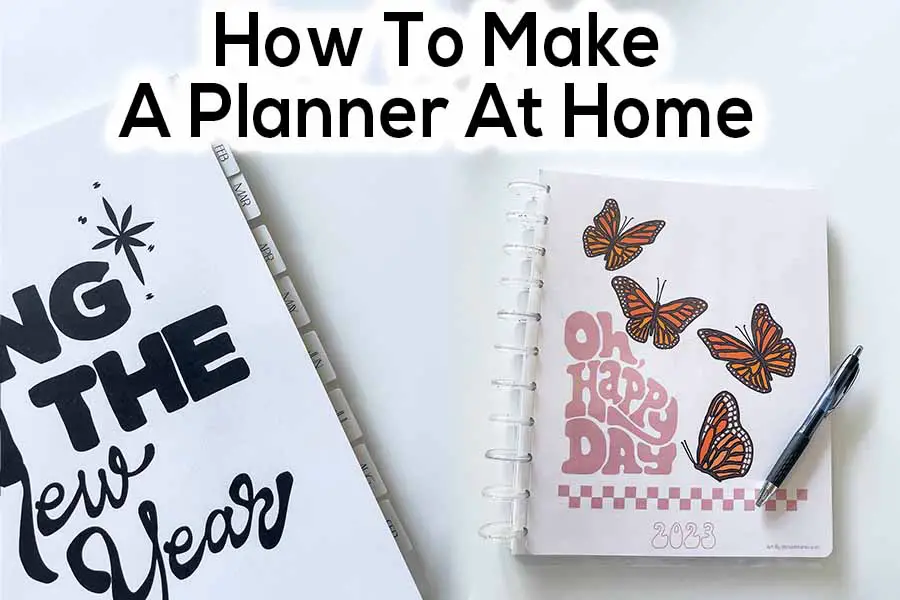
Here is how I made my planner. I give step by step instructions on how I made it. I have several useful tips that I will share with you in this article.
Planner Supplies
- Free Planner Printable Template
- Printer
- Heavy Paper (I used 110 lb cardstock)
- 11 Mushroom Hole Punch (Happy Planner)
- Single Mushroom Hole Punch (may be needed for laminated pages)
- Laminator & Laminating Sheets (optional)
- Planner Expansion Discs
- Paper Corner Rounder (optional)
- Planner Monthly Tabs
Printing Your Planner At Home
Here are two free planner templates you can use for your planner. I used the retro planner this year and I love it!
Your printer might be able to handle printing this planner double sided no problem. I on the other hand had to manually print mine on both sides, by first printing off odd pages, then flipping the stack over and printing the other side.
Here is a guide to how I printed my planner and settings I used.
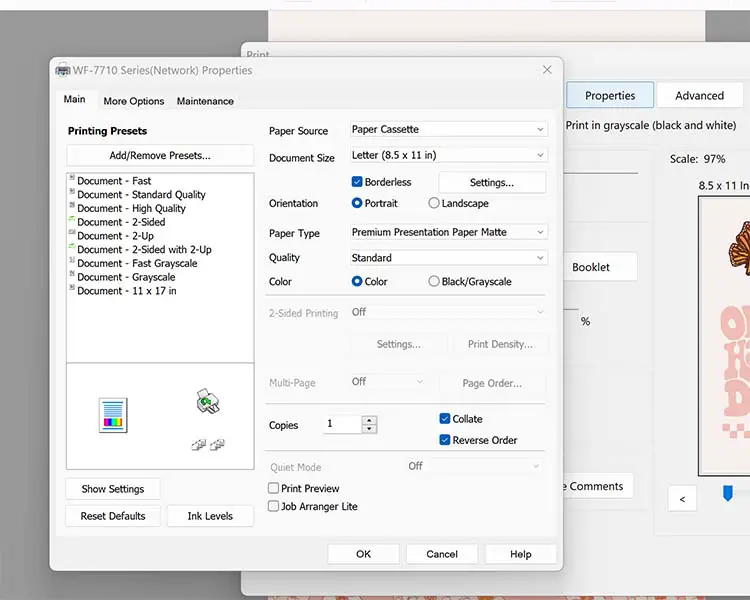
Step 1- Make Your Print Borderless
The first step I made was to set my print setting quality settings to high, and make my print borderless. Depending on your printer, you will be able to go all the way to the edge. I am using a Epson wf-7710 printer for reference.
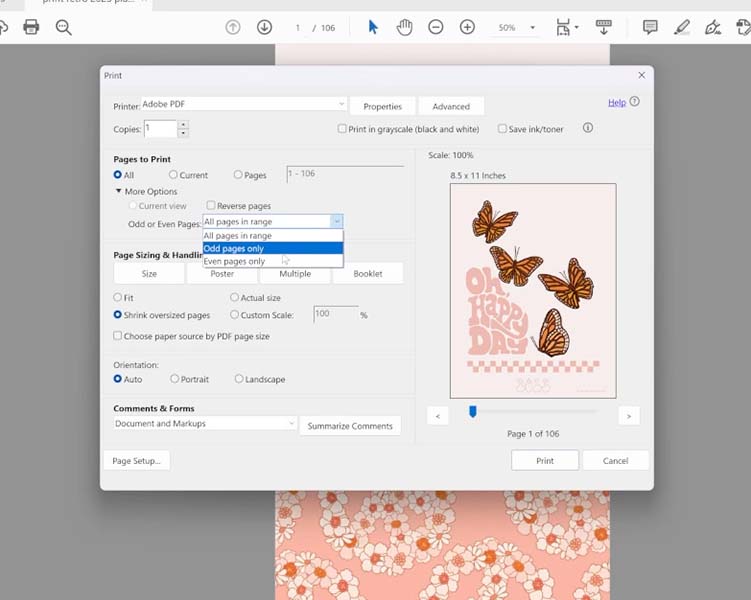
Step 2- Print Odd Pages
Sometimes it is just better to do this manually. I know when I set my printer to borderless high quality settings, it did not want to print double sided.
To manually print double sided print all your odd pages first.
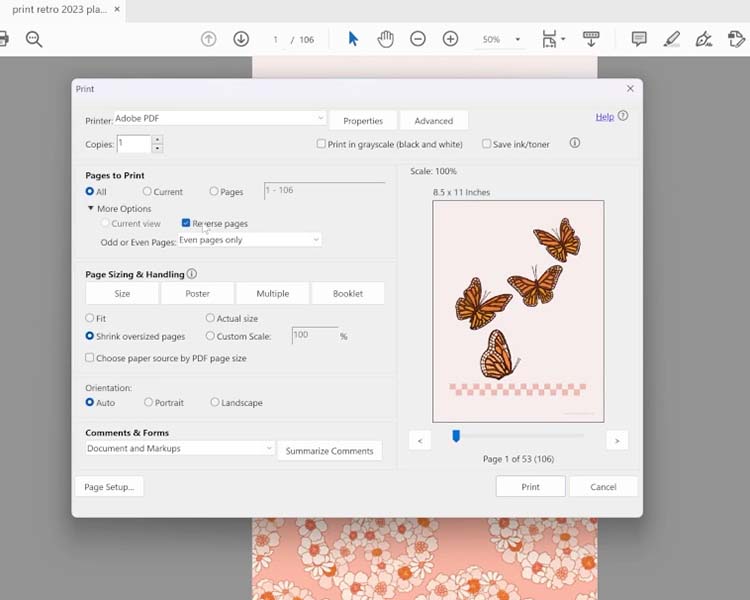
Step 3- Print Even Pages And Reverse Page Print Order
The next step is to put you paper back in your printer. Flip you pages so that they print on the other side. Most printer will have a diagram of how they print, but if yours does not then do a test page.
Select even pages and reverse the print order so the pages are printed correctly.
Steps For Putting Your Planner Together
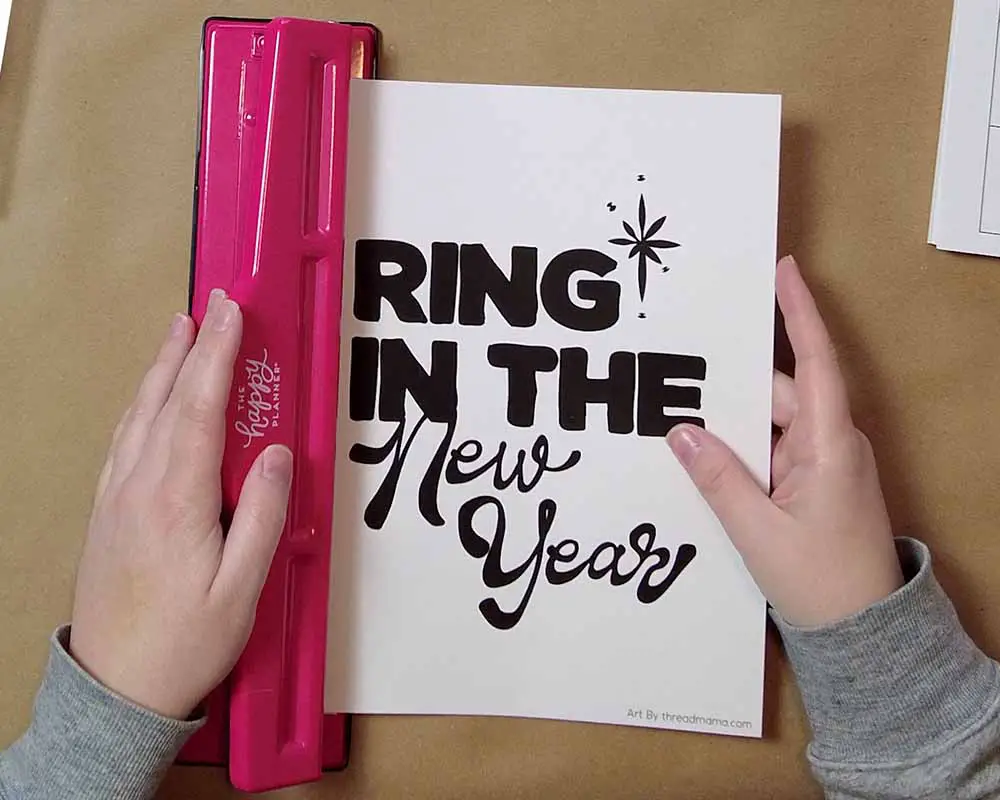
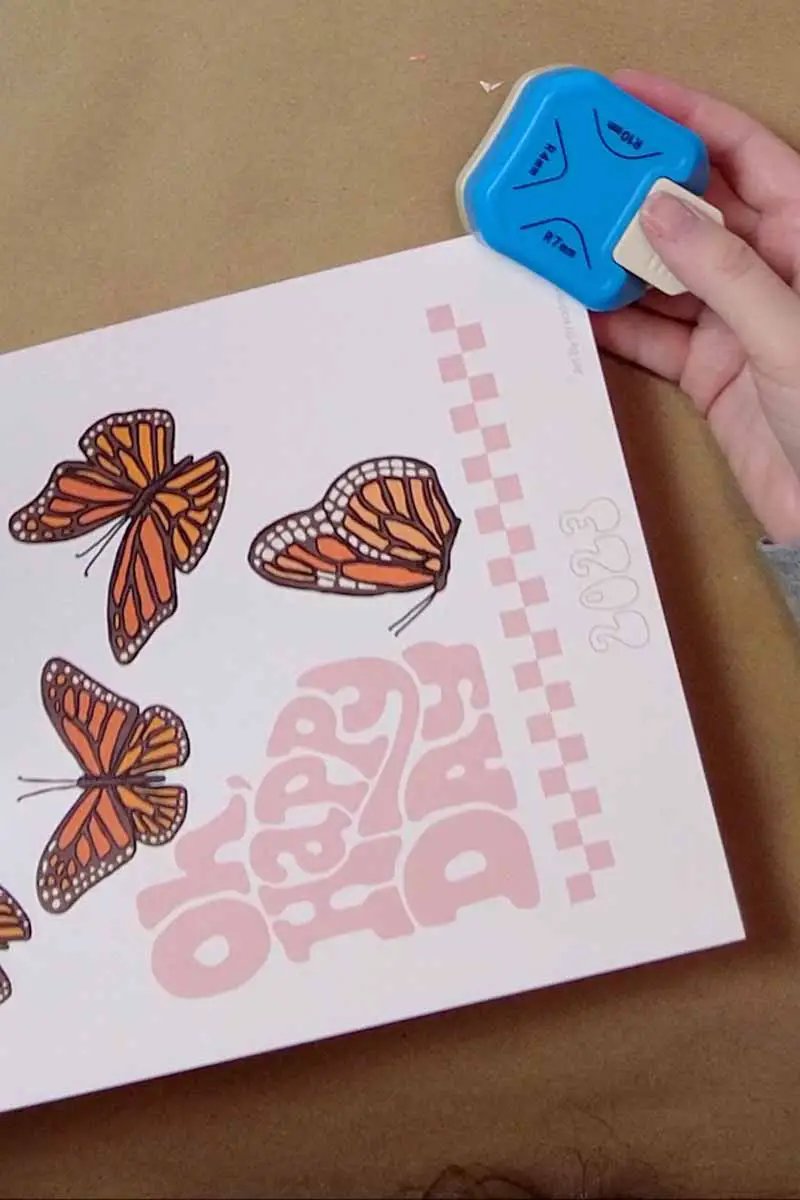
Step 1- Hole Punching Your Planner
Use your 11 hole mushroom paper puncher. If you are using heavy paper like I used then you will only be able to hole punch 1 paper at a time. If you are using a lighter paper you might be able to do 3 pieces at once.
If you are using The Happy Planner hole punch then you will line the bottom of your paper to the bottom white line on the hole puncher.
Set aside any pages you are going to laminate. We will hole punch these after laminating.
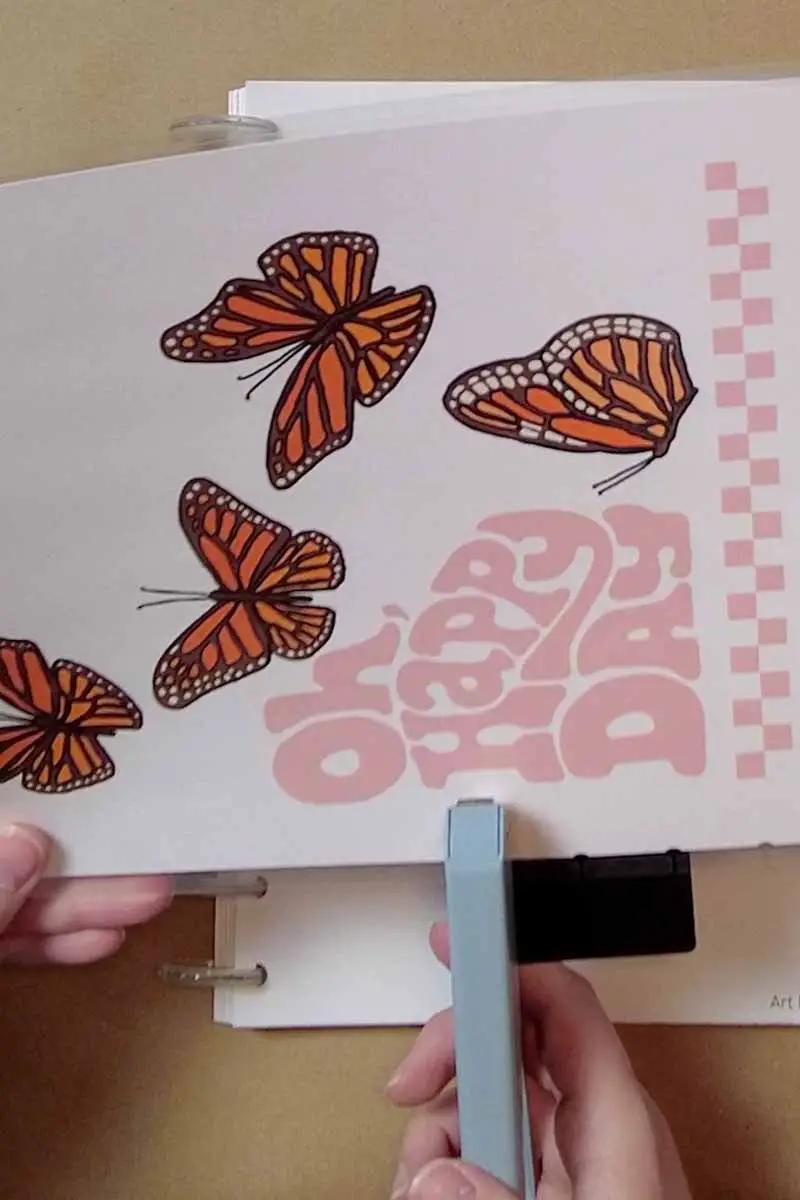
Step 2- Rounding Your Pages (optional)
Use your paper corner rounder to round any pages that you want. I rounded the front and back cover page. I did this before and after laminating.
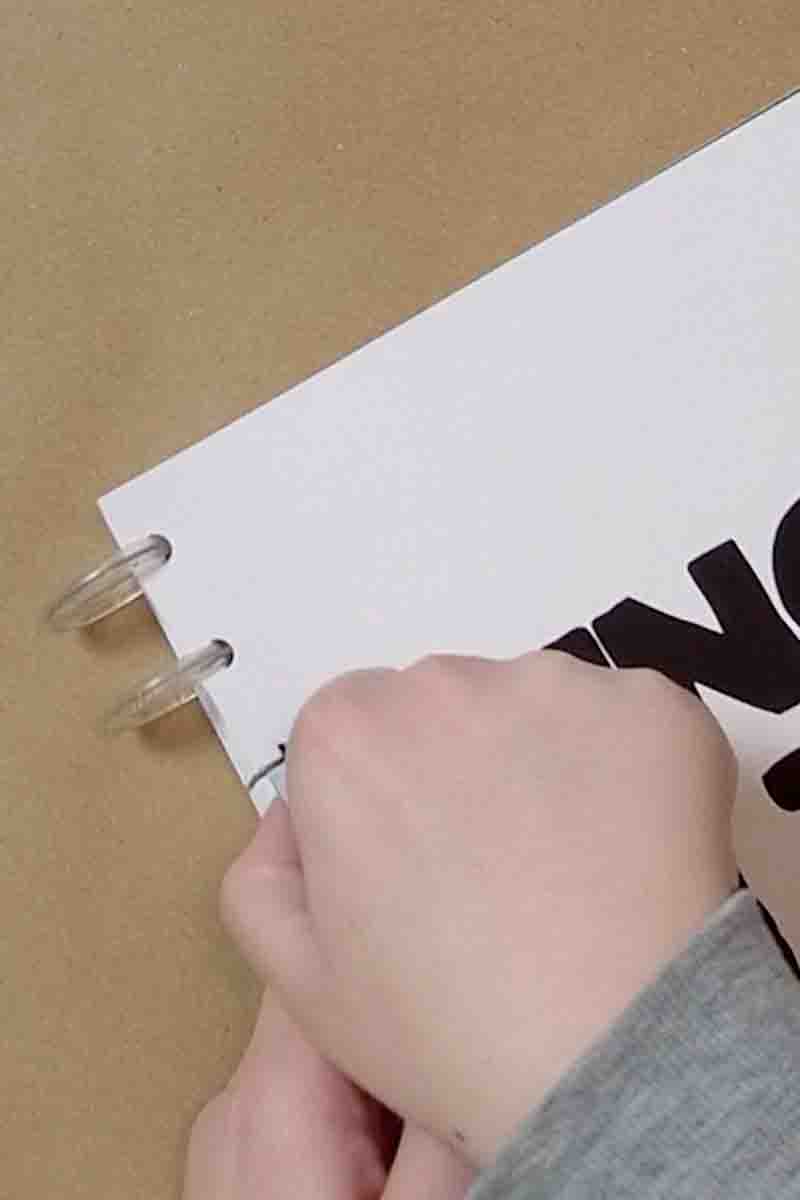
Step 3- Binding Your Planner Using Expansion Discs
What worked best for me on this step was to keep all of my planner in order while taking small sections and threading the paper in between the expansion discs. This part can be tedious so just take your time! I found that once I got a few discs in it seemed to come together faster and easier.
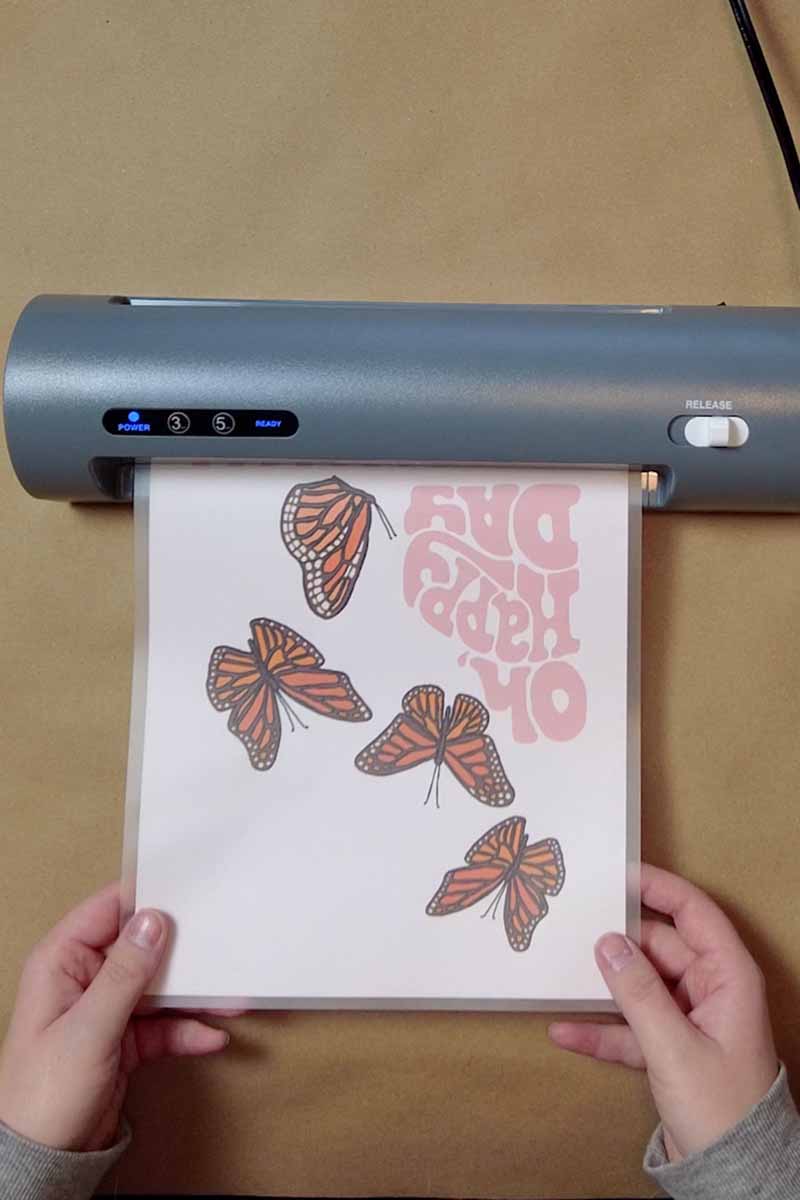
Step 4- Laminating Pages (optional)
Take your pages that you have set aside, round the corners if needed. Place your paper into a laminating pouch and send them through the laminator. Once laminated, I rounded my corners again.
Step 5- Hole Punching Your Laminating Pages
Depending on how thick your lamination pouch is, you might be able to use the 11 hole punch on those pages, but it is also very likely that your paper puncher will not be able to press through all 11 holes. That is why I like to use a single hole mushroom punch for mine.
If you are using the same mushroom puncher as I did, then the first hole is the most difficult but once lined up the other holes will come easy.
To line up your first hole, what I did was take a page that was already hole punched with the 11 hole puncher and slid the single hole punch over the top of the first mushroom hole. I then saw where on the guide the edge of the paper lined up with. I memorized where that was and then grabbed my laminated page and lined up with the edge of the paper in the exact same spot.
After that it was as simple as feeding the hole punch and using the template guide and pressing all 11 holes.
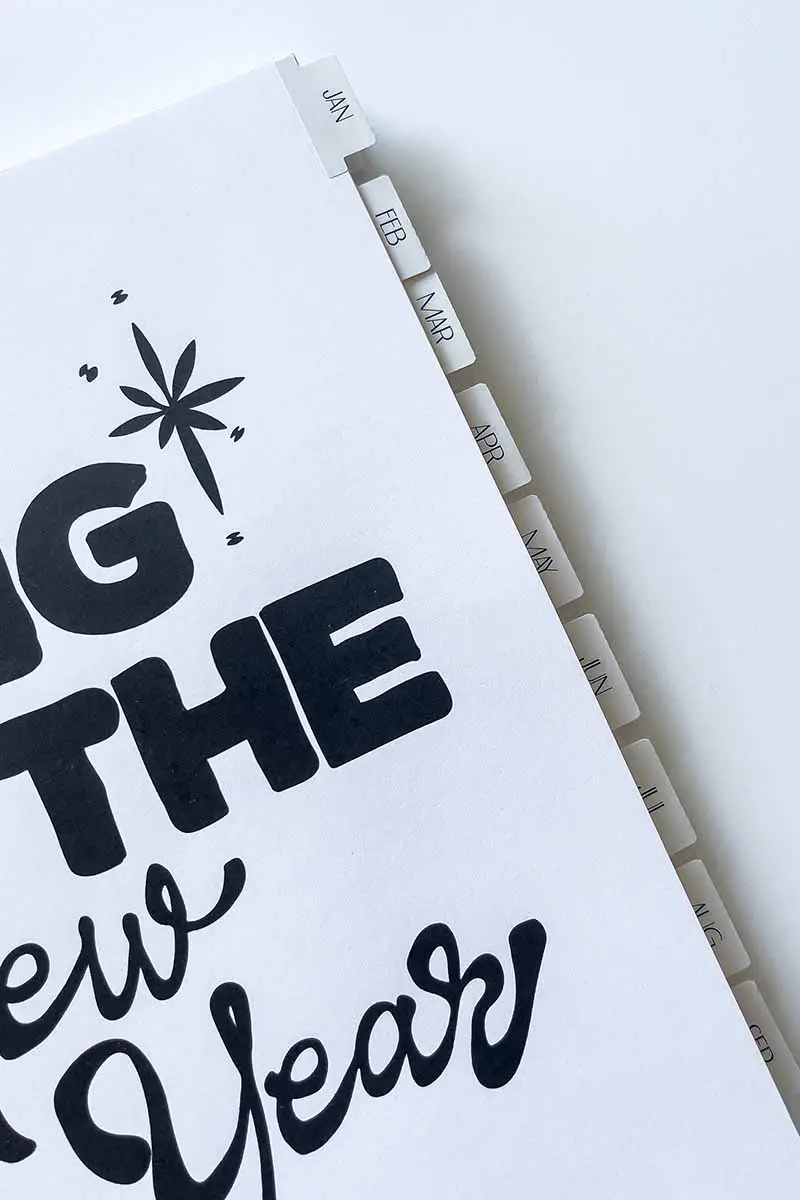
Step 6- Adding Your Monthly Tabs
Take your tabs and starting at the top of the first monthly page stick it on. Find your next monthly page and stick on your second tab slightly below the placement of the first tab you have done. Repeat this all the way down for each month and once you run out of room restart from the top.