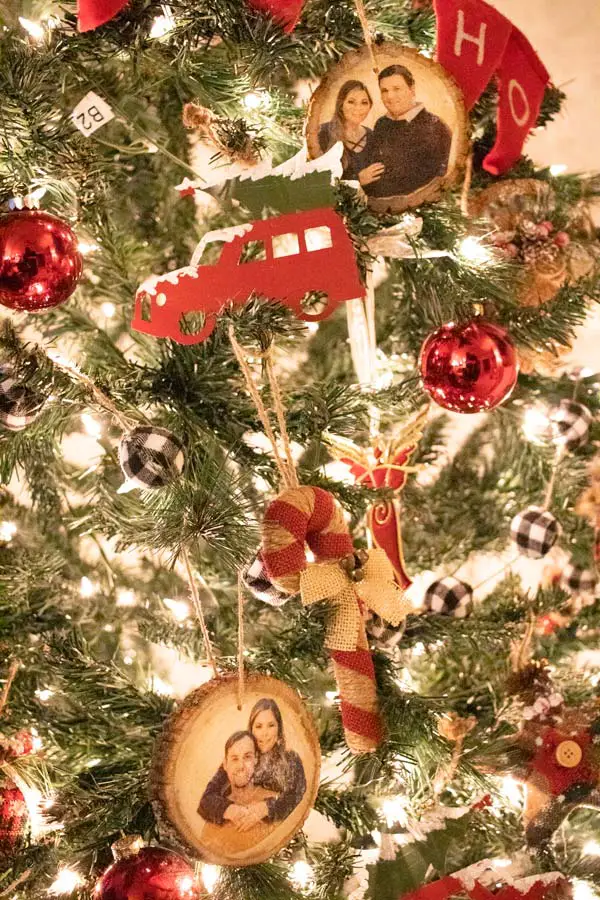
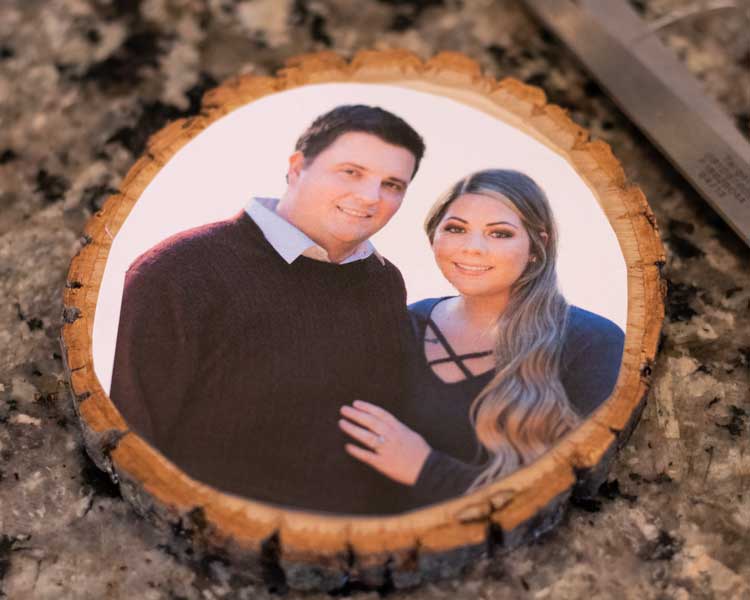
I loved making these Christmas ornaments, and the best part is how easy they are to make!
While I made these for the holidays, they would be great for year round. I am about to make some more and give them as gifts for the family.
Tools And Supplies
- Wood Slices (amazon)
- Mod Podge (amazon)
- Brush
- Heat Tool (amazon)
- Photo on Standard Printer Paper
- Twine
- Drill
Wood Slice Portrait Steps
Size Your Photo
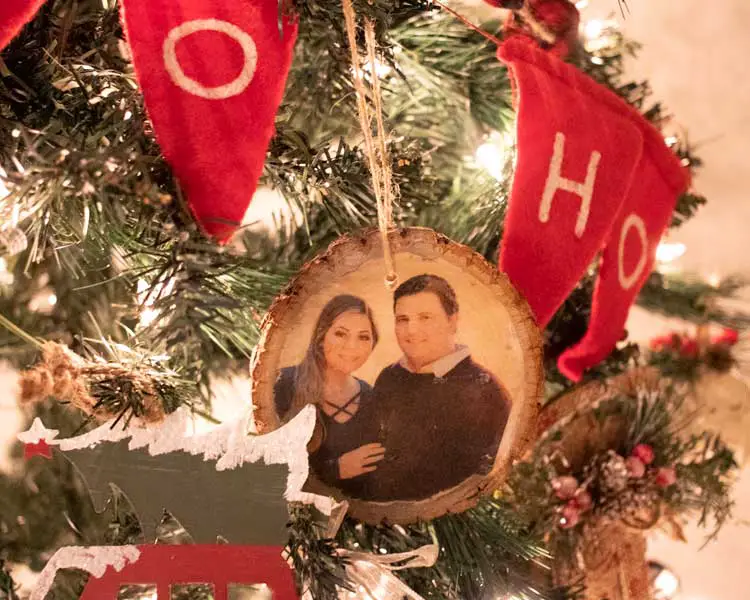
Measure the size of your wood slice. Mine was was about 3.5″.
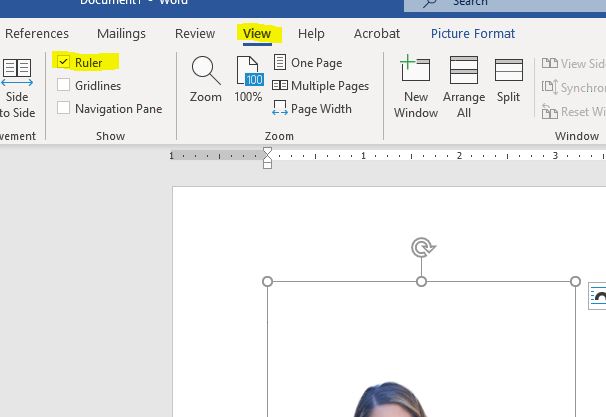
Size your photo to fit. I used Word, by turning on the ruler and sizing it in there.
You may also need to reflect your photo horizontally, especially if there are words in the photo. The image on the wood will be a mirror image of you photo.
You may notice that my photos do not have backgrounds. I was able to do that with photoshop. Don’t worry if you are not able to remove photo backgrounds, this techniques works with photos that have backgrounds.
Print And Cut
Print out you photo and place it face down on wood slice.
You should be able to see and feel through the paper well enough to draw a line where you want to cut.
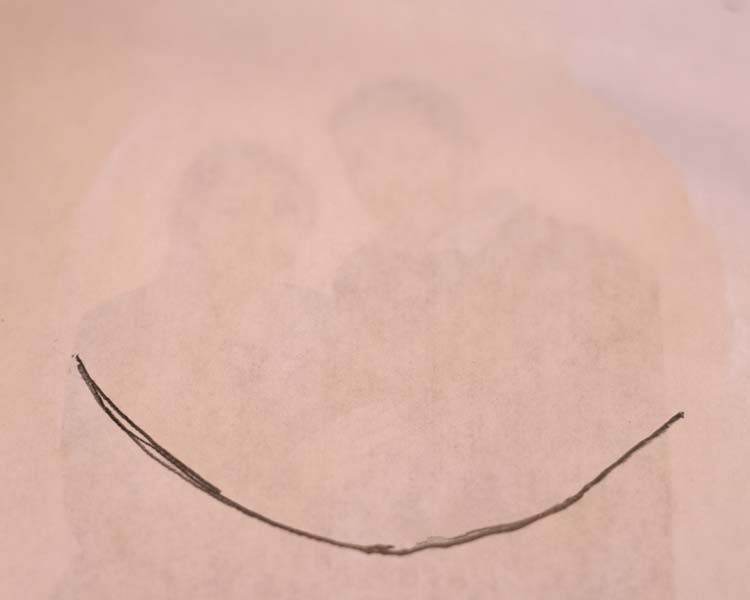
I wanted all of my picture to fall within the inner lighter rings. Leaving the darker outside ring as a boarder.
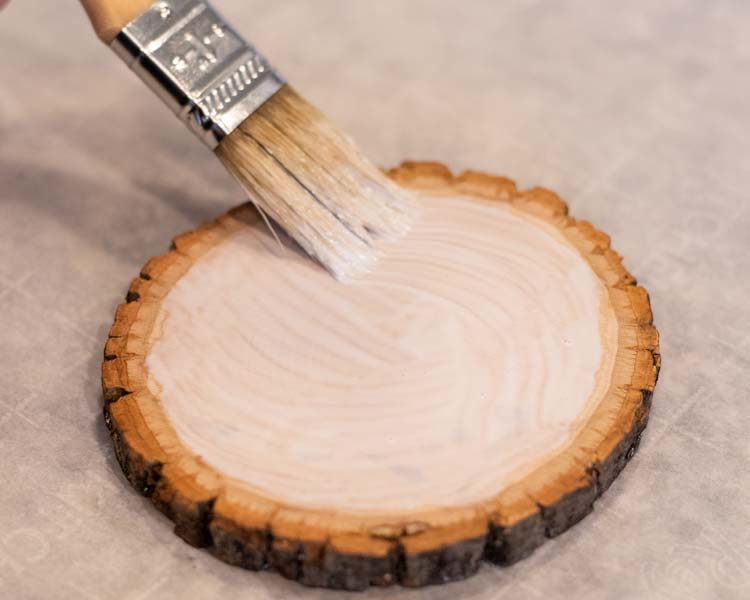
Mod Podge Layer
With a brush, create a nice even coat of Mod Podge on all of the area you want your photo transfer.
Place Photo
Place your photo face down and remove any wrinkles or bubbles

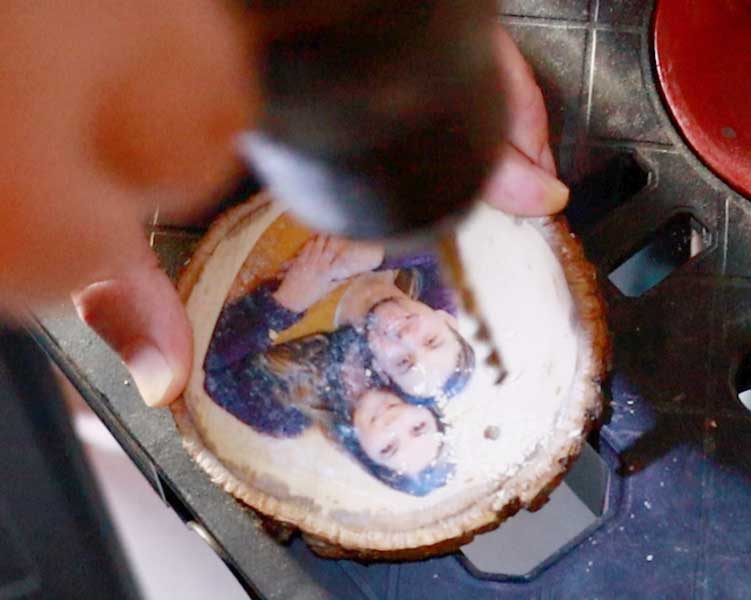
Drying
You can wait for the Mod Podge dry naturally but that can take many hours. That is why I use a heat tool. I used mine for 3 minutes, making sure I applied even heat.
You can also try using a blow dryer to speed up the process, but it want be nearly as effective as a heat tool because of the temperature difference.
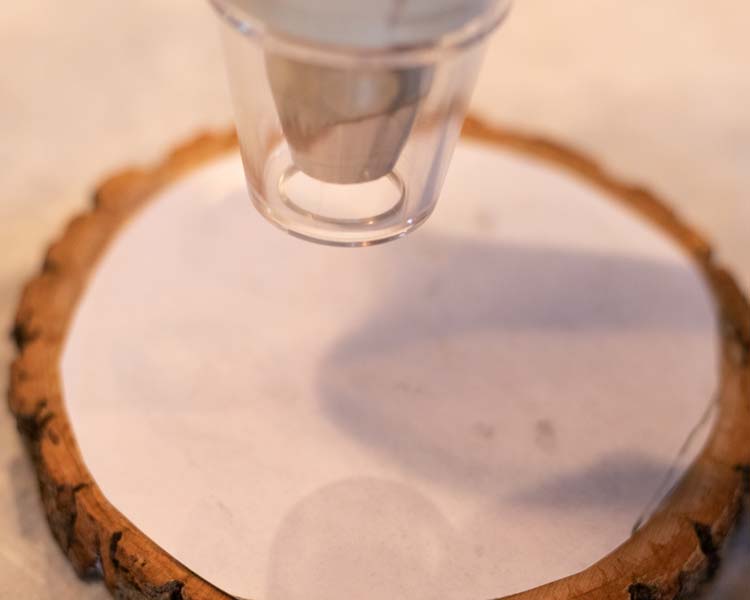
Apply Water
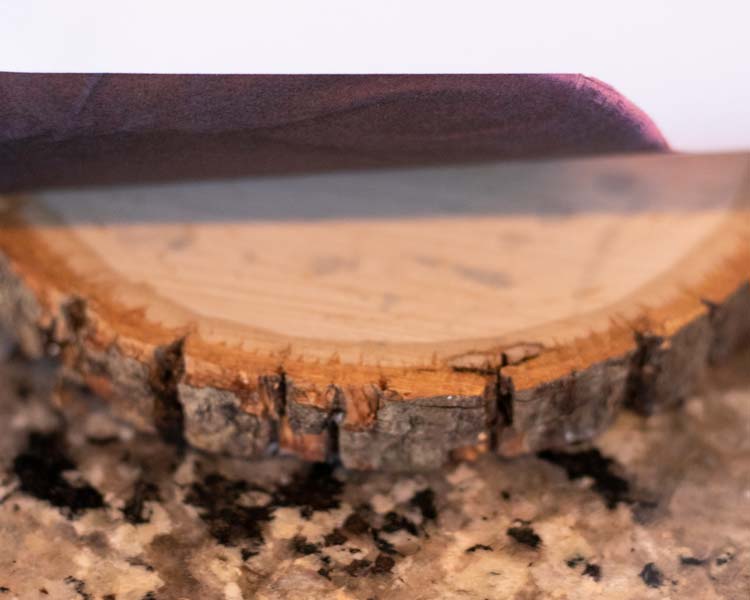
With a brush, stroke on water until the paper is completely transparent.
Then rub of the paper with you fingers.
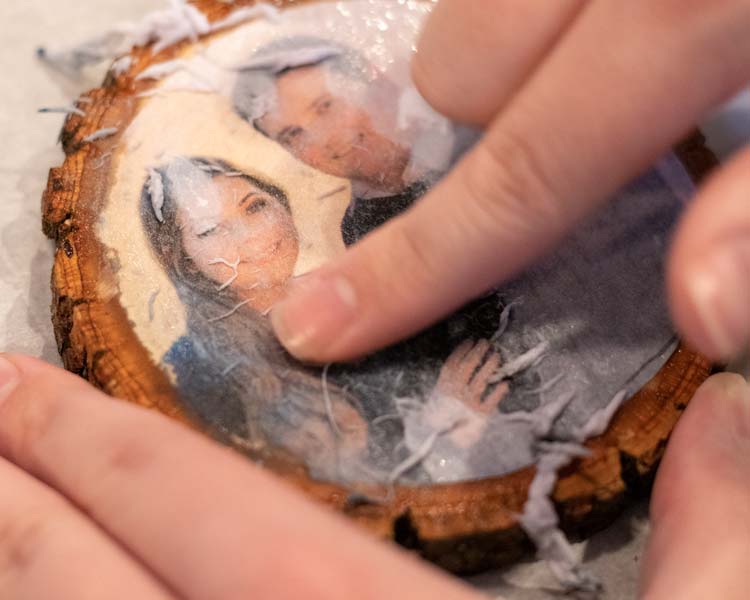
You can also use tooth brush to help clear off the paper. However, you want to be careful to not take too much off the Mod Podge layer. Making you design faded.
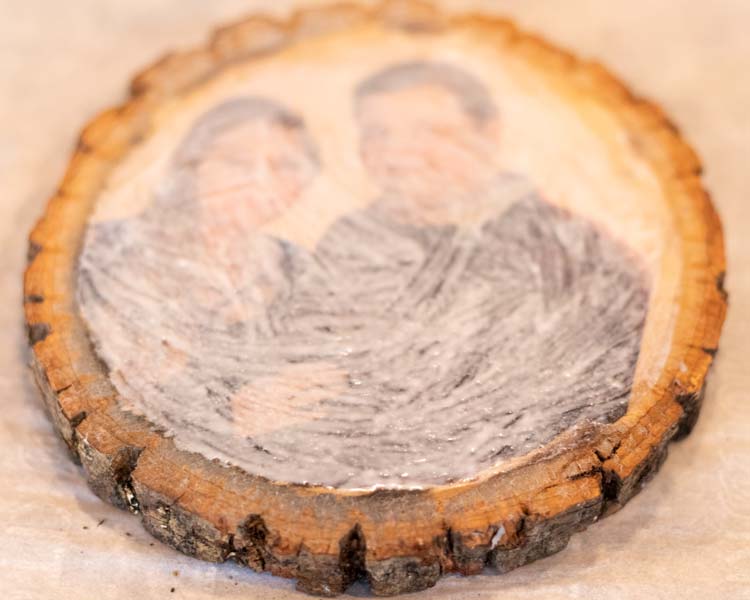
Seal Your Image
Apply another thin even layer of Mod Podge.
I found letting air dry at this point gave me better results, but you can speed things up with a heat too at this point as well.
Drill A Hole And Tie Twine
Drill a whole through your wood slice and Tie your twine.
If you have a good staple gun, you could staple your twine to the back.
Decorate
I love putting these on the Christmas, and plan to do the whole family.