The easiest way to distress wood is with sandpaper. To get different effects on the wood, you will want to use several levels of grit. I use 80 grit, 120 grit, and 220 grit to distress my wood projects. If you want to create deep grooves I recommend a chisel.
This is an example project of how to use sand paper to create a distressed look from new unfinished wood.
- Sand Down Your Wood
- Add Base Stain Layer
- Add Paint Layer
- Sand Off Paint And Add Scratches
- Seal Your Wood (optional)
Tools and Supplies
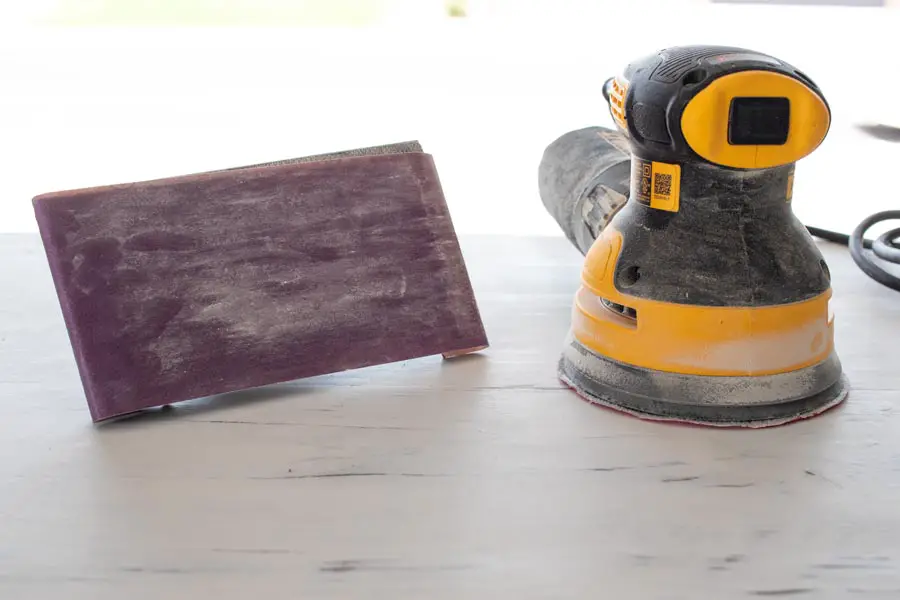
- Orbital Sander (optional)
- Hand Sander
- 80 Grit Sandpaper
- 120 Grit Sandpaper
- 220 Grit Sandpaper (optional)
- Wood Stain
- Paint
- Polyacrylic
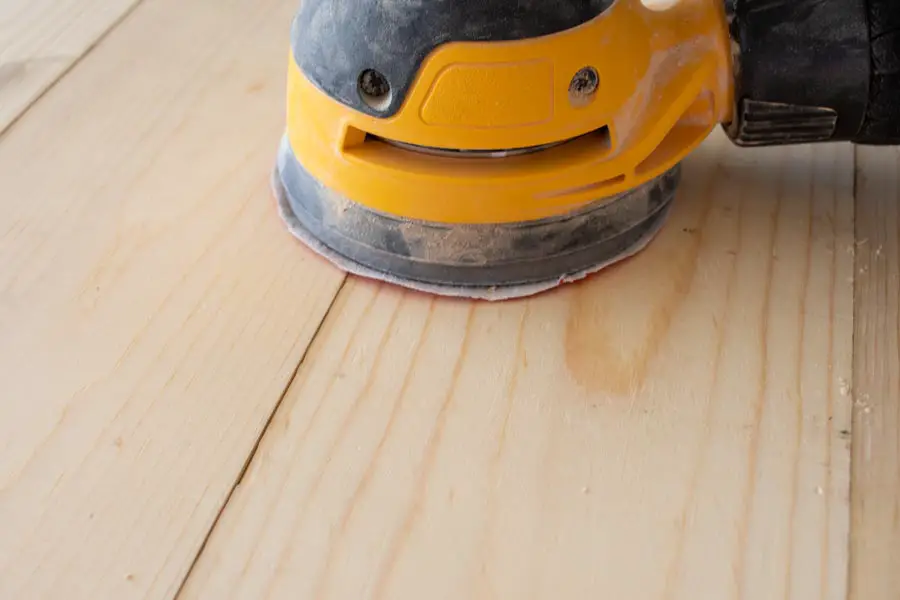
Sand Down Your Wood
Start with 80 grit if you have a wood that is very rough and if you want a smooth finish, move on to 120 and higher. I personally prefer a smooth finish on anything someone may touch, like a piece of furniture. If you are making a sign or piece of décor, I like to leave it a little rougher to give it a little more character.
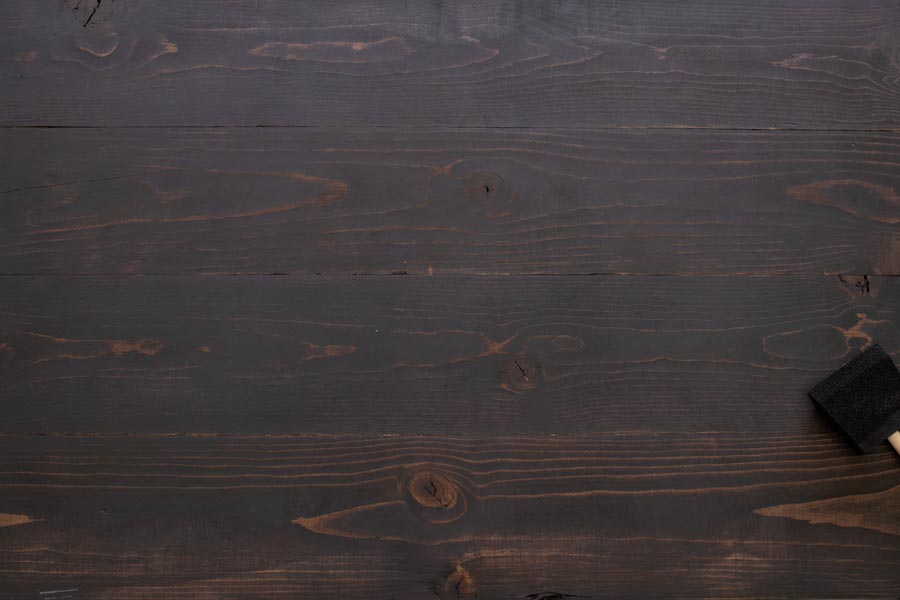
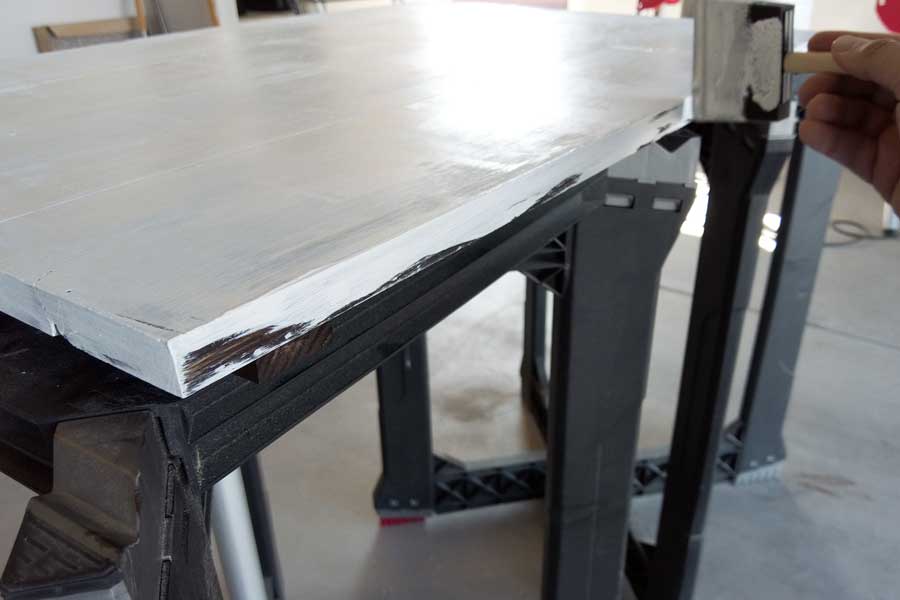
Add A Base Layer
I prefer to use a stain for my base layer because stain soaks into the wood. This allows me to distress deeper down on the wood before I get to the original wood color. However, you can use a paint layer as your base layer as well.
If you are painting something white or a lighter color, I recommend a darker stain. If you are painting with a very dark color then you may want to opt for a lighter stain. What really sells a distress look, is contrast between the paint on top and the wood underneath.
Here I am using one of my favorite stains, Kona.
Apply your stain then wipe it off> note the longer you let it soak, or if you apply the stain again, you will get a darker color. This is especially true for a dark color like this Kona stain, with lighter stains it is harder to tell the difference.
Add Your Paint Layer
You probably will only want to apply a single layer of paint. The more paint you put on, the more you will need to sand off. If you feel like the paint layer is to thin go ahead and add another layer.
If you want more of a white wash look, then add water to your paint in a container before you apply it.
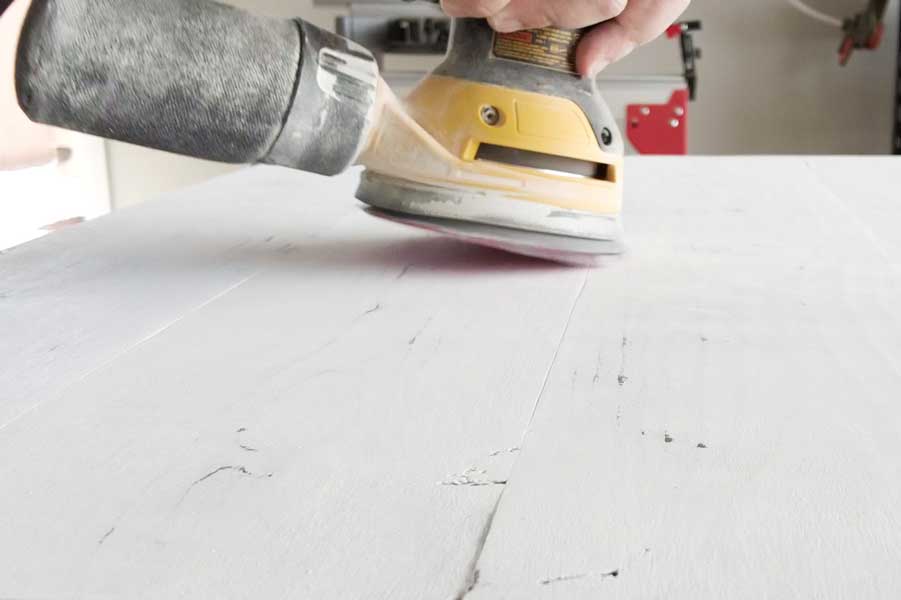
Start Sanding After Paint is Dry
I like to use an orbital sander to start. You can also just use a hand sander.
Make large areas thinner by rubbing your sand paper flat against your project. Do this with large strokes going with the wood grain. Use 120 grit sand paper or lower.
Tilt you sander and start adding more detail in smaller sections. Use small strokes in a back and forth motion. do this until the paint is extremely thin to completely gone. Vary the length of strokes and the depth that you sand, around your wood project.
Make strokes with the wood grain.
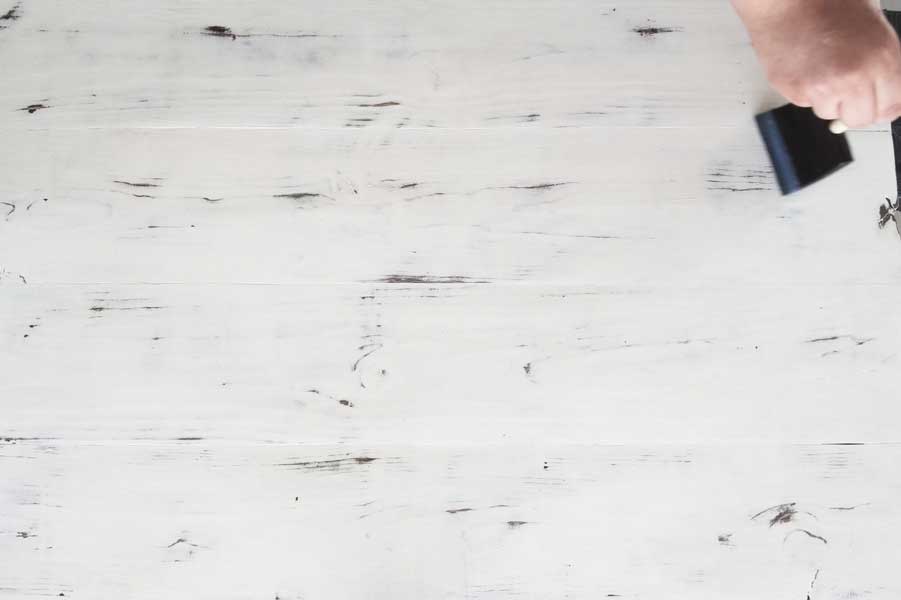
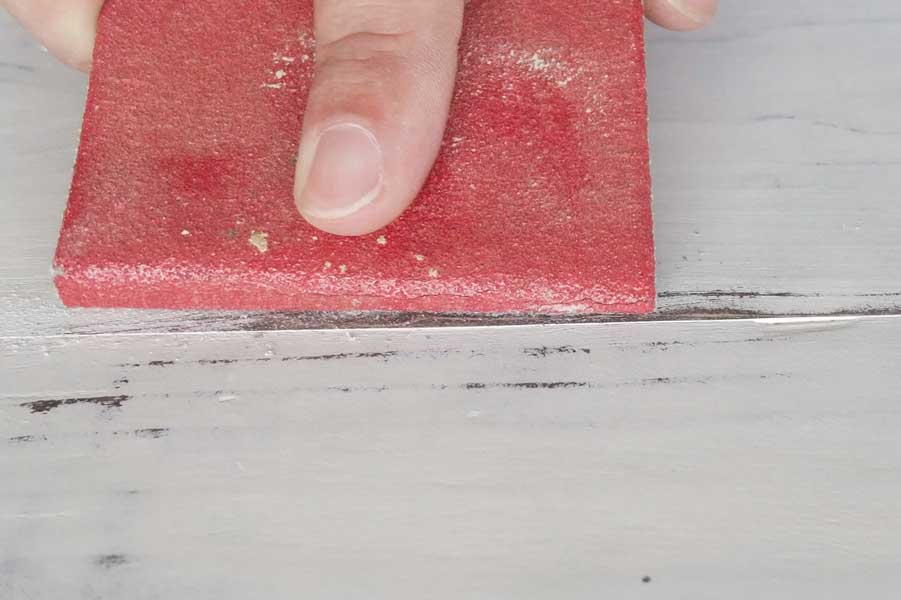
Add Scratches
Fold over 80 grit sand paper and add scratches going with the grain.
Finishing Up With Final Sanding and Sealant
After you have added as much detail as you wanted, you can do an optional sanding with 220 grit to make the wood completely smooth.
If you wood project is going to be touched a lot or exposed to the elements you will want to seal the wood. I like to use poly-acrylic clear matte to seal my wood projects.