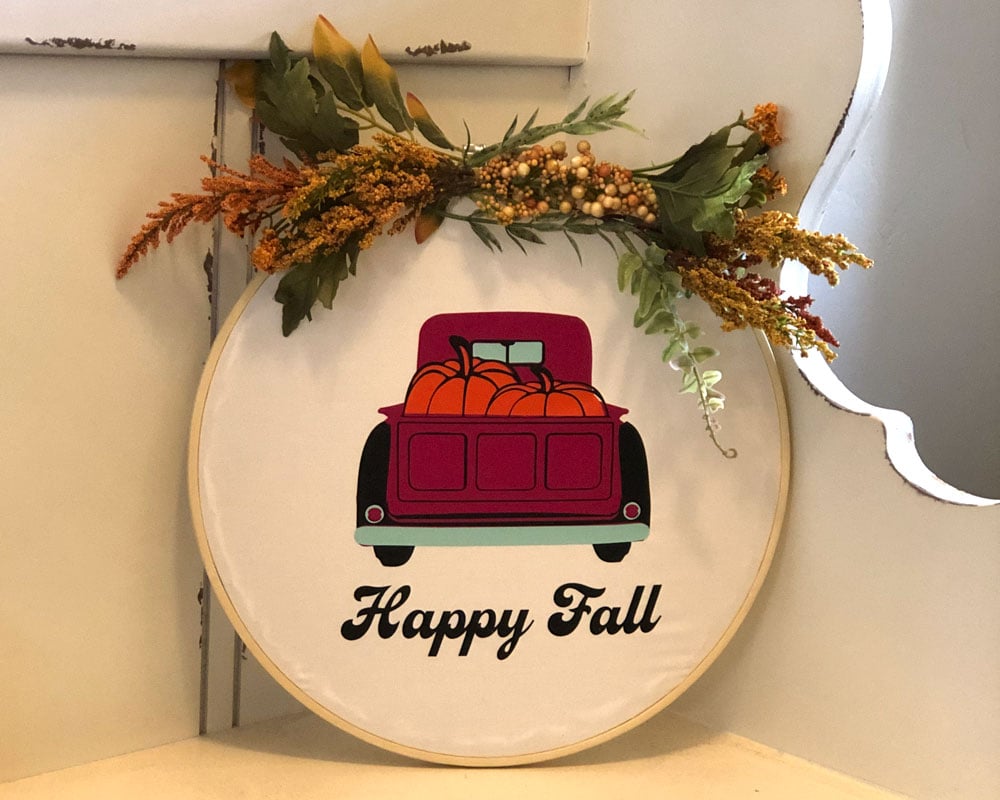
It’s still in the high 90’s in Southern Utah, but that isn’t stopping me from busting out the Fall Decor! I made this fun, easy, Fall Wreath Tutorial for you. You only need a handful of supplies, and the best part, it comes with a free SVG.
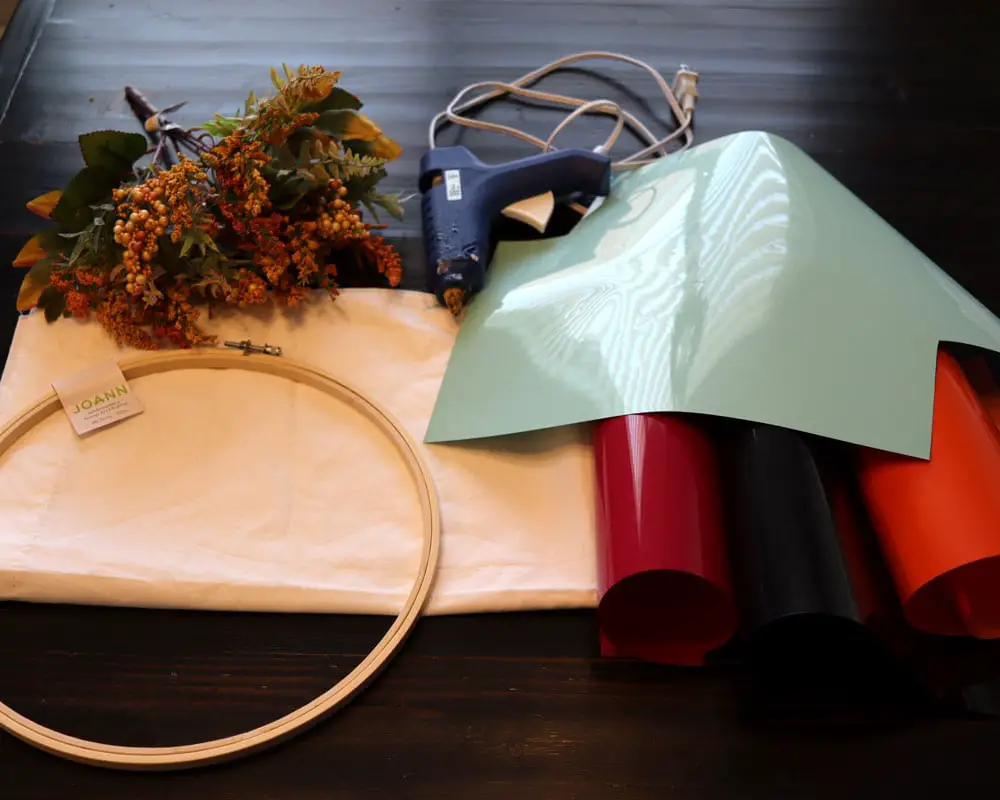
What You Will Need
- HTV (Heat Transfer Vinyl) of your choice. You will need 4 colors. Red, black, orange, and silver (I used a light blue)
- Large Embroidery Hoop
- Fabric of your choice (I cut up an old bed sheet) You can get fabric from the fabric store
- Greenery of your choice for the top of the wreath
- Heat press or Iron
- Vinyl Cutter (I used my Cricut Maker)
- Hot Glue Gun
- FREE Fall Truck SVG in my shop or in the resource library
Let’s Get Started
Step 1- Download my free Fall Truck SVG from my shop.
Step 2- Upload your SVG into Cricut Design Space or whatever design program you are working with.
Step 3- Add a cute Fall phrase under your truck. I used the font called Casey that is available on adobe.
Step 4- Lay out the fabric you are using, and measure to see how big you would like your image in the middle of your hoop.
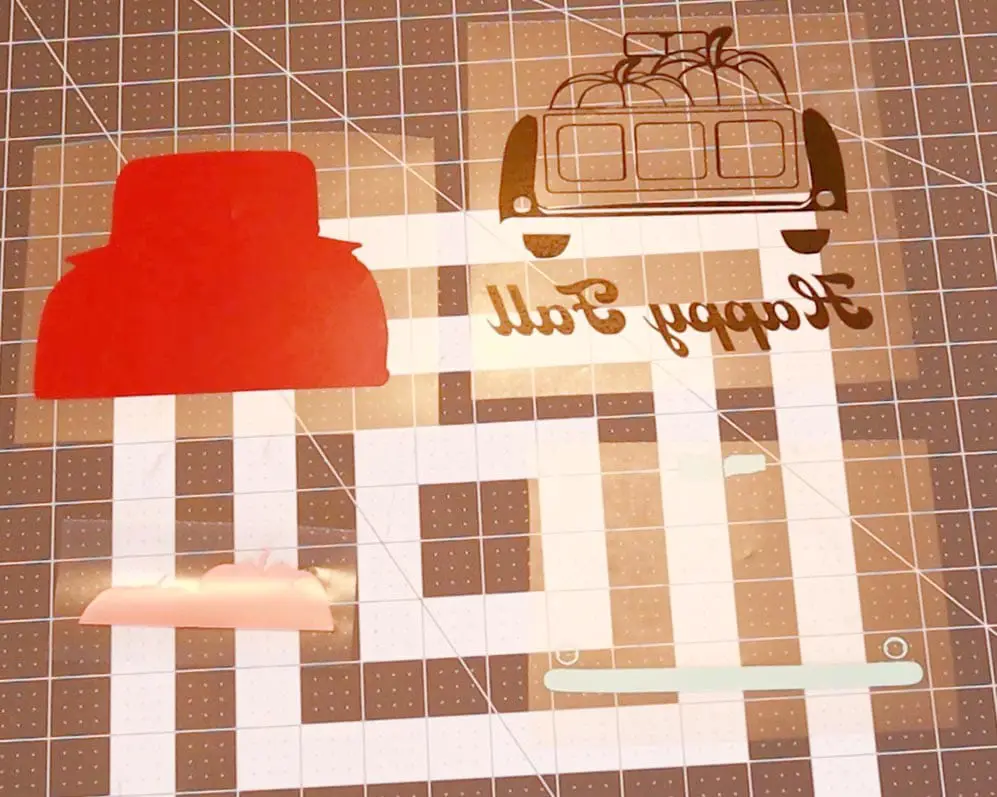
Step 5- Once you have your image the size you want, start cutting and weeding out your vinyl. Remember, you are using 4 different colors of vinyl for this step. *Don’t forget to mirror your images*
Step 6- Turn your heat press on or iron, and set to the temp that your HTV (Heat transfer Vinyl) calls for. *Each brand of Vinyl is different so make sure to read the instructions*
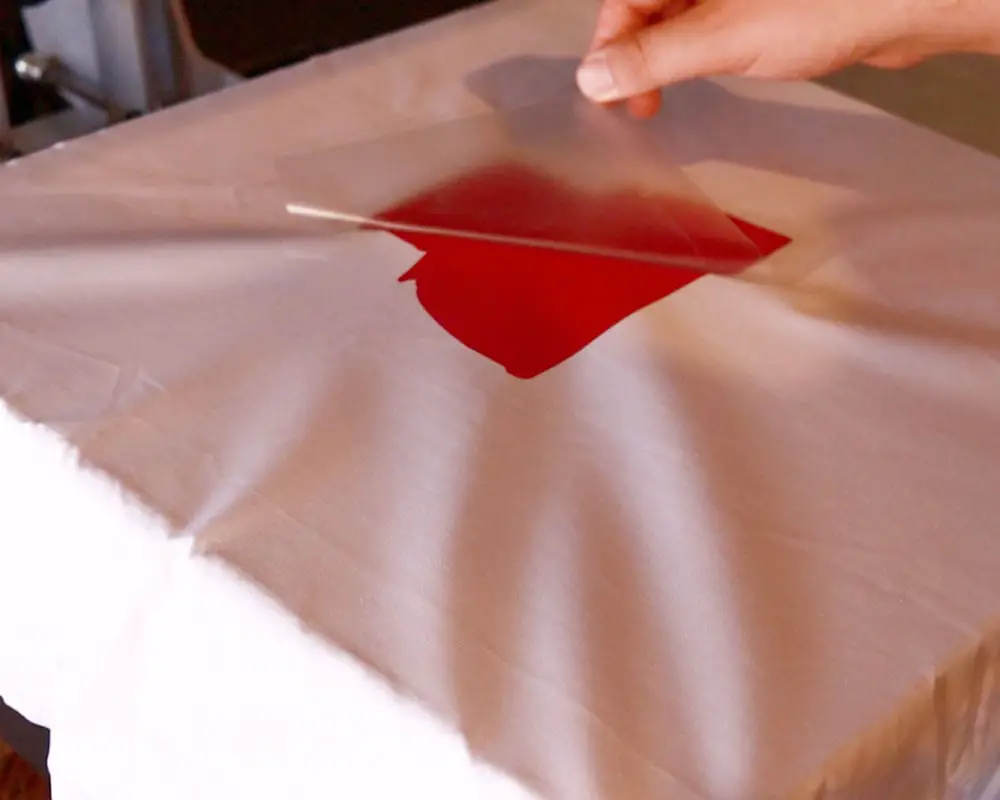
Step 7- Now that your heat press or iron is at the correct temp, it is now time to press your image onto your fabric. *press each layer of vinyl separately, and only for a short amount of time so you do not overheat it* I did only 7 seconds per layer. After the last layer is on, I like to give it one last good press. Press in this order.
- Red
- Orange
- Black
- Blue/silver
*TIP– I eye-balled the placement, but you can use the method I used in this post to dial in your placement. You will just end up using a lot more vinyl to do it because you will have to place your shapes pretty far away so they do not mess with your design.
Step 8- Place your fabric with the image face down, take your Embroidery Hoop and place it over the design at about the place you would want it. Fold the edges into the center
Step 9- Take the outside hoop and place it over the inner hoop and tighten it down.

Step 10- Unfold your fabric, and cut off the excess leaving yourself plenty of room to tug and pull to move your image where you want it.
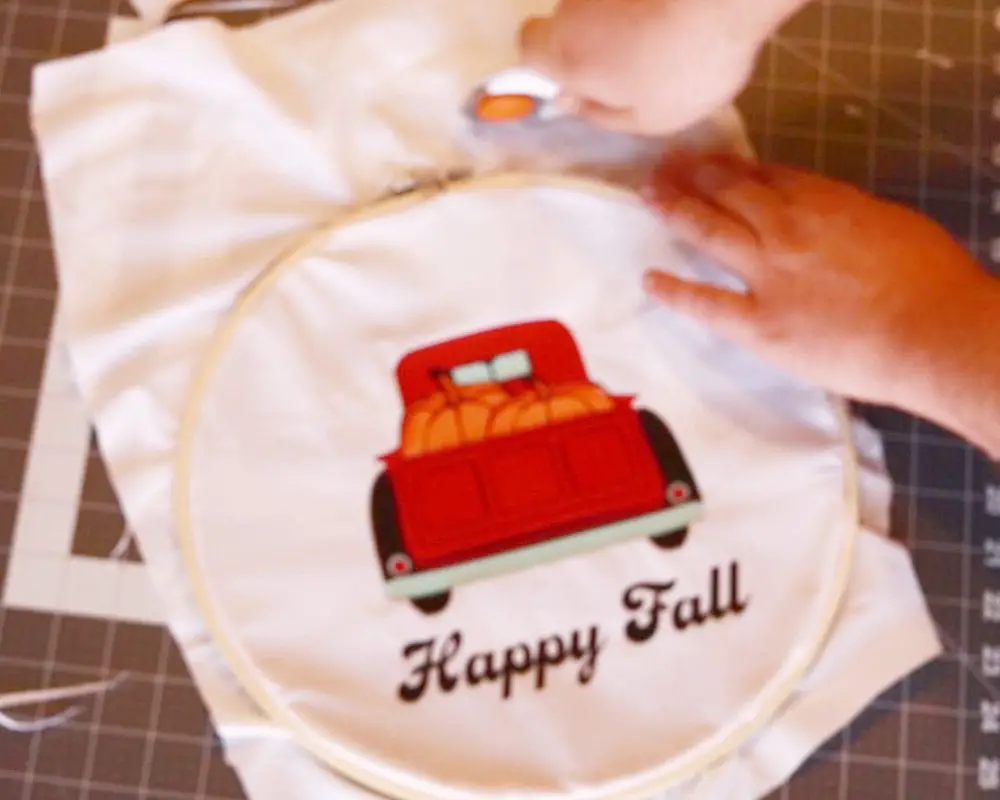
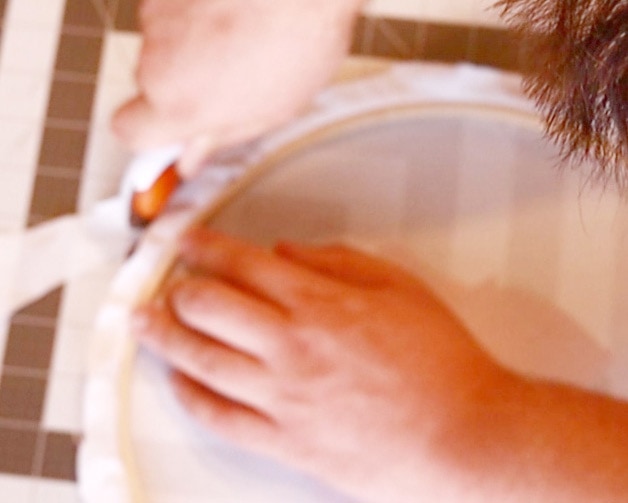
Step 11- Tug and pull on the excess fabric around the edges pulling the design tight making sure the design is where you want it.
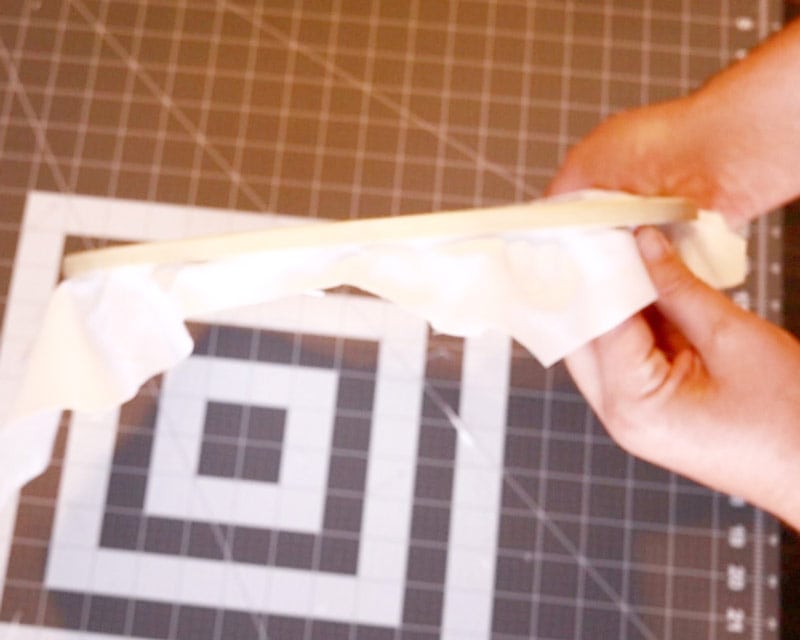
Step 12- Now that your design is where you want it, and the fabric is pulled tight and wrinkle free. Go ahead and cut close to the side of the outer hoop as you can leaving yourself only a small amount of fabric left to glue to the inside of the hoop rim.
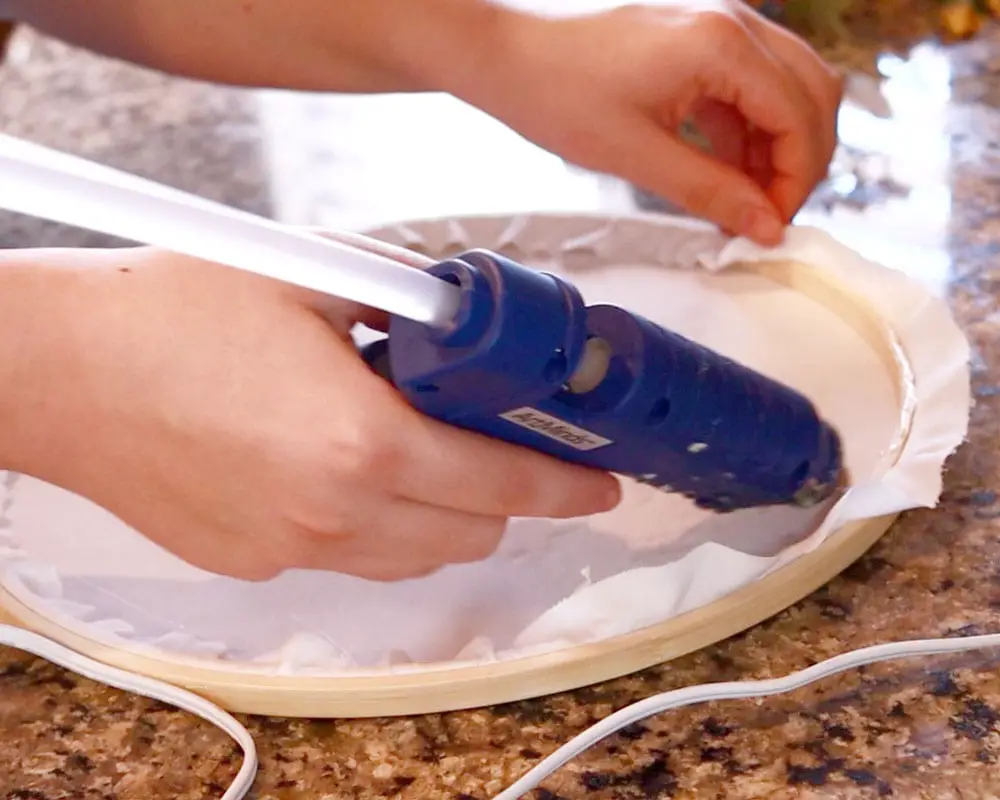
Step 13- Apply your hot glue to the top of the inner rim and press your fabric down so it is glued down good. *do this around the entire hoop rim*
Step 14- Take your greenery, and start hot gluing at the top of your wreath covering the hoops screw. If you have done a good job gluing, you can also skip this step and not have an outer rim.
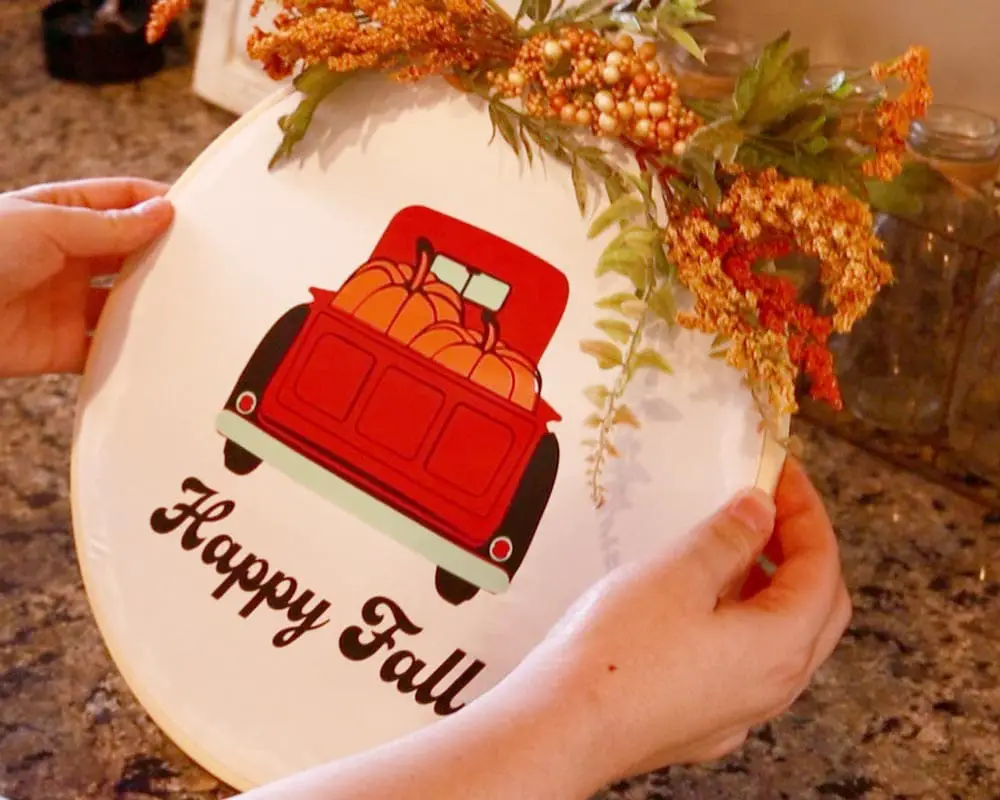
Step 15- Time to hang your new wreath up!