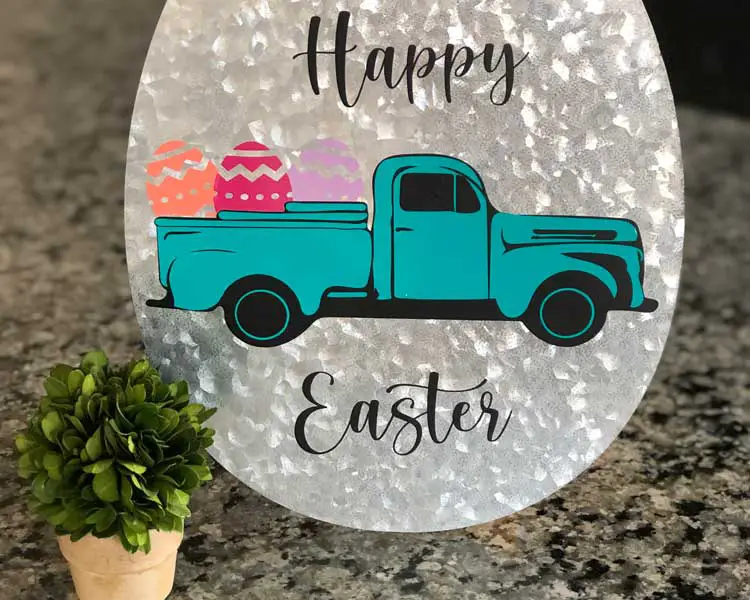
Easter is only a few weeks away, and I am finally finishing up my projects! Below, I will show you a few tips and tricks on how to do this technique so that your image turns out perfect, along with my free cut image in my shop or in the resource library.
Supplies You Will Need

- Metal Egg Shaped Sign or your choice of surface (Found at Joann’s)
- Transfer Tape of your choice (I used Cricut Brand)
- Scissors
- Permanent Vinyl (I used Oracle 651)
- My free cut image of truck & eggs (found here in my shop or in the resource library)
- Happy Easter font (I used Cream Candy from Dafont it is Free for personal use)
- Cut Machine of your choice (I used my Cricut ExploreAir2)
Time To Create
Step 1- Download my free cut image for the truck and eggs and upload to Cricut Design Space
Step 2- Find a Font that you like for your “Happy Easter”, I used Cream Candy from Dafont.com and that is free for personal use.
Step 3- Pick out the permanent vinyl colors for your images. I did mine in Easter colors, but the color is your choice. As you can see I used 5 different colors. Purple, Pink, and Orange for the Eggs, Blue for the bottom layer of the truck, and Black for the top layer of the truck along with the Happy Easter words.
Step 4- In Design Space you will now create a “shape” for each color layer. This is going to help you line up your design. Start by duplicating 5 “squares” one for each layer. Go up to the top right of your screen and click on “Color Sync”. Grab a square in the right panel and drag one to each color.
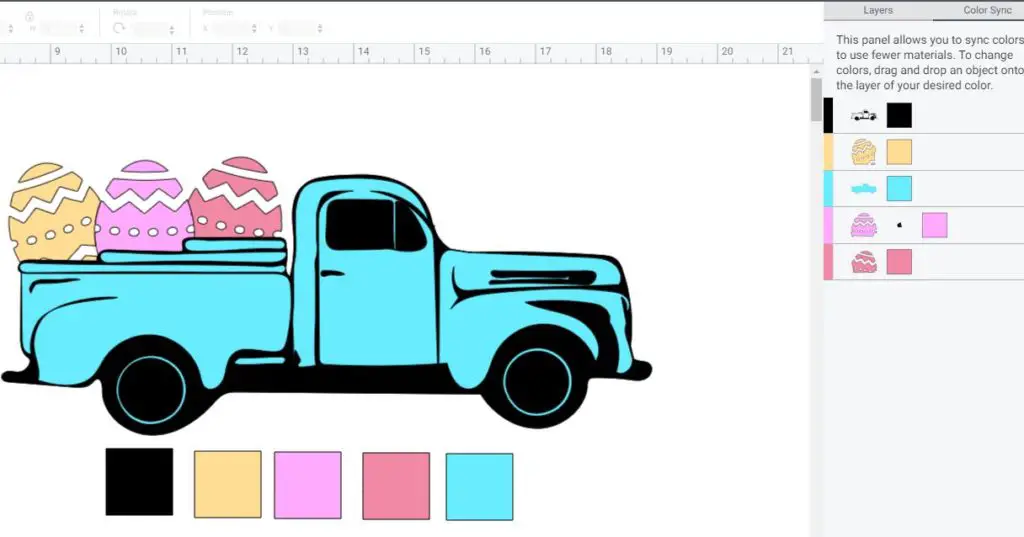
Step 5- Align all your squares by highlighting them all and clicking “align” “center” this will be found at the top of your Design Space.
Step 6- Once all the squares are aligned, you will now place them somewhere around your image. (I like to put them at the bottom).
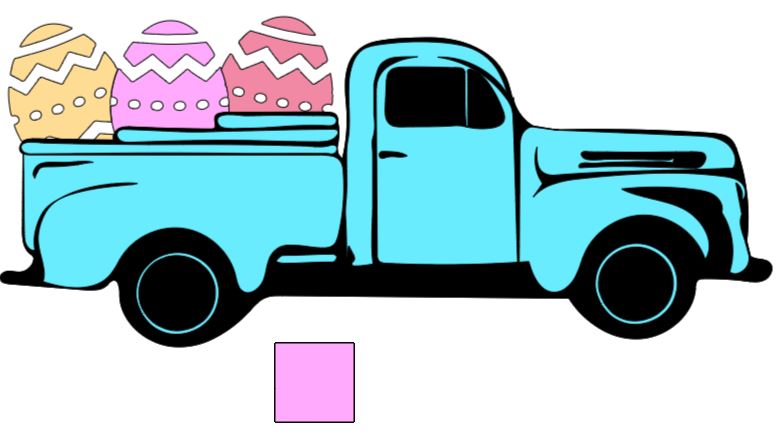
Step 7- Ungroup the truck and egg image, then hit the layers tab on the right panel, next to color sync.
Step 8- In the right panel, click on the blue truck, hold shift, click on the blue square, and then hit attach on the bottom of the panel. Do this for each color layer.
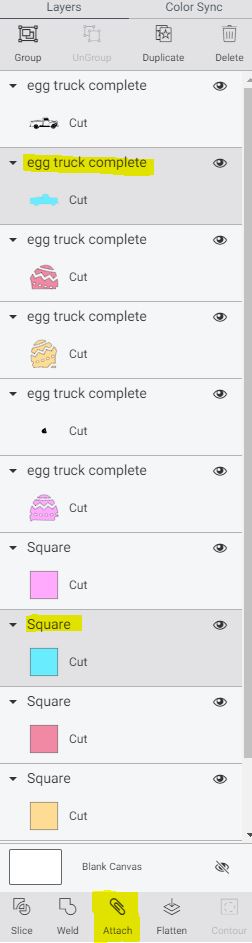
Step 9- Once each colored image is attached to the same color of square it is time to hit “make it”.
Step 10- Cut and weed out your images.
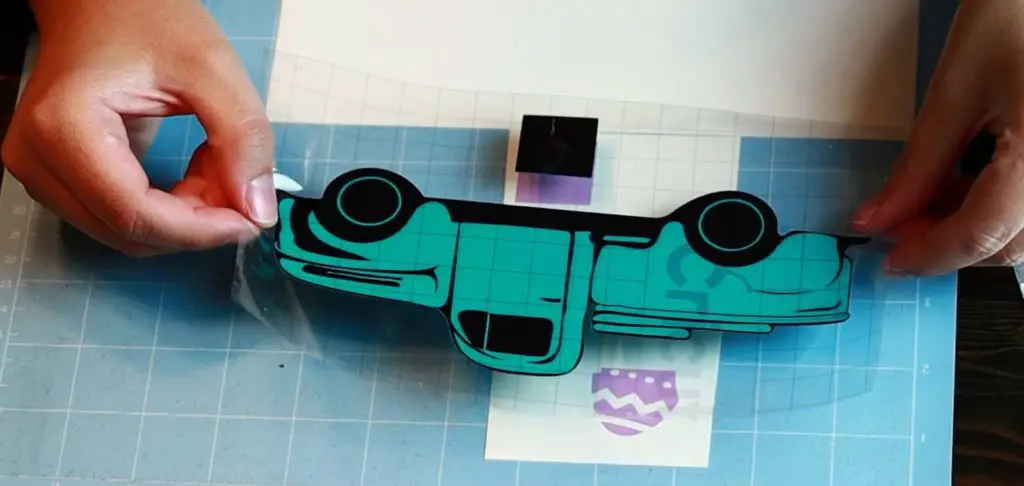
Step 11- Now that everything is cut and weeded out, we are going to layer these images using the squares as a guide. Start by placing your black truck outline onto transfer tape.
Step 12- Take your black truck that is on the transfer tape and using the squares as a guide, place the black square over the top of the blue square.

Step 13- Flip over your image of the 2 trucks, and squeegee the back transferring both images onto the transfer tape.
Step 14- Take your truck that is now on transfer tape, and layer it over the top of one of your eggs using the square as a guide. (Repeat this process for each egg).
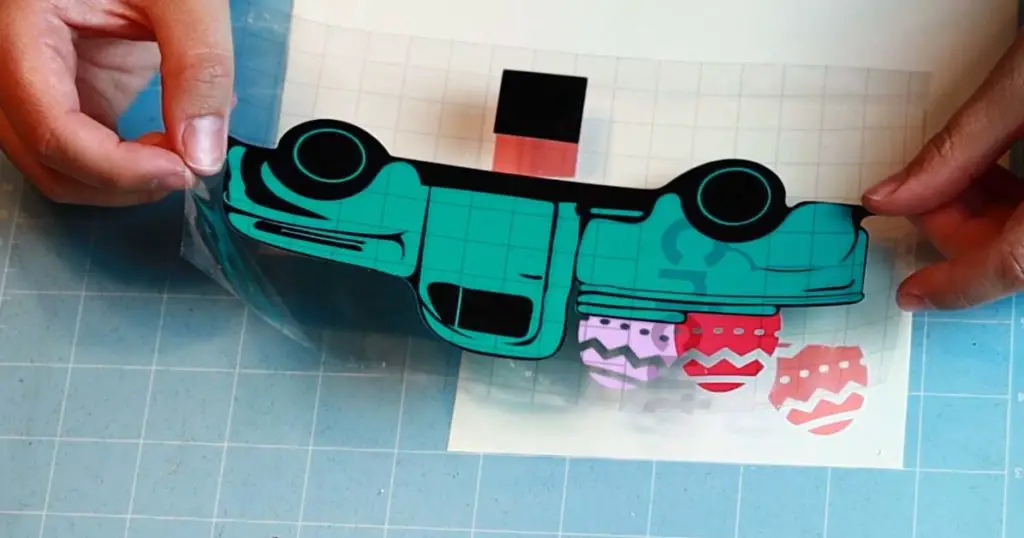
Step 15- Now that your image is complete, cut off the squares before applying to your final surface.
