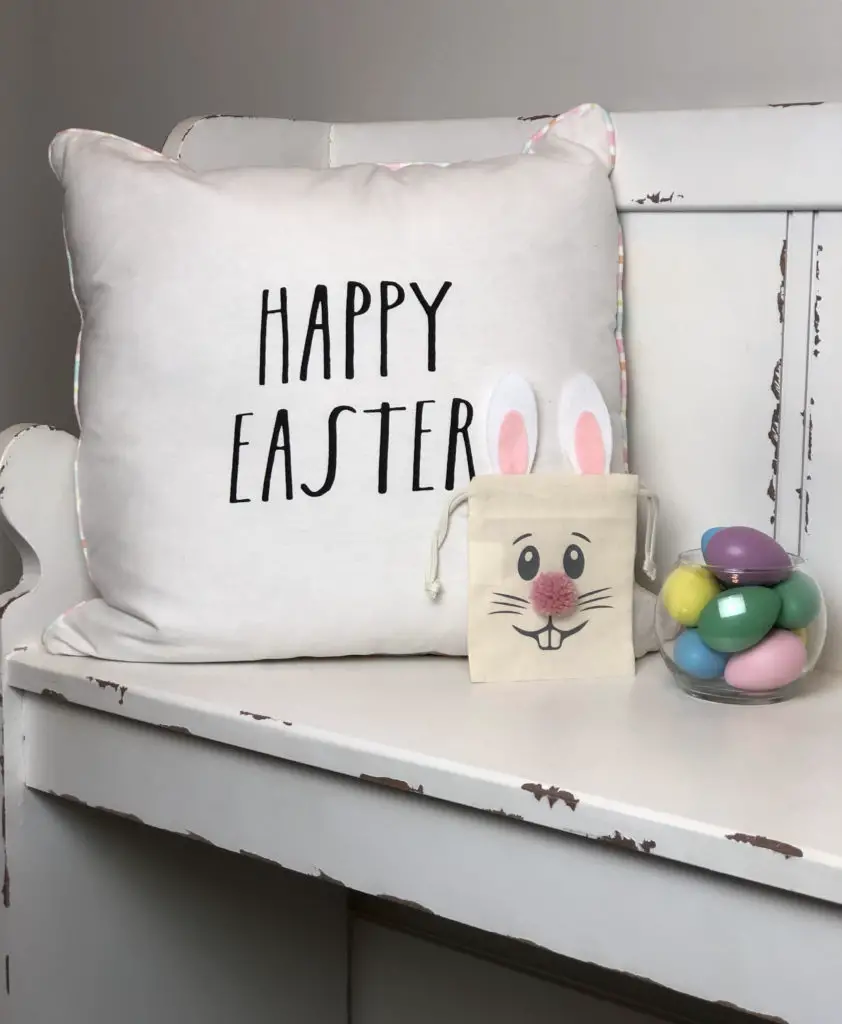
While I was shopping for some Easter Decor, I came across some little bunny bags. Instead of buying them at the store, I knew that I had most of the supplies to re-create them at home. The only thing I needed to buy, was some felt to make the ears. Below, I have listed a Step by Step Tutorial on how to make these yourself!
Supplies
- Pink & White Felt for the ears
- Bunny Ears SVG (You can find this free cut image in my shop or in the resource library)
- Yarn for the nose
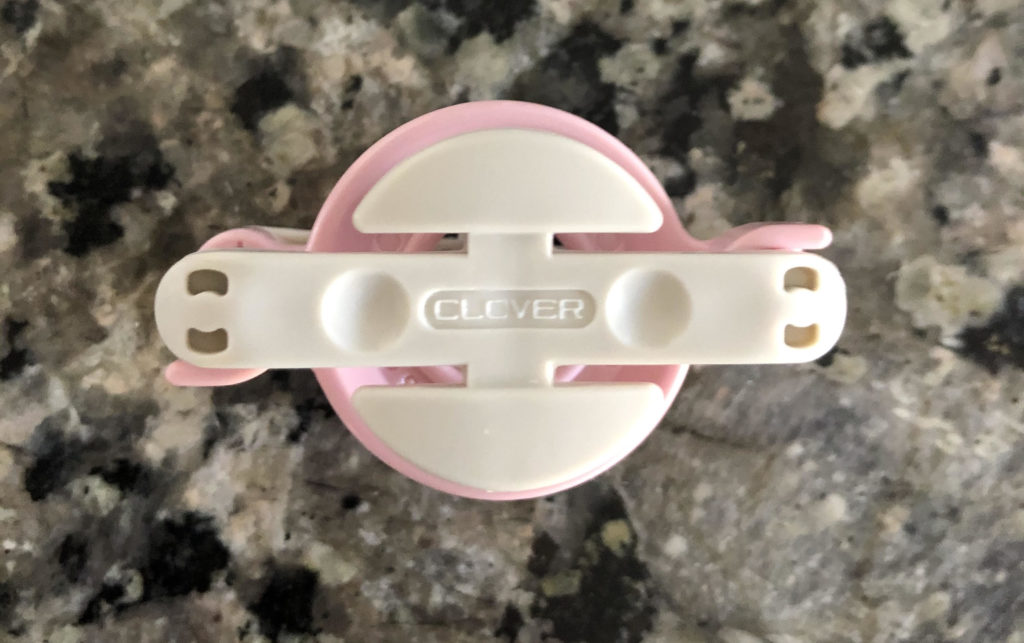
- Clover Pom Pom Maker
- Hot Glue Gun
- Cotton Drawstring Bags (Purchased from Hobby Lobby)
- Bunny Face SVG ( You can find this free cut image in my shop or in the resource library)
- Heat Transfer Vinyl for the Bunny face SVG
- Heat Press or Iron to press your image on the bag
- Cricut

Step by Step
Step 1- I used the Clover Pom Pom Maker in the picture below to make the nose. This contraption is a life saver and a crafter’s must have! After you finish making your nose, you can set it aside.
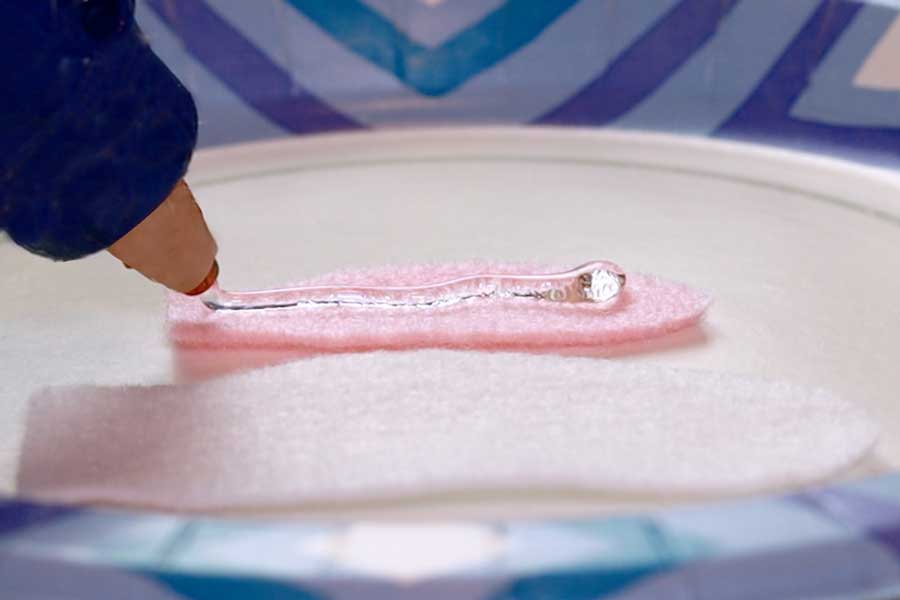
Step 2- If you are using my free bunny ears SVG image from my shop, you can upload this to your Cricut Design Space (or whichever program you are working with) and cut out your ears with the felt. (If you are not using a cut machine then you can hand cut the ears with scissors ). Once cut out, you can go ahead and glue your ears together and set aside.
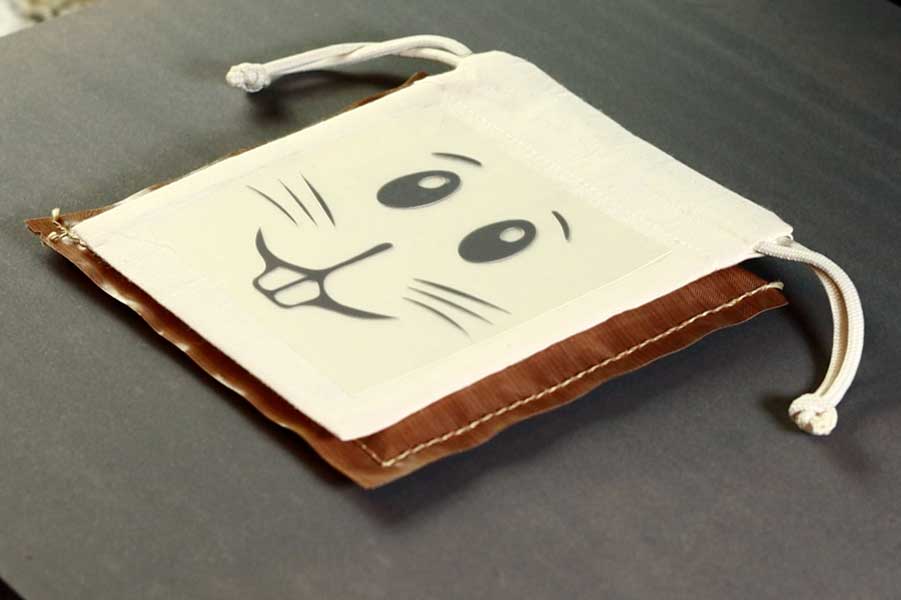
Step 3- Upload the bunny face SVG image that you found from my shop to your Cricut Design Space. You will cut the image out onto the choice of your HTV (Heat Transfer Vinyl).
Note- the size of your face will depend on how big or small your bag is and is up to you. Once your HTV is cut out and weeded, you can set it aside.
Step 4- Turn your heat press (or iron) to the correct setting. Once hot, you are now ready to press the bunny face onto your cotton bag.
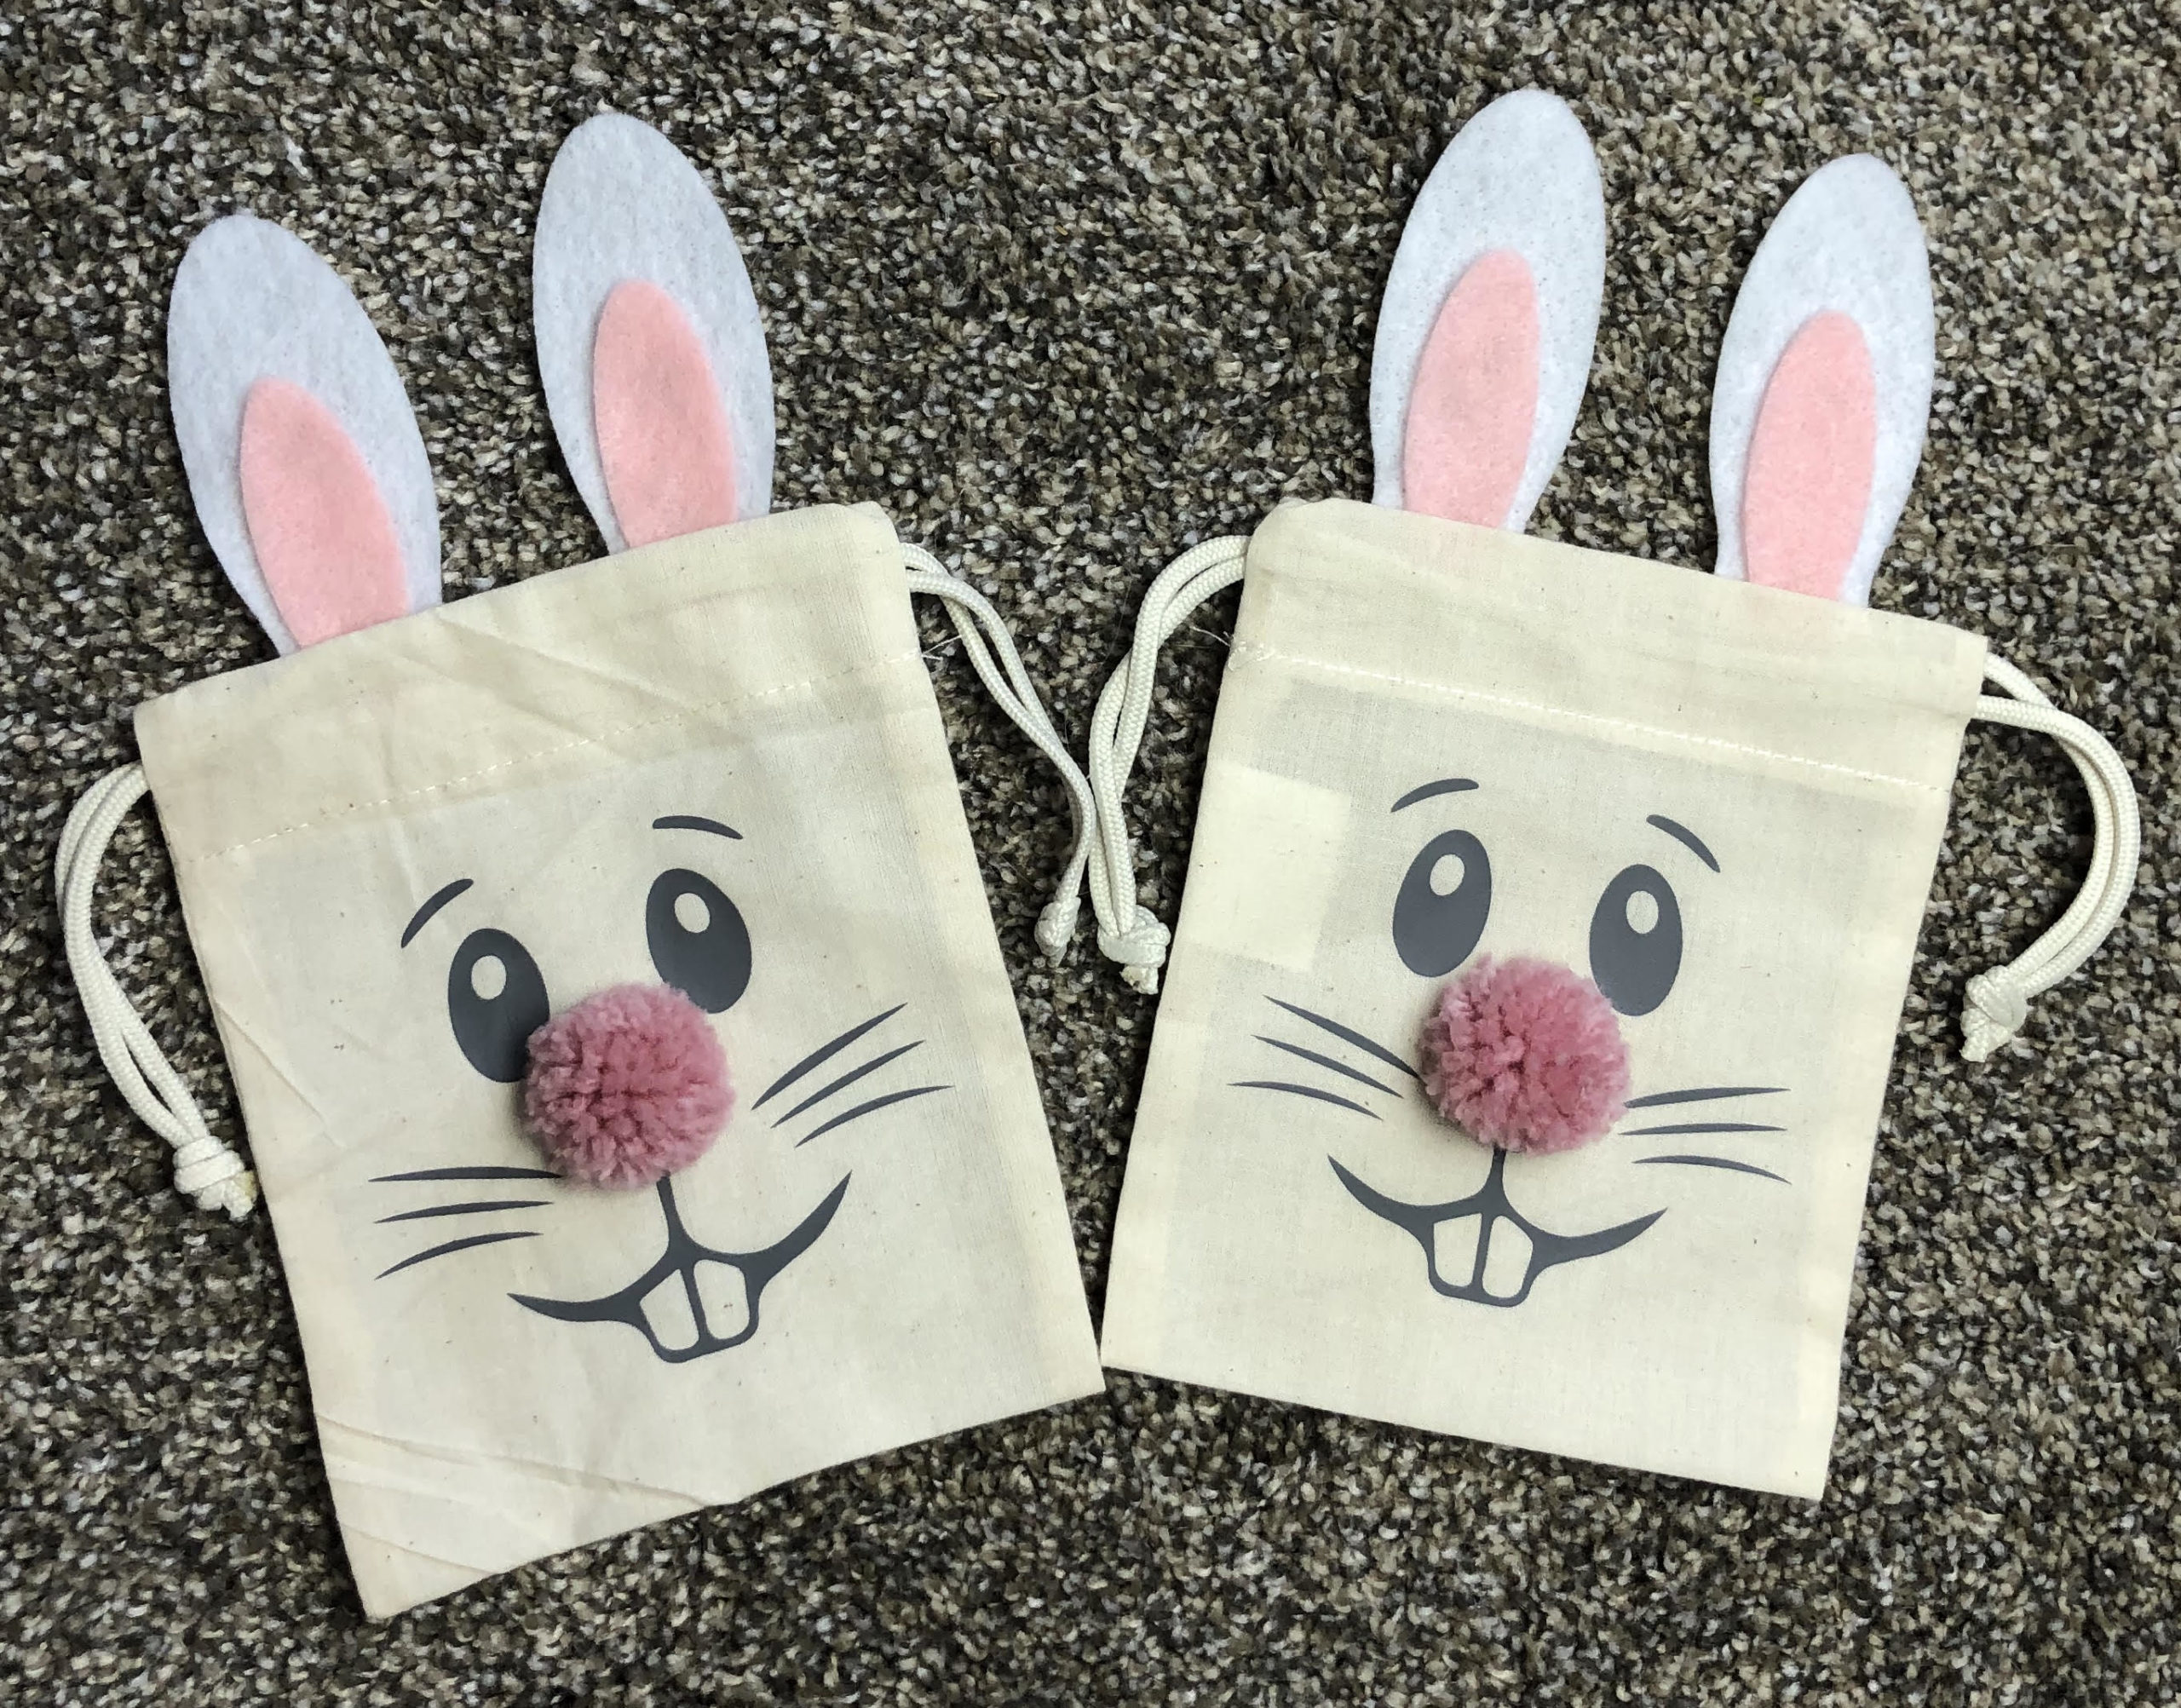
Step 5- Now that you have your bunny face onto the bag, you are now ready to hot glue your ears and nose. Once you finish these steps, you’re bag is now complete!