I’ve seen so many projects/decor with the fun pom pom’s lately! I never knew how easy they would be to make until I got my hands on one of the famous Clover pom pom makers! They are so easy that I have found myself just making pom pom’s while I watch T.V….it’s like a strange addiction! Below, I have listed a Step by Step Tutorial on how to use this Must-have Contraption.
Set of 7 Clover Pom Pom Makers (amazon) If you want to make Big Pom Poms
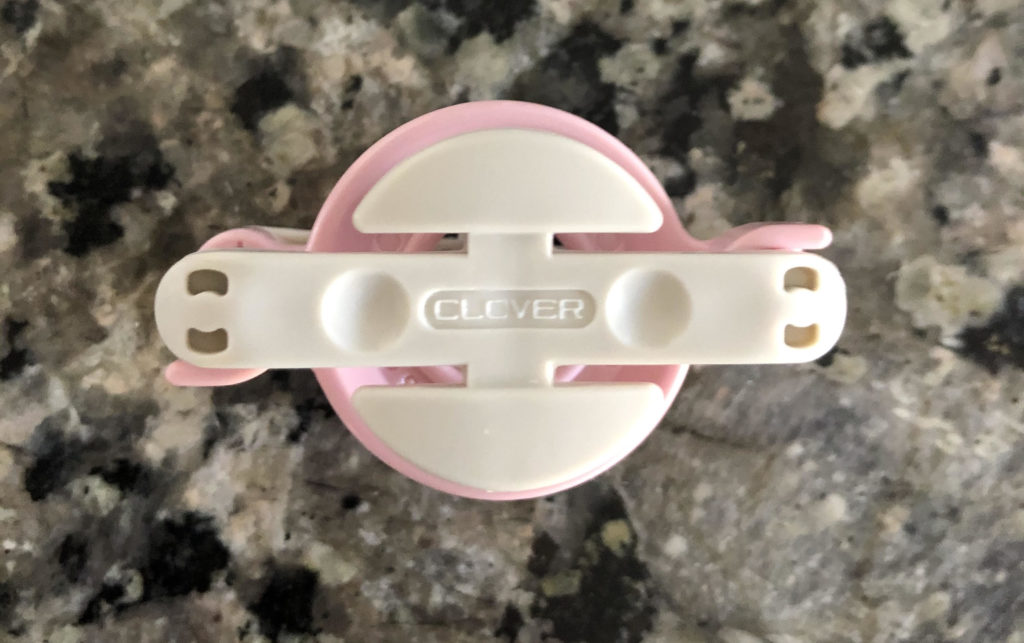
Set of 4 Clover Pom Pom Makers (amazon)
Step by Step
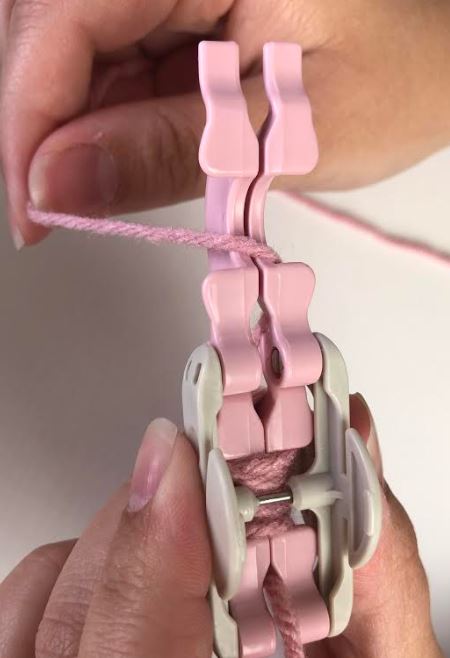
Step 1- Start by opening both ends of the Clover.
Step 2- Hold your yarn in one place so that you can wrap the yarn around one side.

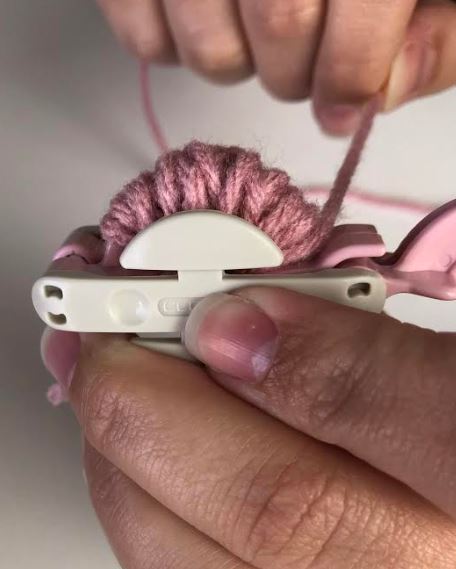
Step 3- Start wrapping a generous amount of yarn around the one side.
Step 4- Once you have enough yarn covering the side you are working on, close the Clover, but keep the other end open.
Step 5- Wrap a generous amount of yarn on the side that is now open like you did with the first side.
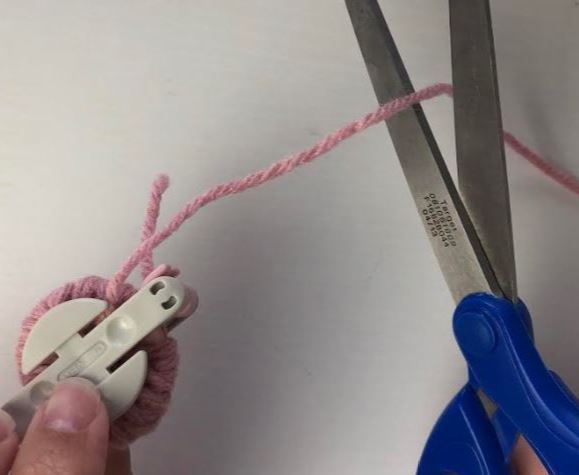
Step 6- Close both ends and cut your yarn.
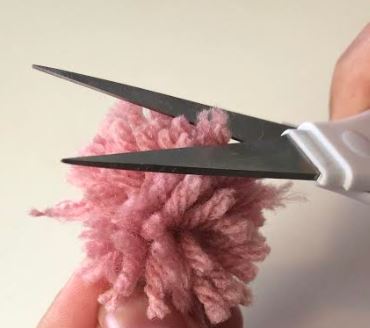
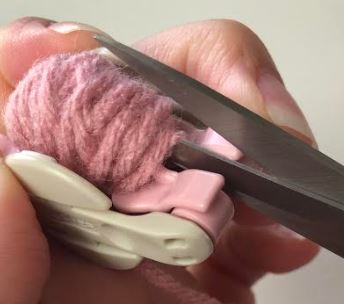
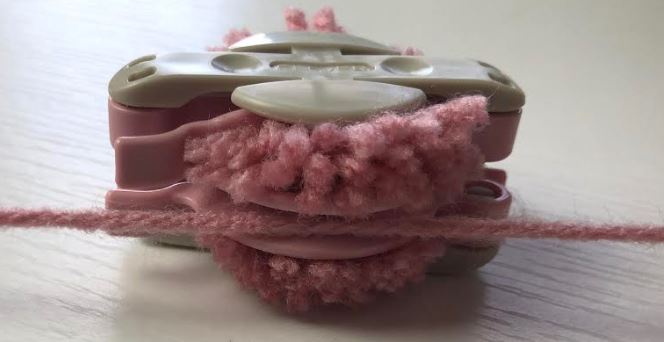
Step 7- Find the groove in the middle of the Clover and start cutting the yarn. You will do this to both sides.
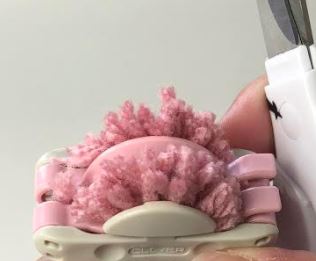
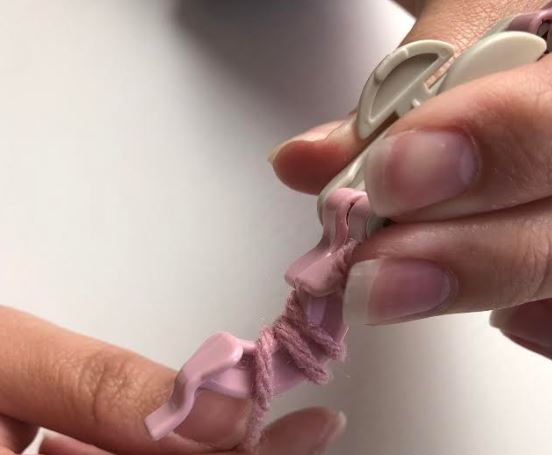
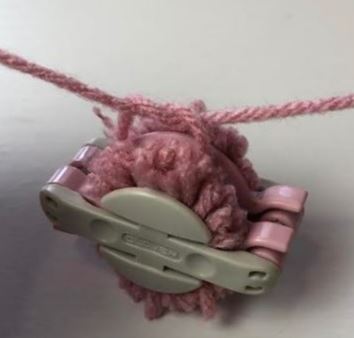
Step 8- Cut enough yarn off your ball of yarn so that it can wrap around the Clover to tie twice. Start by putting the yarn underneath the clover in the middle of the groove, and pulling up tight so that you can tie a knot two times.
Step 9- Once you have two knots tight then it is time to open both ends of the Clover and release the pom pom by pulling the Clover apart.
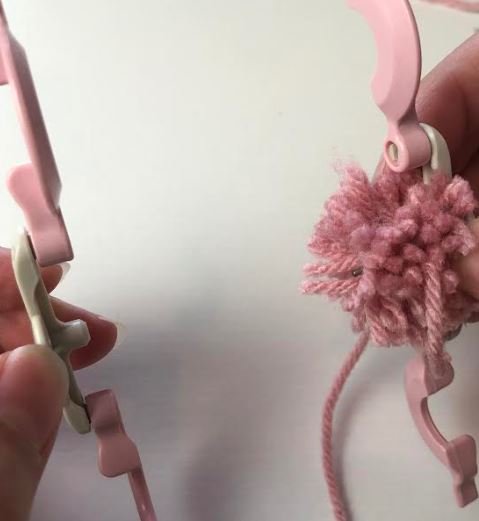
Step 10- The last step is to trim your pom pom. This step is personal preference and can trim as much or little as you want.