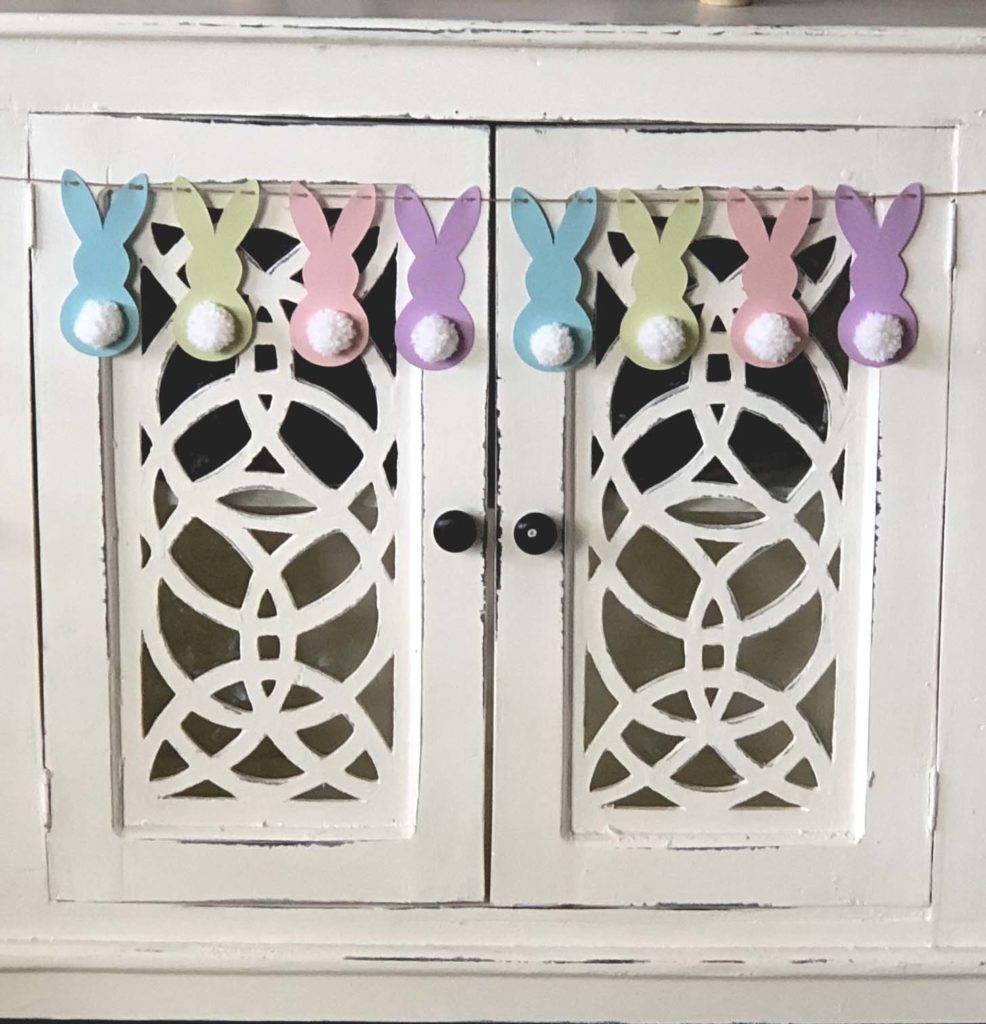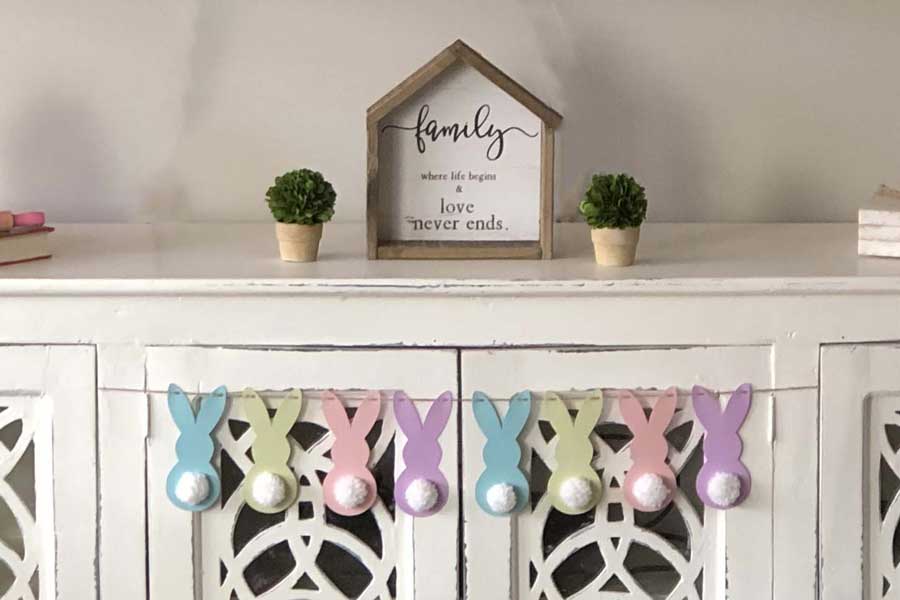
I’ve been slowly decorating for Easter around the house. There’s something about the pastel colors that make me so HAPPY! I took out my bunny garland that I had bought last year, and really wanted to find the same one for one of the other rooms that I decorate. Unfortunately, the store I bought it from doesn’t have them this year, so I decided to recreate it! Below, I have listed an easy Step by Step Tutorial so you can make one too.
Supplies You Will Need
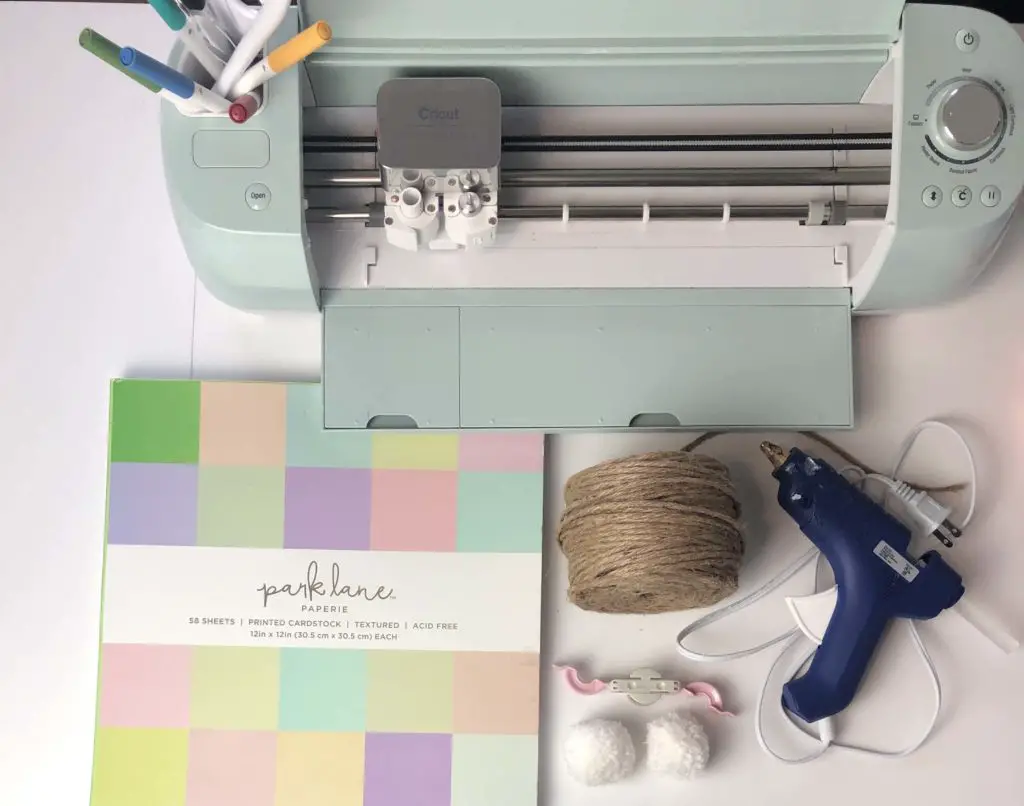
- Cut Machine (I used the Cricut ExploreAir 2)
- Colored Cardstock
- Twine or Jute
- Pom Poms for the tails (Cotton balls will work too)
- Glue Gun
- Bunny Cut File (You can find this free SVG file in my store or in the resource library)
Let’s HOP To It
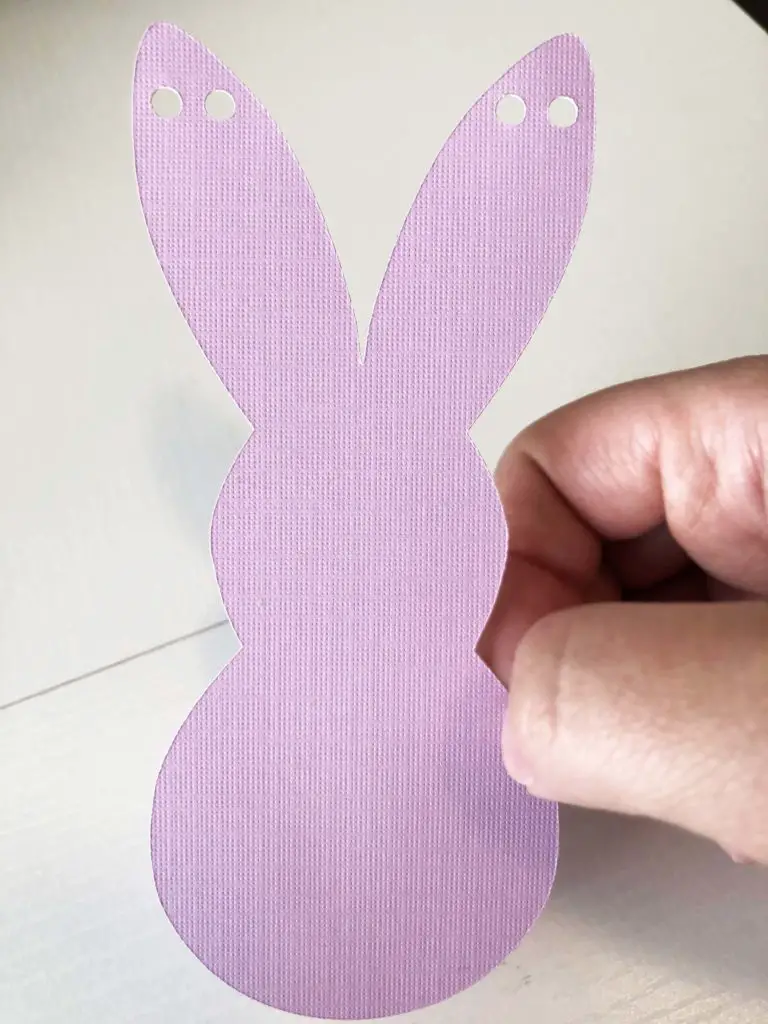
Step 1- Once you have downloaded my free Bunny SVG from my shop or in the resource library, you will upload it to Design Space (or whatever program you are working with)
Step 2- Size and cut out all your bunnies onto your colored cardstock. *If you have a Cricut Maker you could cut these out onto a thin piece of wood*
Step 3- Prepare all your Pom Poms that you will be using for the tails. I used the Clover to make these (you can find my tutorial on how to use the Clover Pom Pom Maker here) If you don’t want to make your own Pom Poms, then Cotton Balls would work too.
Step 4- Hot glue your tails onto your bunnies.
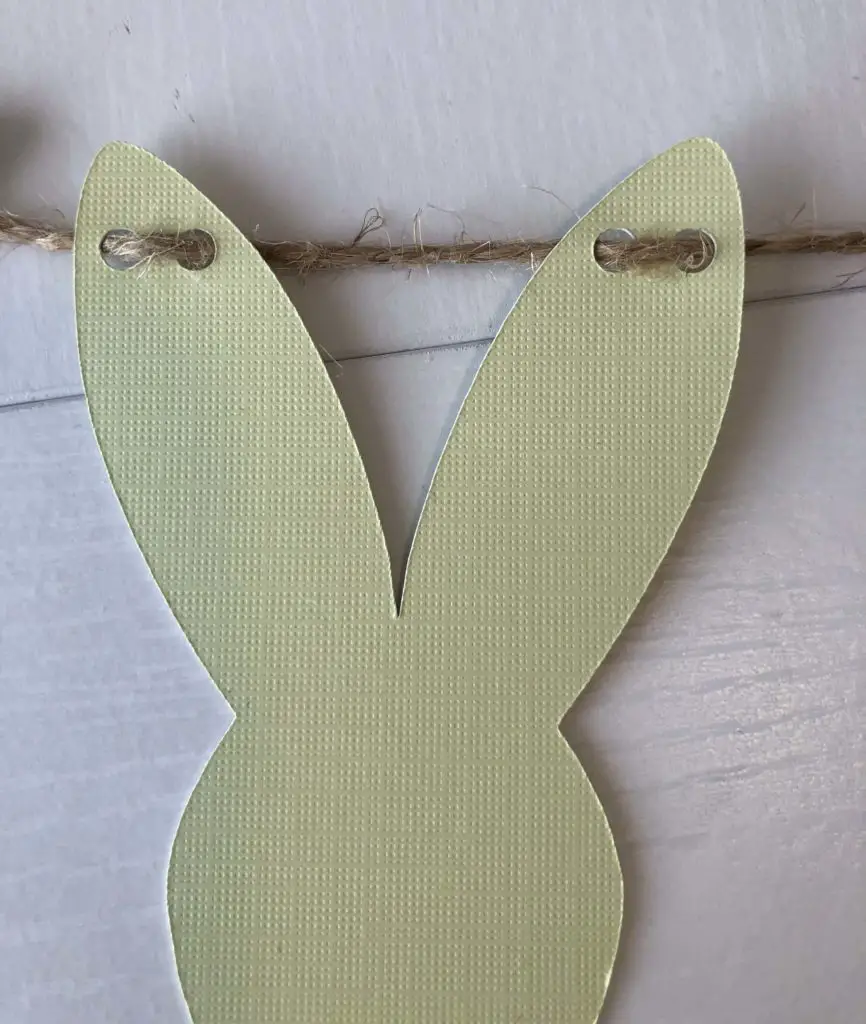
Step 5- Grab your jute or your twine and start feeding it through the holes in the ears. You will want to feed it through both holes on each ear.
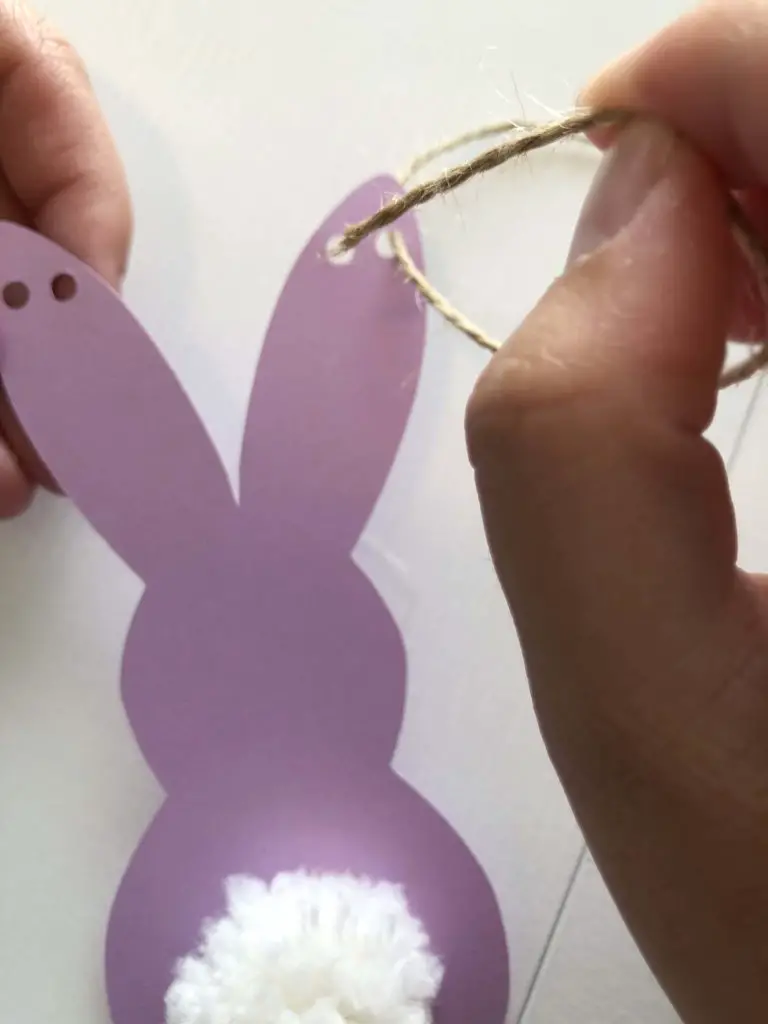
Doing this will allow the bunnies to stay in place without using any glue.
Step 6- That Simple, Time to decorate!