Stencil vinyl brands often have a problem of bubbling, that is why I prefer to use 631 vinyl for a stencil. 631 is a non-permanent vinyl that adheres well to many surfaces, but is easy to remove.
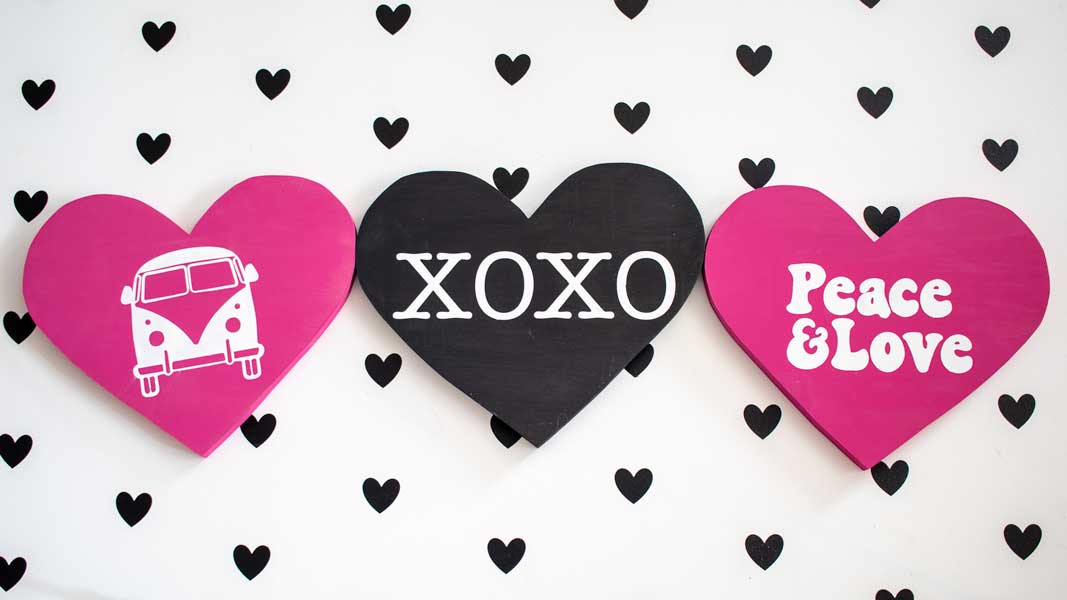
Here is a project I made using 631 vinyl as a stencil, and some tips for how to do it.
I have also included the SVG files separately so you can follow along and use these stencils at home. For more SVGs check out our resource library!
Tools & Supplies
- Cricut (Vinyl Cutter)
- 631 Vinyl
- Transfer Tape
- Paint ( I used acrylic)
- Paint Brush ( I used foam, but I prefer brushes)
- SVGs (Free Peace and love SVG, Free Van SVG)
Steps To Use Non Permanent 631 Vinyl As A Stencil
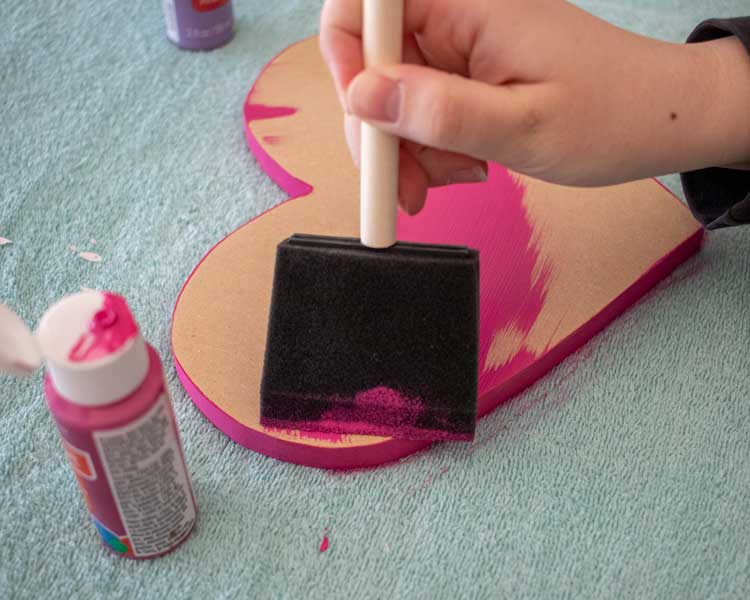
Paint Background Layer
Start off by painting your wood your background color and let completely dry. You will want to do 2-3 coats of paint.
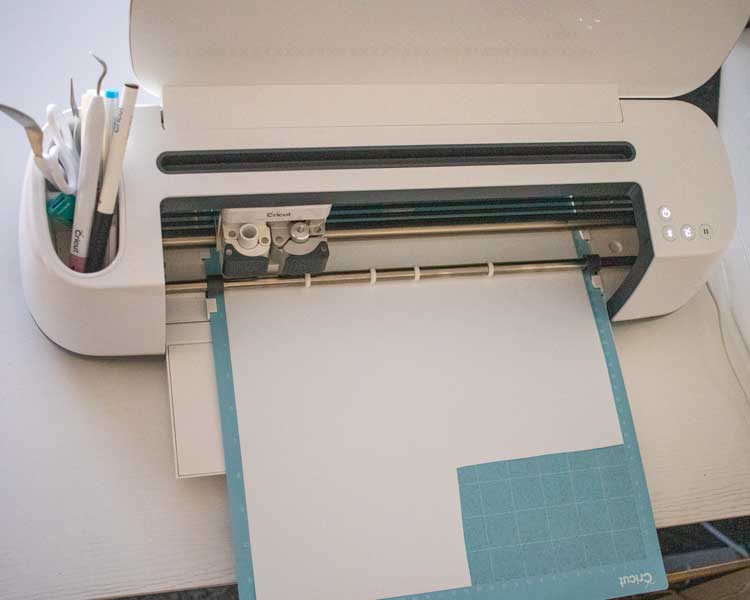
Size and Cut Your Stencil
Make sure to download my free SVG’s that I have included for you (or another design you are painting). Hop on to your Cricut Design Space and measure out your design to fit on the surface that you are painting. When you weed out your design, you will want to cut your image out with scissors leaving a large box around your image and weed out the parts that you want your paint to be.
Transfer Your Stencil
Once you have your image weeded out it is now time for some transfer tape. Don’t use a super tacky transfer tape or your image will be tough to transfer on to your wood.
Find the placement for your image.

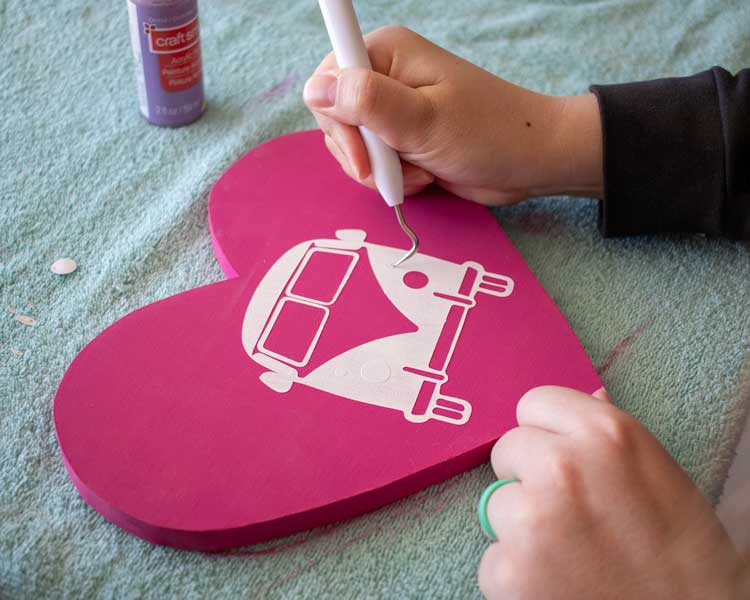
You will want to press very firm and pull your transfer tape very tight corner to corner (don’t pull your transfer tape straight up, work corner to corner). Go slow on this part because some of your image might not stick down right away so you will have to press down with your finger to get it on there really good. Once my image is on my wood, I like to go over with my fingers and press each part down really good so that your paint can’t bleed through.
Paint Using Your Stencil
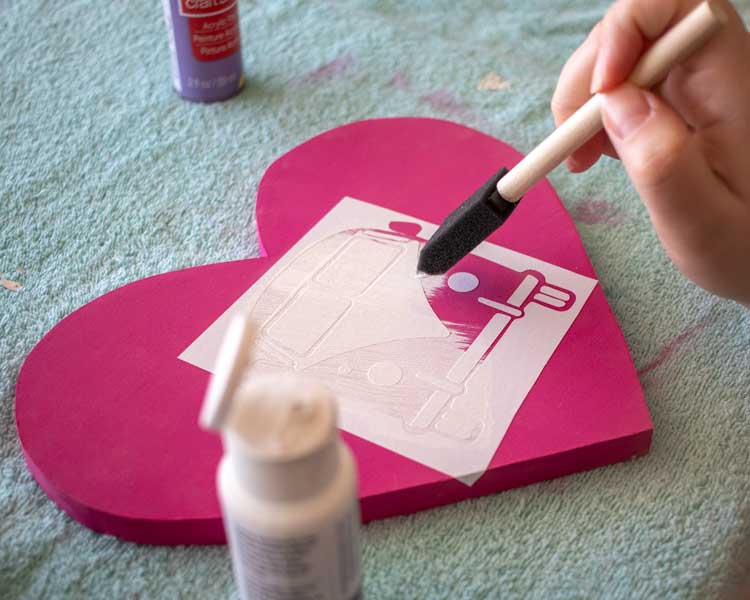
It’s time to paint! I used a sponge brush, but I prefer to use a brush that has a flat soft head. The sponge will get the job done, but I feel like the flat soft brush leaves a smooth clean look! You will want to do 2-3 coats of paint or til you can’t see your backdrop color. Let completely dry before peeling up your stencil!
Last step! Your stencil is completely dry and now it’s time to take it off and weed out the rest of your image! Go over with your backdrop color if you have any bleeding around your stencil.