There are two ways I use. You can either place you stencil down and then stain around it, or you can place down a negative stencil, coat with a sealer, and then stain your wood.
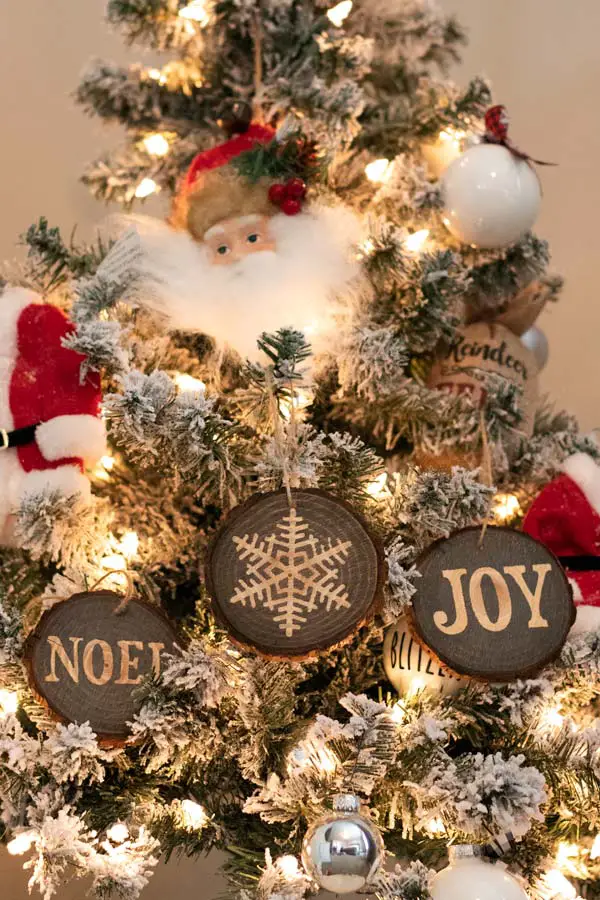
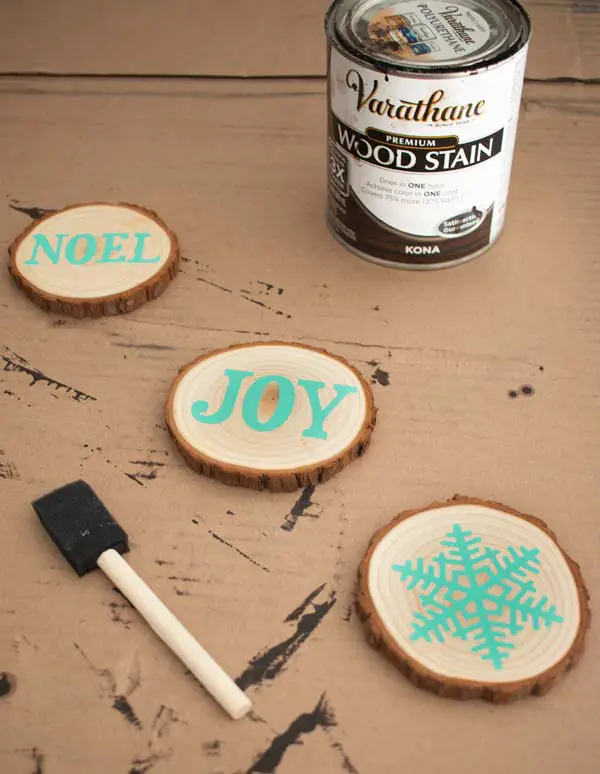
This is a tutorial on the straight forward method of placing a stencil and then staining around it. These are super cute DIY Christmas Ornaments and you can follow this tutorial to make your own.
Tools And Supplies
- Wood Slice (amazon)
- Stain (amazon)
- Foam Brush/Rag
- Cricut/Vinyl cutter (amazon)
- 631 Vinyl
- Transfer Tape
- SVG in my shop or you find it in the resource library.
- Jute Twine
- Drill
Reverse Stain Christmas Ornament Instructions
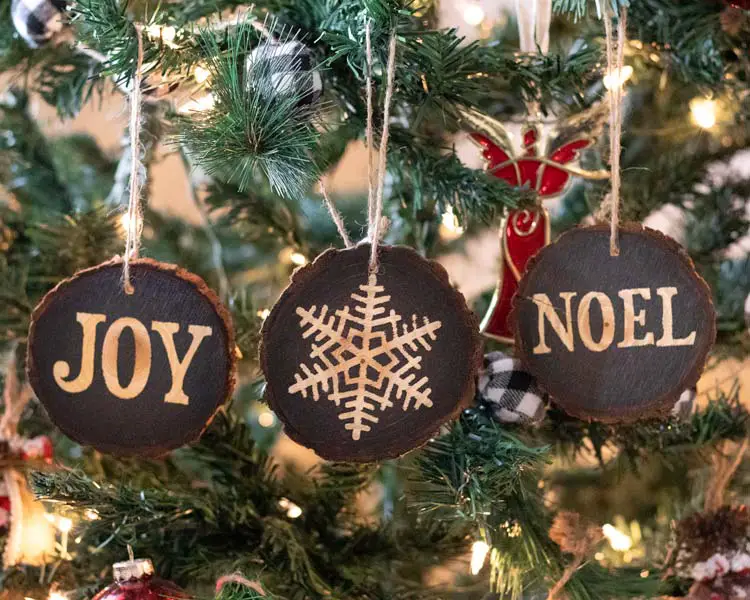
Don’t forget to get your free SVG in my shop. I love the snowflake and it is my favorite of all the ornaments I made.
Step 1- Size and Cut Out Your Stencil
Measure your wood slice and figure out the size you want your stencil to be. Cut it out using your Vinyl cutter.
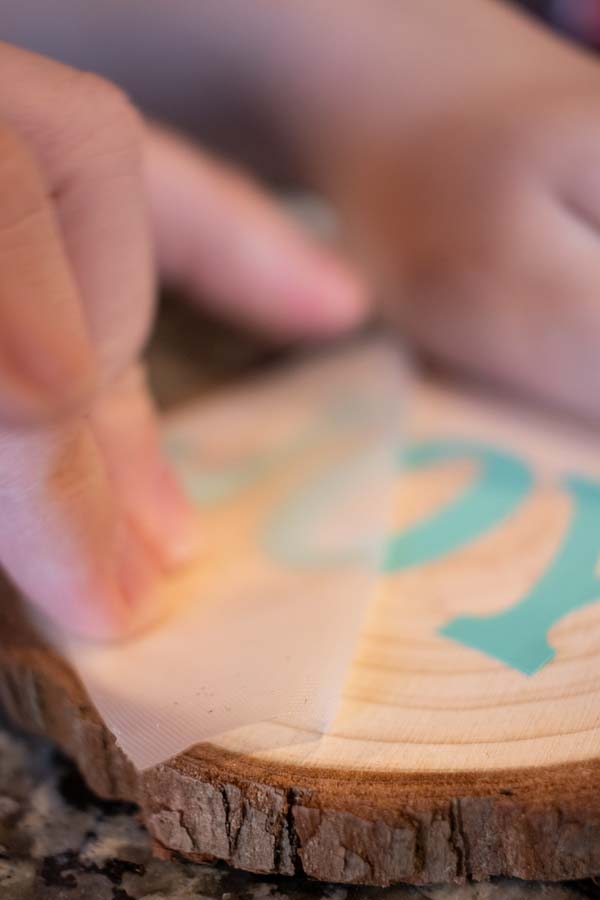
Step 2- Transfer Stencil
Using transfer tape, transfer your design to the wood slice.
My Tip for this is to pull the tape off folded over tightly, like in these images.
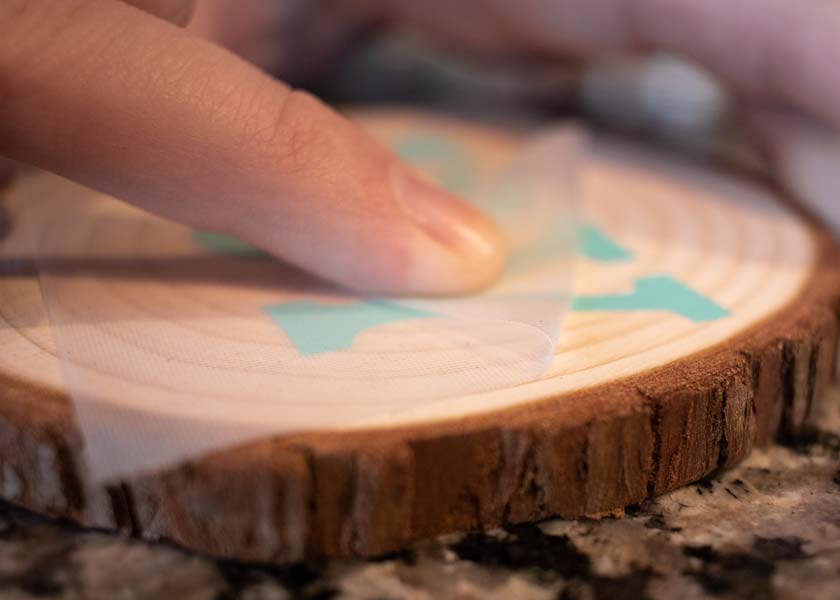
It is unlikely that you will have a clean pull. So, pull off slowly and as soon as a pieces is sticking more to the transfer tape then to the wood slice. Roll it back down and rub the spot down. continue pulling but with a tighter roll at the point the transfer tape leaves the wood.
Get a place ready to stain once you have all of your wood slices transferred
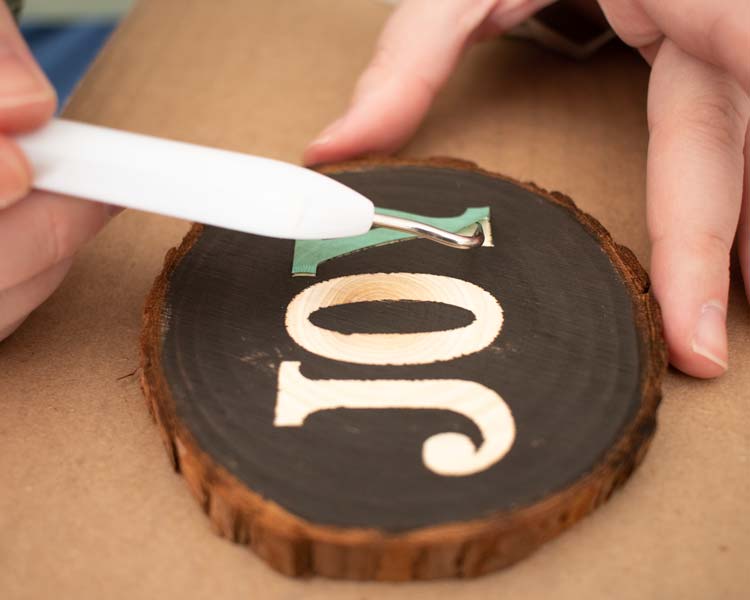
Step 3- Stain Your Wood
I would recommend that you apply yours as light as possible. I did a little heavier then I should.
I also used Kona stain which is very dark, and if you want a more natural wood look you will want to go with a lighter stain for wood slices.
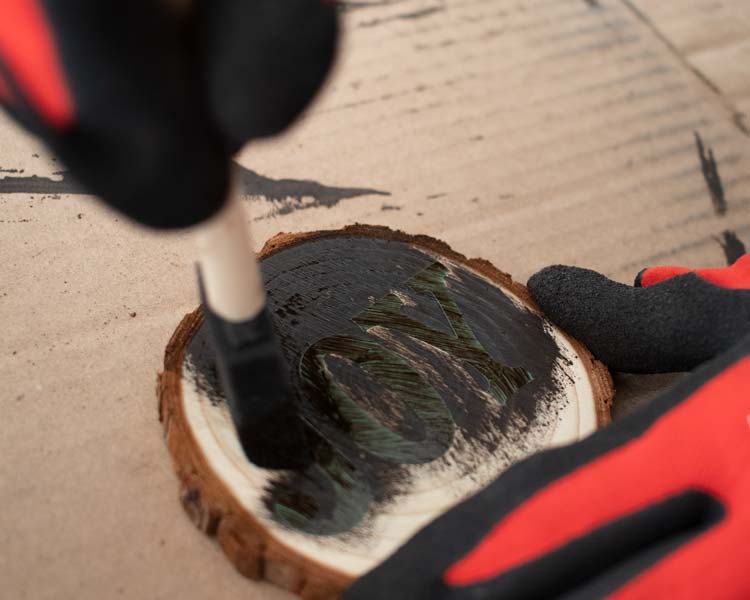
You are likely to get a little bleeding as the stain flows through the wood. It isn’t very noticeable though and you can tell from my pictures that the final results look good.
Wipe with a rag quickly after covering to reduce any bleeding.
Give At Least 15 minutes to dry (longer could be better, depending on how well you wiped off your stain), and then pull off the stencil.
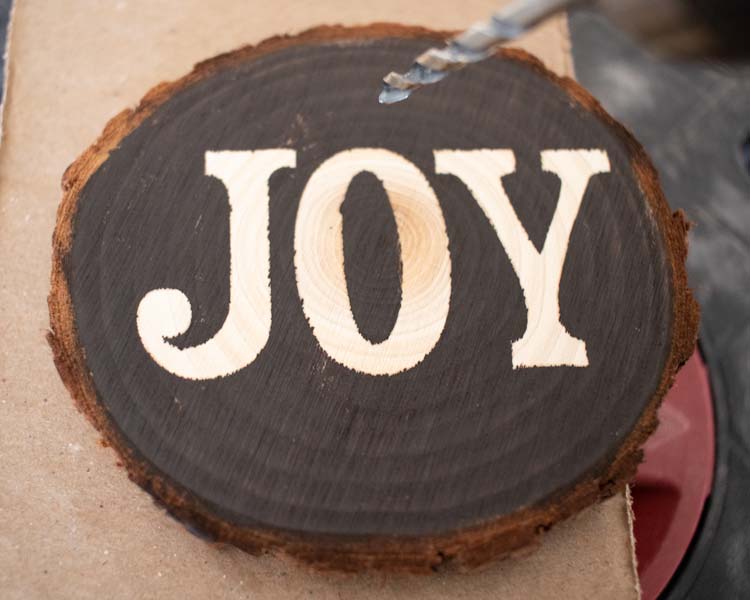
Step 4- Drill Hole And Twine
Drill a hole at the top of your ornament that will fit the size of jute twine that you have.
Before you tie your twine you may want to go to step 5 and seal your ornament.
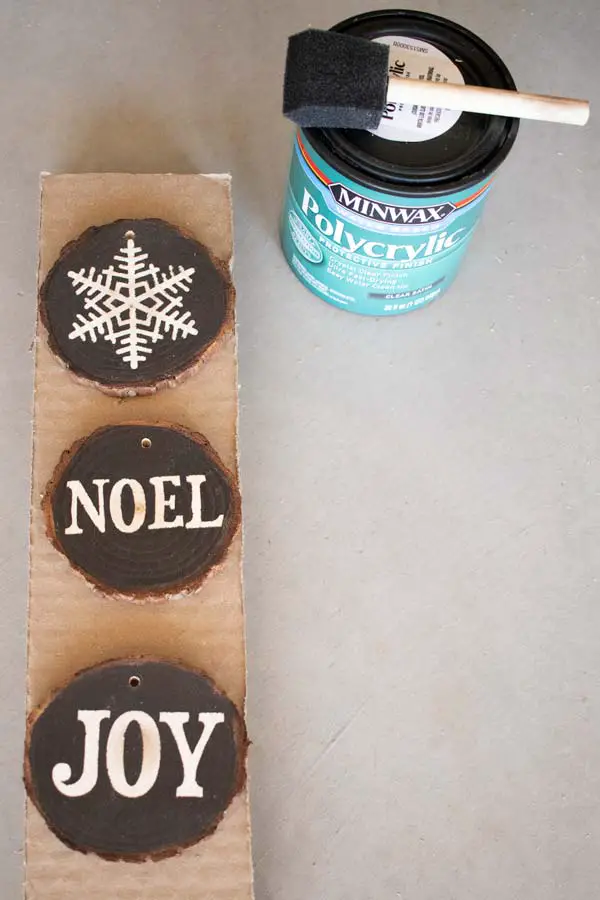
Step 4- Seal (Optional)
This step is optional and will preserve your ornament for longer.
I used Polyacrylic to seal my ornaments. You can use others as well, I also considered using mod podge to seal my ornament.
Step 6- Decorate