Printable Wall Art is a budget friendly way to decorate your home. You can easily swap out images through the seasons, or try something new when an image gets stale. While you can go to a print shop to get get your prints done, it is not quite as quick and convenient as printing them at home. In this article I provide a step by step way to print printable wall art in different file formats, such as png, jpg, and pdf.
What Paper To Use For Printable Wall Art?
Use a matte cardstock to start. It is not expensive and it gives good results. Once you have the printing method down, move on to a premium paper.
I would say at minimum you want to use cardstock for final prints. Of course, you can use regular copy paper but it won’t look as good (regular copy paper is good for practice prints though). A good tip is to use a cardstock with a slight tint of color to it, this can give it the feel of a higher quality paper.
Avoid photo paper unless you want your image to be glossy. I have found that matte paper gives the best results.
In the examples below I am using cheap Astrobrights cream cardstock that I picked up at Walmart. If you want your pictures to turn out even better, I would take a look at the more expensive papers.
Paper Examples
Astrobrights Cream Colored Cardstock (amazon)
Epson Ultra Premium Presentation Paper MATTE (amazon)
PPD Inkjet Canvas 100% Real Printable Cotton (amazon)
There are plenty of other options to choose from though (some are much more expensive). You just want to make sure the paper is heavy and matte for the best looking prints.
Where To Get Printable Wall Art Images
The best paid option is to start on Etsy. Etsy has countless different shops all with there unique style. That makes it easy to find the type of art that is right for you.
The best free option is to start your search on Pinterest. There are many creators on the platform that offer free wall art.
If you like vintage images, there are free file you can download from the Library Of Congress and USDA.
I recommend joining my Resource Library, I have a tons a files that I have never listed on there, that you can use and turn into wall art.
You can get the images I use in this tutorial for free through the my shop by clicking on the images below.
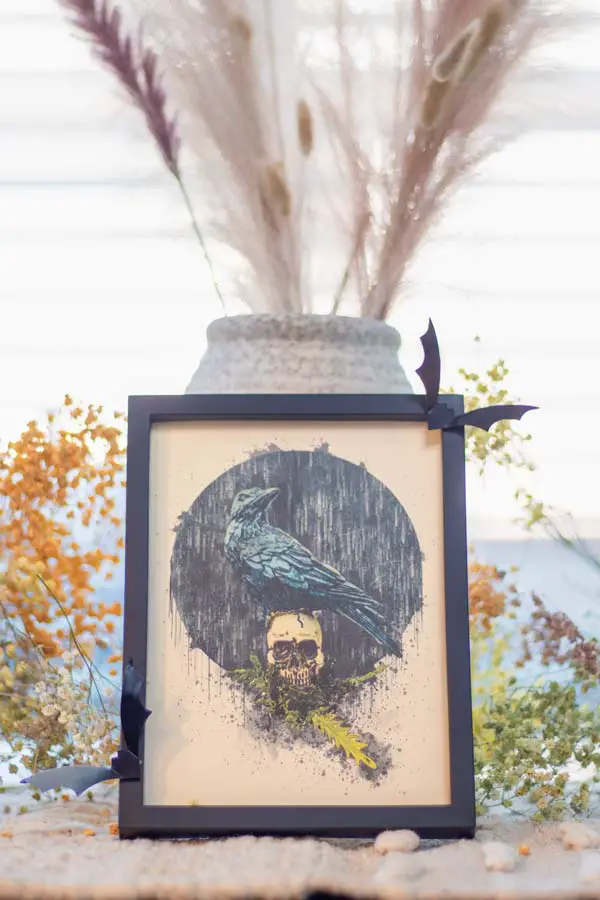
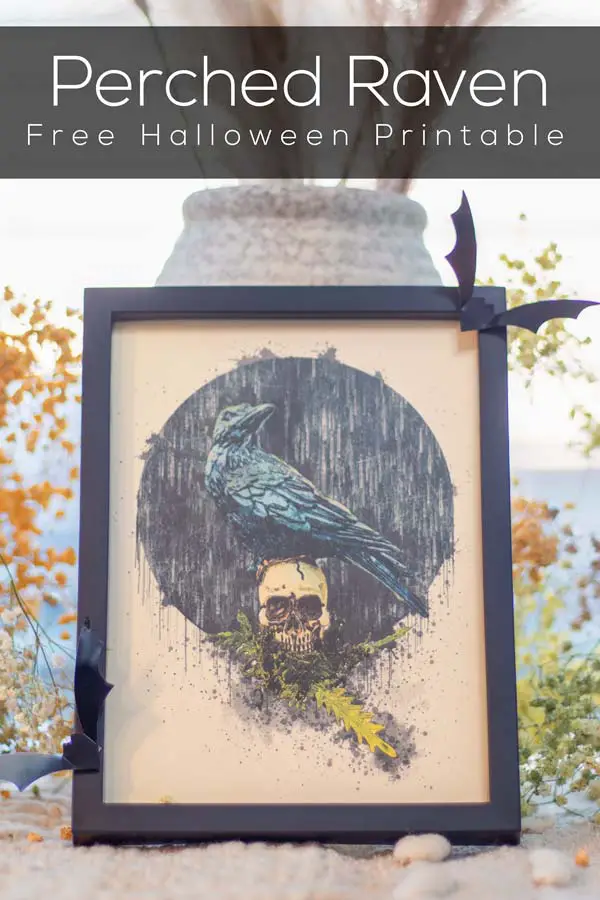
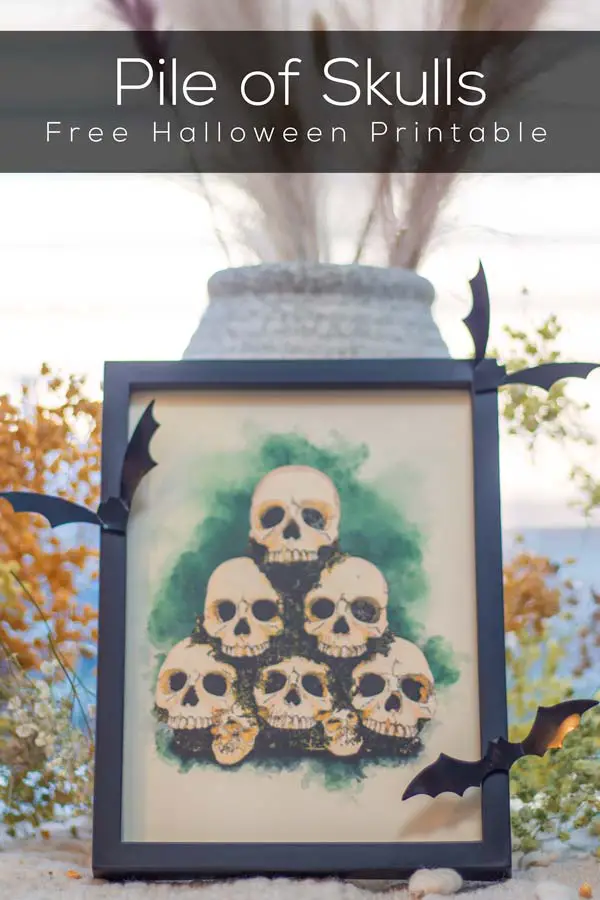
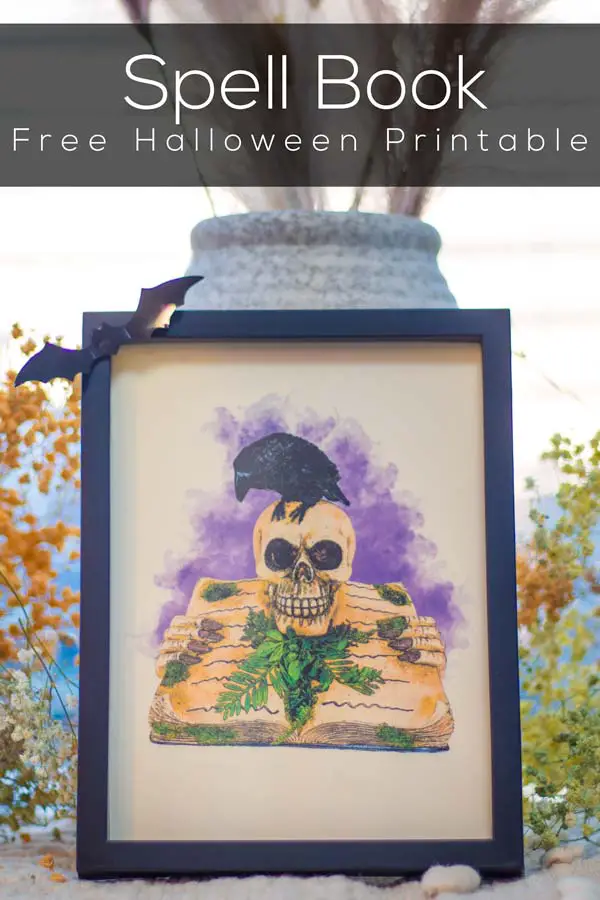
Free Halloween Printable Wall Art
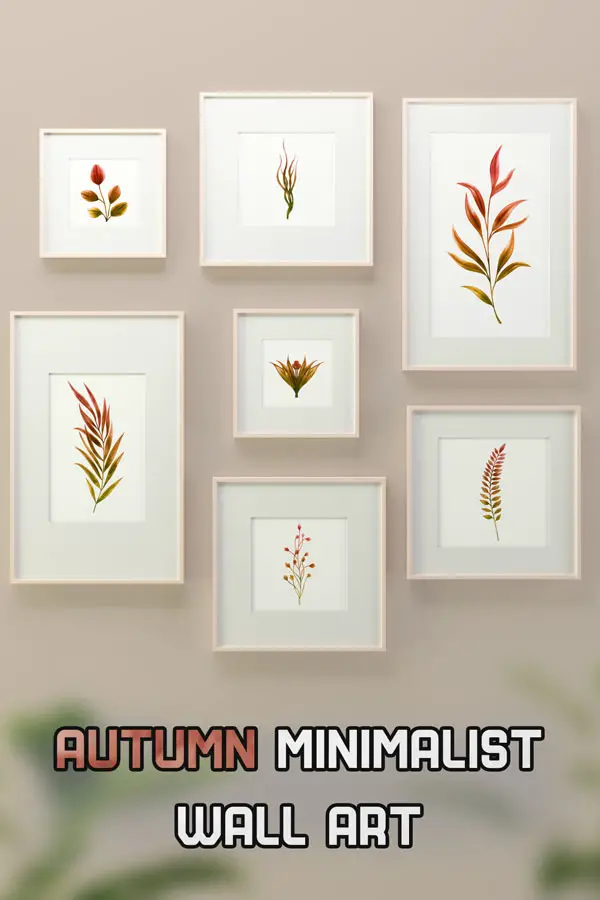
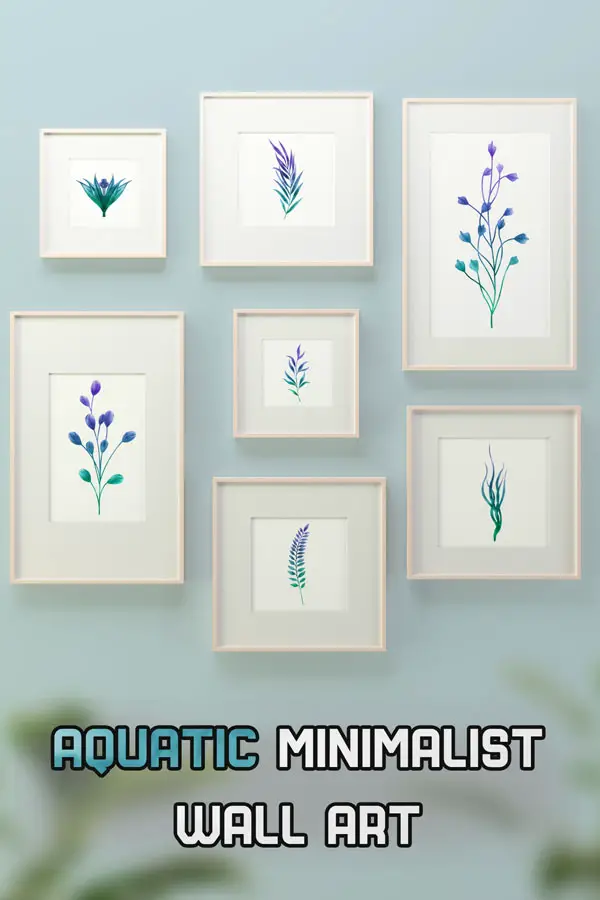
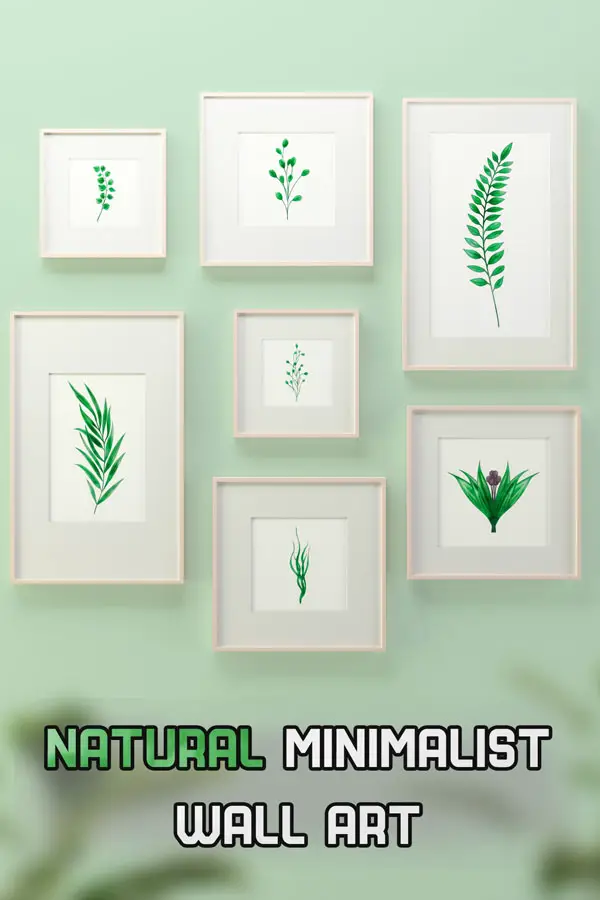
Free Botanical Printable Wall Art
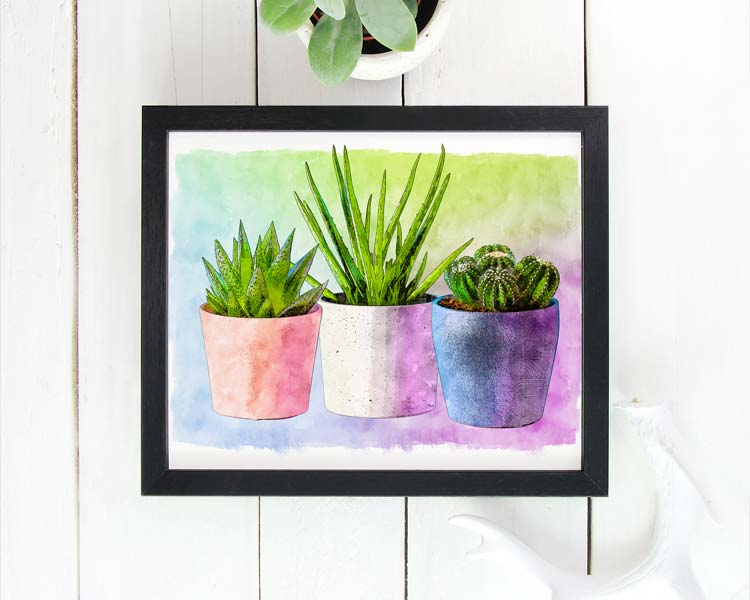
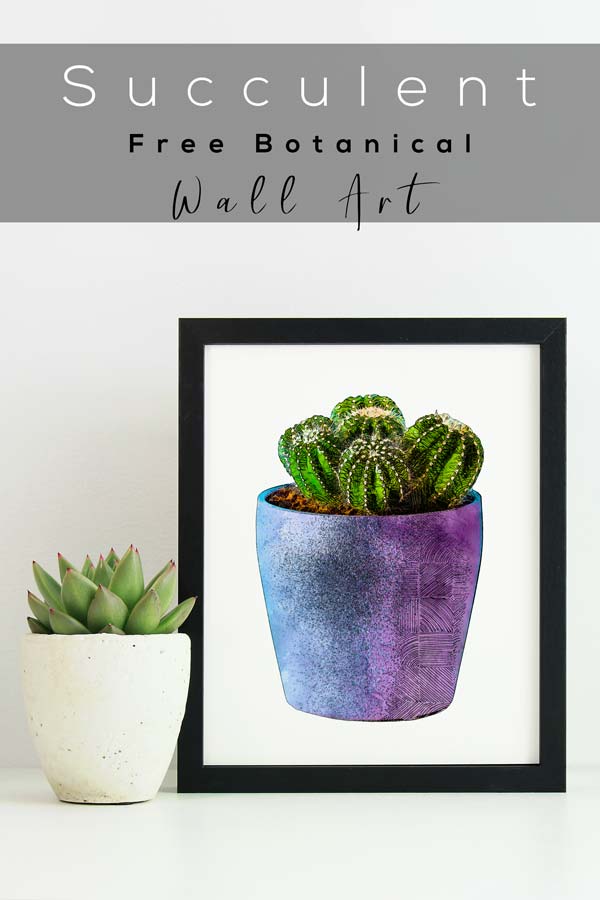
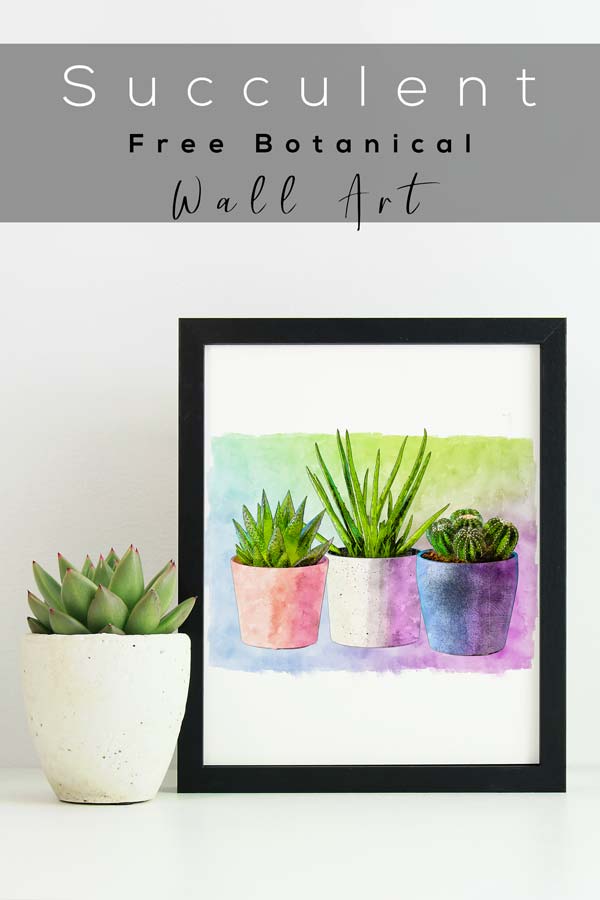
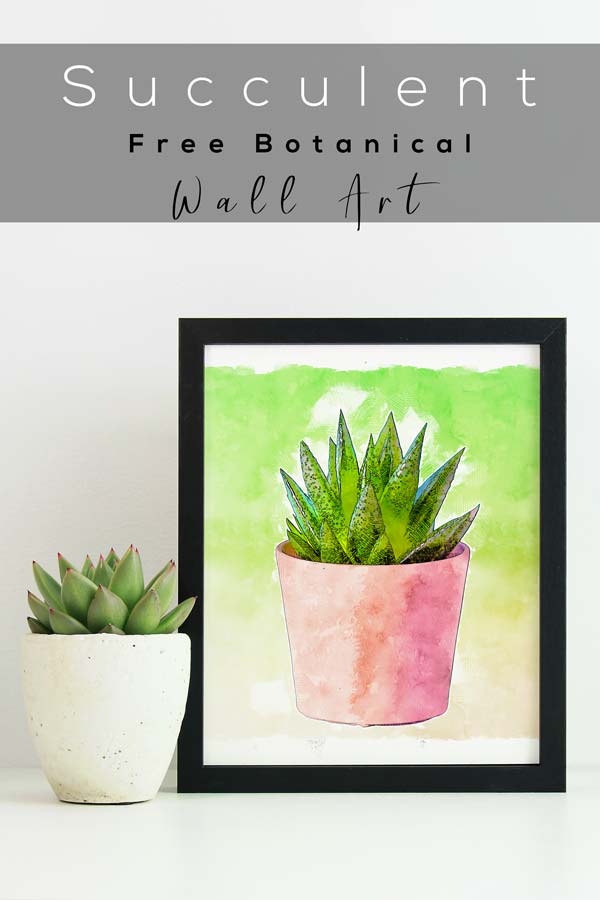
Free Succulent Wall Art
Free Printable Boho Wall Art


How Do I Know How Large To Print My Image
Measure the visible area in your picture frame. You will want to measure this because it sometimes can be different then what the picture frame stated when you purchased it.
For example, this picture frame said 4 x 6 on it, but the actual visible area on the front glass pane is 5 1/2″ by 7 1/2″.
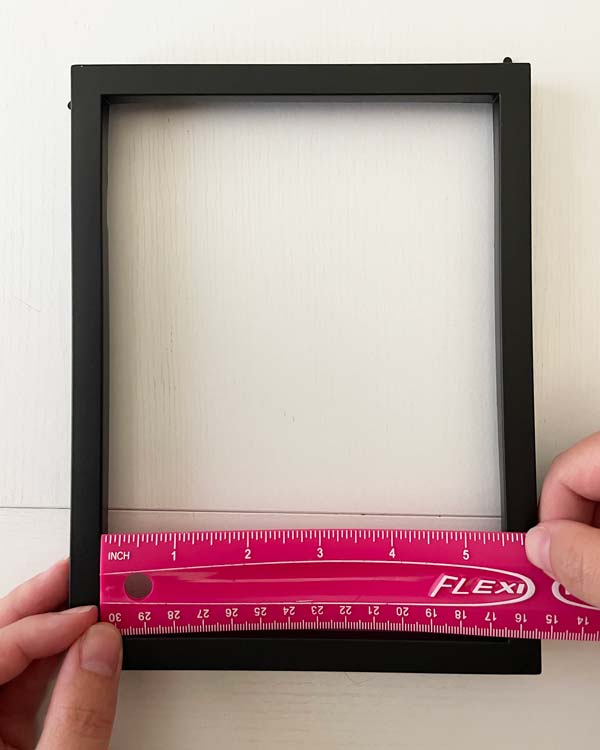
Knowing this we can better size our image to give us enough empty space around the border.
How To Print A PNG or JPG Image As Wall Art
Open up your PNG or JPG in a document editor, such as Word or Google Docs. From there you will be able to manipulate your image and get an idea for how it will look in a frame.
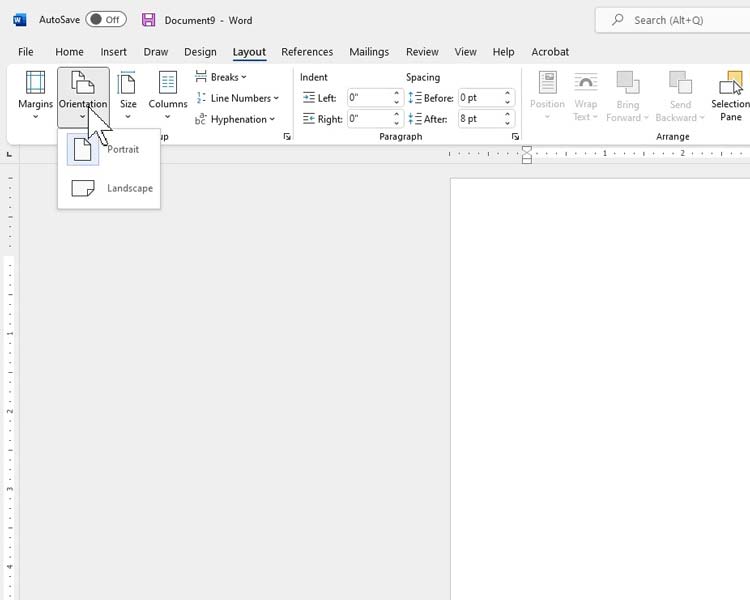
Using Word To Resize PNG Image
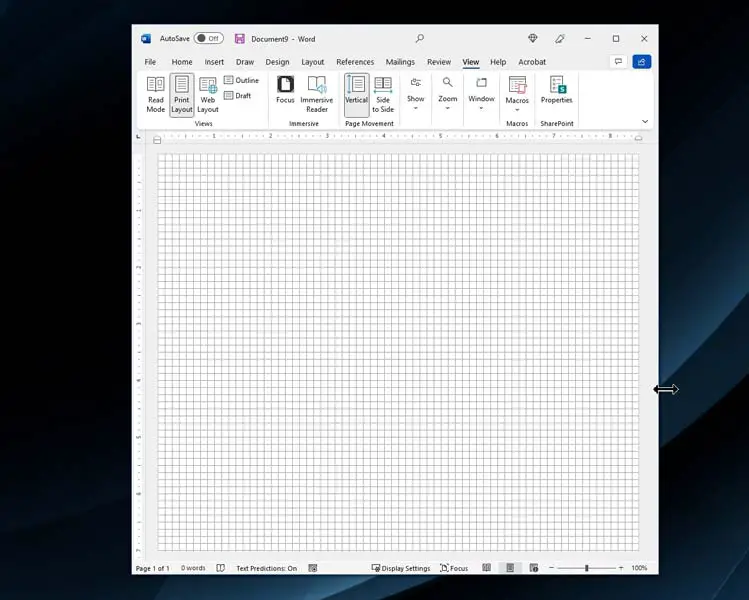
Start by opening Word and selecting the orientation you want your image, either landscape or portrait. You will find this in the layout tab.
Next you want to drag out the margins, so you can fill the page. This also makes it easier to use the ruler on the top and the sides. Move over the cursor, then hover over the the start of the white area in the ruler until you get the black double arrows.
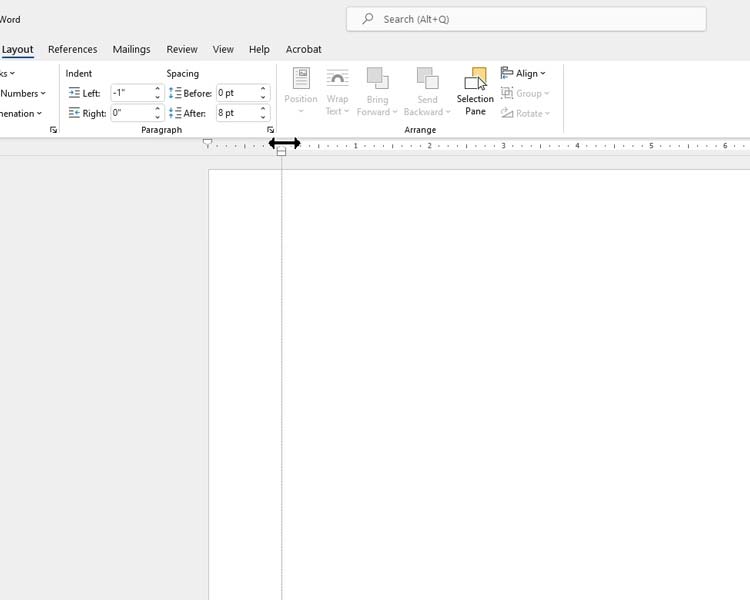
Drag the margins out both horizontally and vertically.
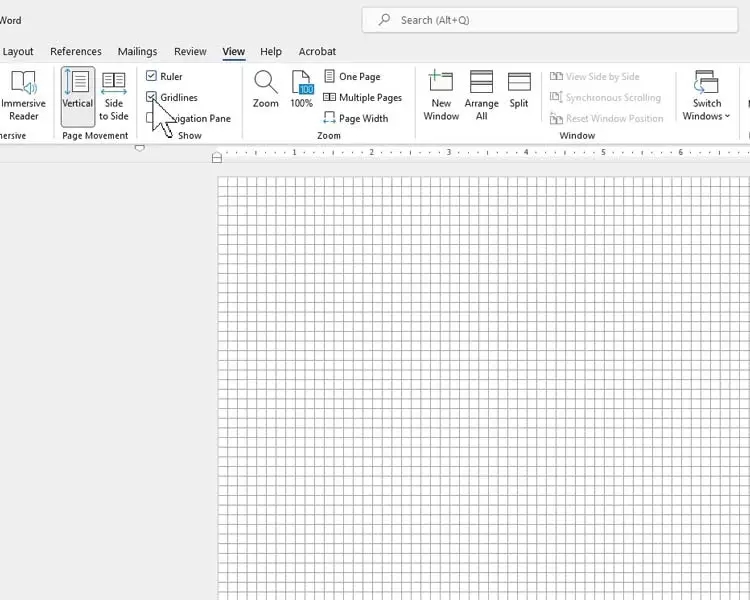
Under the view tab click the gridlines box. This will help with drawing straight lines for your virtual frame.
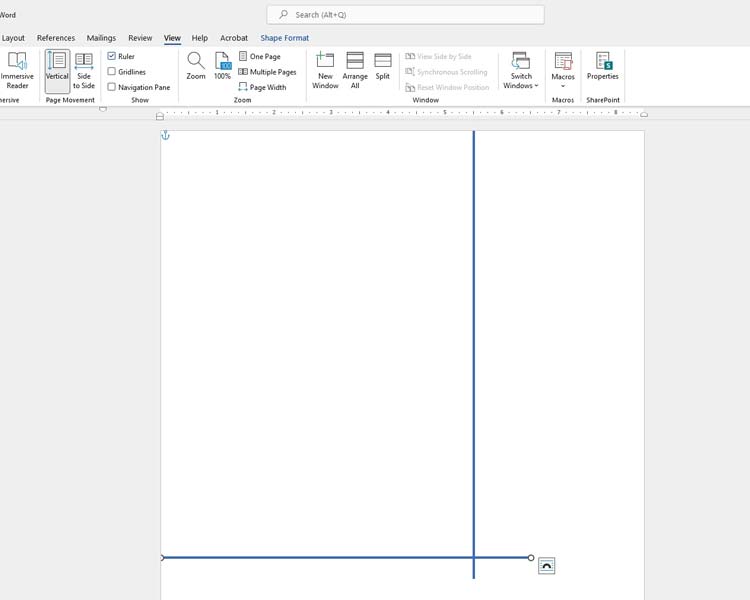
The vertical ruler can be hard to use because it is so far away from the page. A quick way to bring it closer is to minimize the window (two squares on the top right) and then drag the window closer until the ruler is right next to the page.
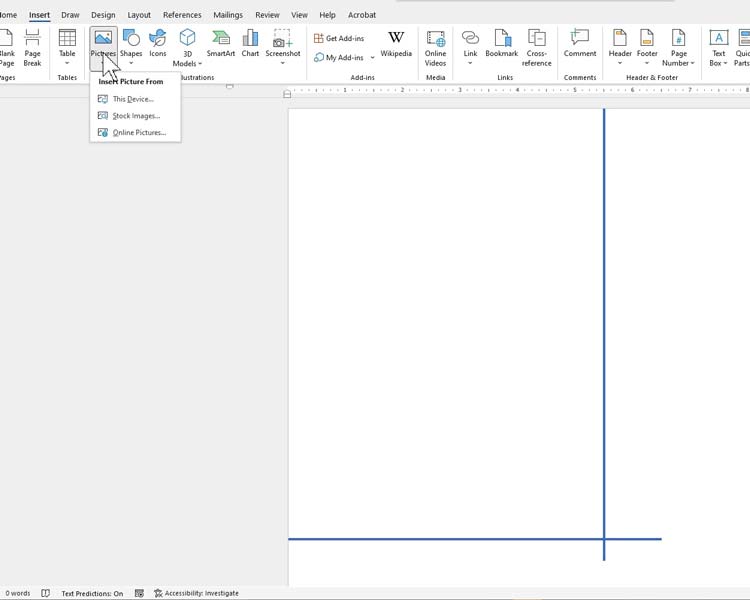
Under the Insert tab select shapes, and then the straight line at the top.
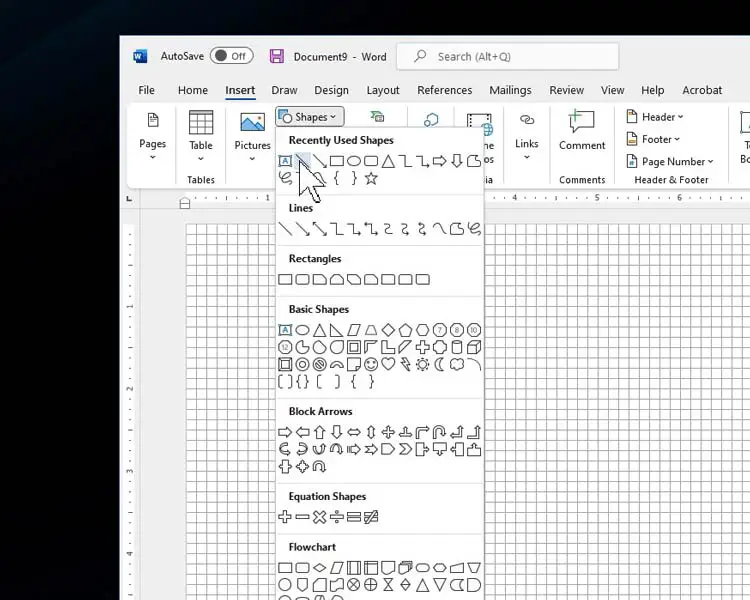
Once selected use the ruler as a guide and click-n-drag to draw you line.
Once you have drawn your line, make it thicker. You can do this under the Shape Outline section.

Follow these same steps for your horizontal line, and the turn off the grid in the view tab.
From here you can insert your image under pictures in the Insert tab, or drag your file.
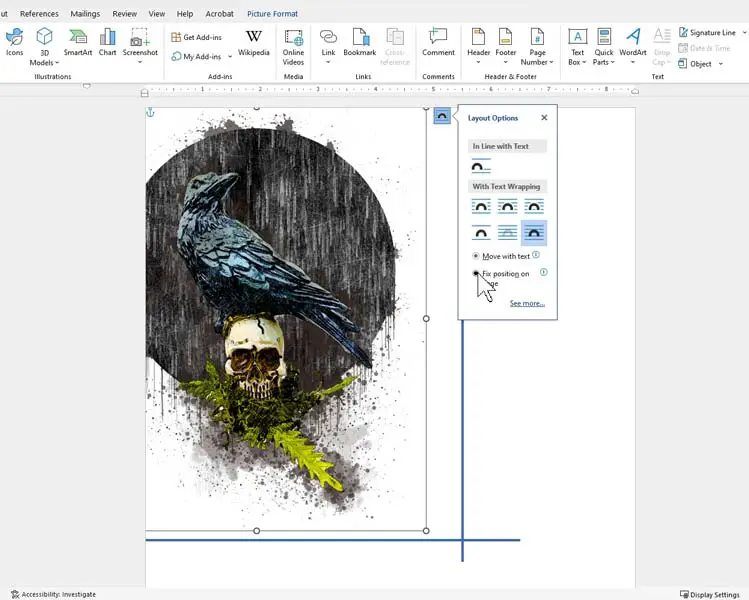
In order to move your image around freely in word. Click the box on the top right of your image. Under text wrapping, click the last box “in front of text”, then the “fix position on page” radial button.
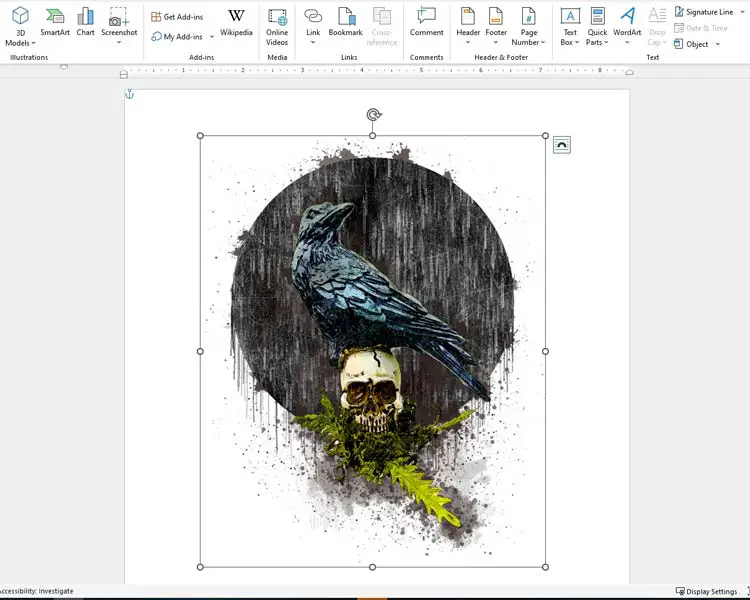
Click on your image then use the round dots in the corner to resize your image to how you want it to look in the display window of your frame.

Once you have resized your image, delete the lines and move the image closer to center on the page. Remember, that what you have drawn with the lines is only the display window of your frame. You are going to want more space to cut out your image, so it fits snuggly in the frame.
You are now good to print out your image. For an easy method for cutting out you image to place in your frame see the “how to cut a printable wall art image to fit in a frame” section.
How To Print A PDF Image As Wall Art
Open your PDF file, then go to File, and then click Print.
In the Print window click properties at the top, which will open another window.
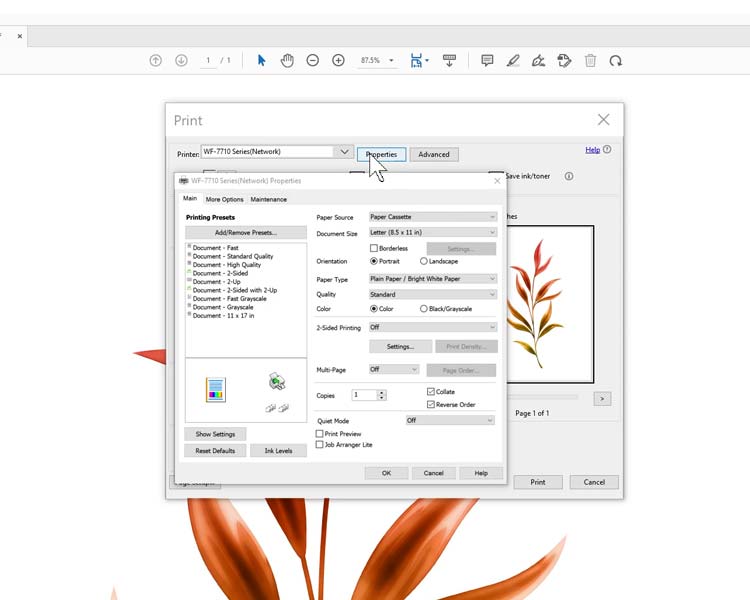
From the document size drop down menu select the closest dimensions to the size of your display.
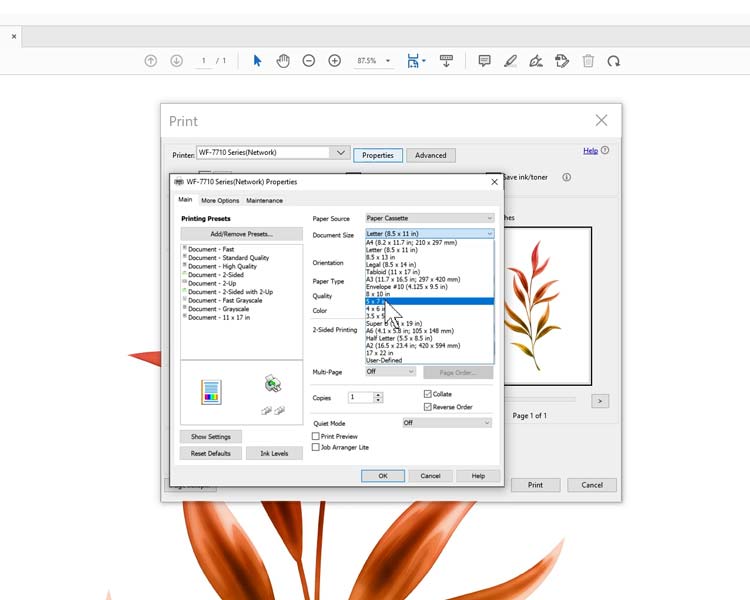
If you want to fine tune your size even more, then you can change the percentage scale under Custom Scale. Once you change the percentage click on a different radial, then back on the Custom Scale Radial button for a preview.
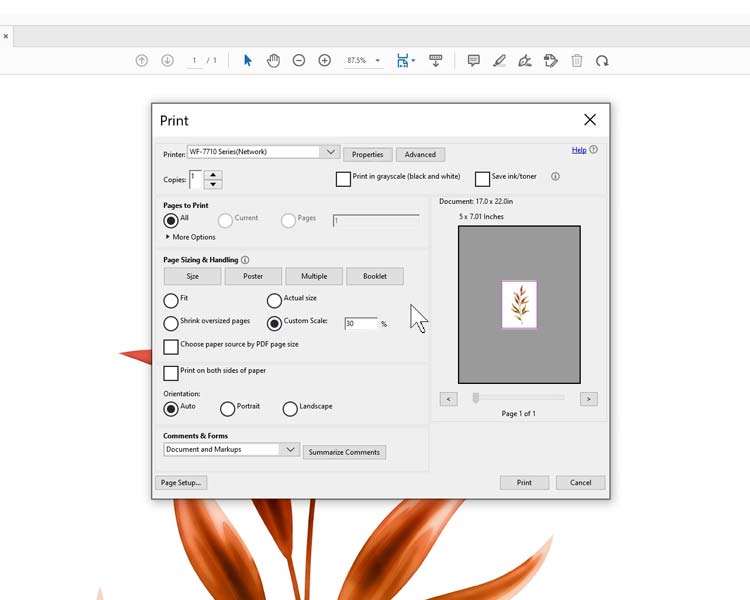
Once you like the sizing, click print. The print will be in the center of the page.
How To Cut A Printable Wall Art Image To Fit In A Frame
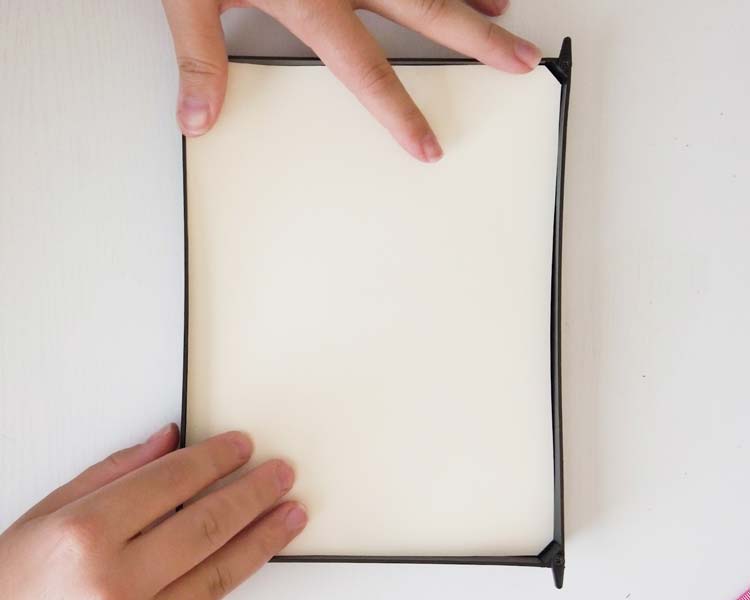
Take either the back of your frame off or one of the glass panes and use it as a stencil. Doing this will make sure you have a near perfect fit inside the frame.
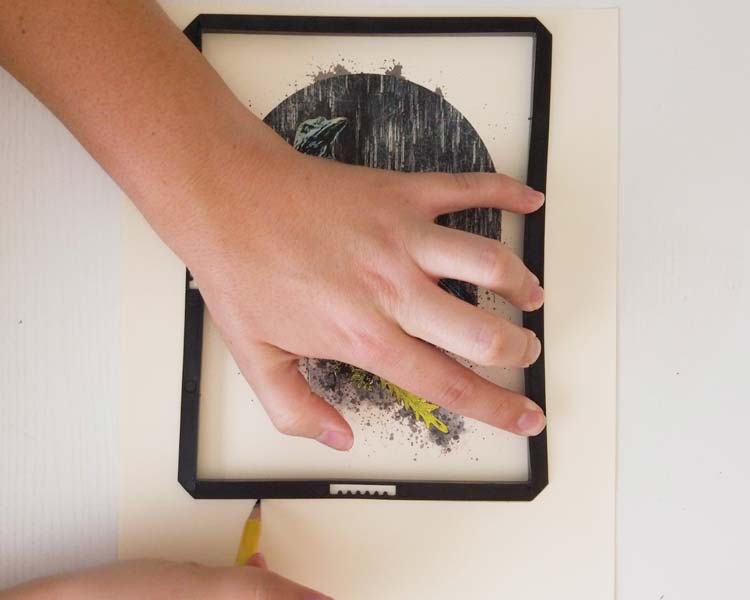
Cut out with a pair of good scissors.
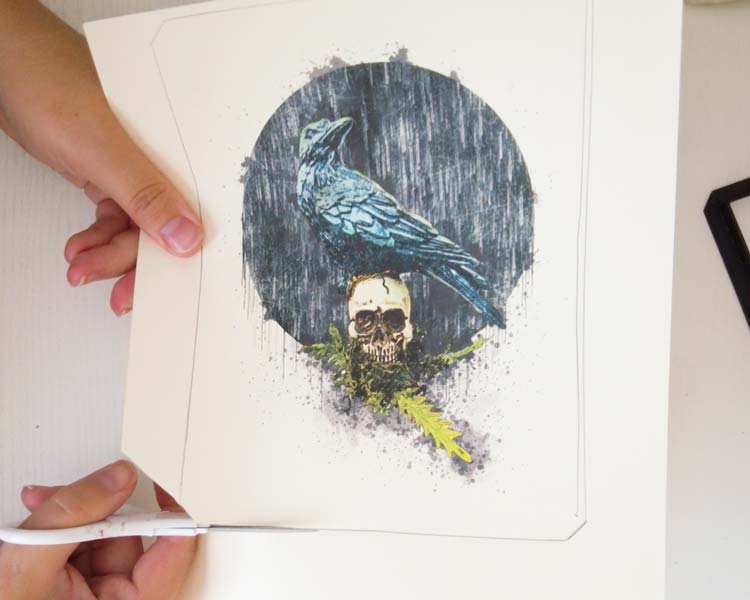
Place in the frame, you now should have a near perfect fit.