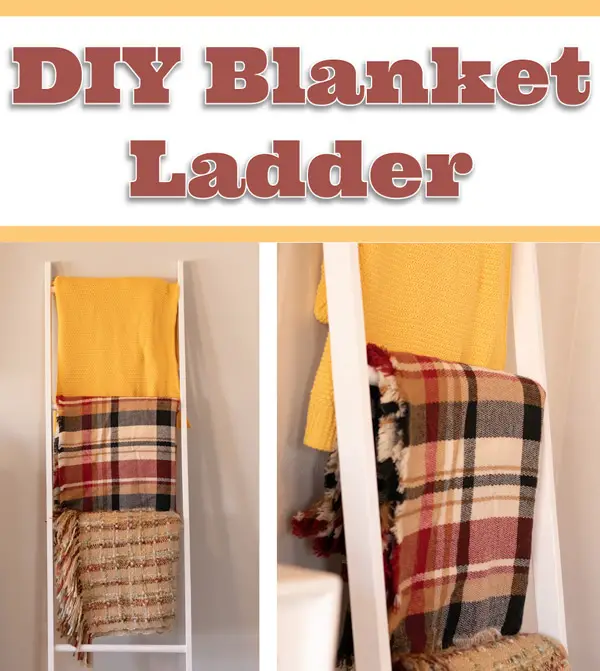
I love this blanket ladder with round pegs. We have wanted to make a blanket ladder for a while, but we wanted it to be sturdy enough for heavy blankets without having any visible nails or screws. That is why we came up with this simple, easy ladder design. I like this design so much I am going to make another one wood stain, instead of painting it white.
Tools And Supplies Needed
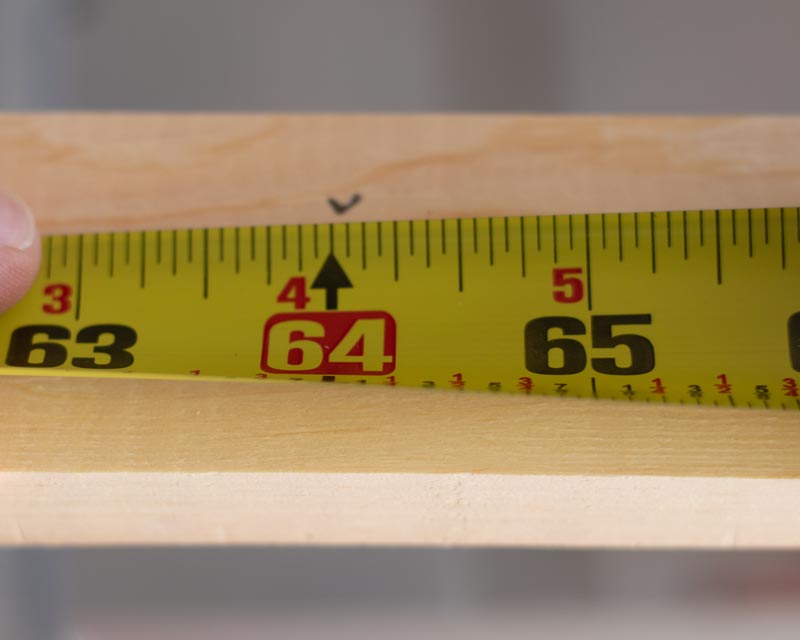
- (2) 3/4″ x 1.5″ wood pieces cut to 64″ long
- (4) 1″ diameter wood dowels cut to 18″ long
- Paint or Wood Stain
- Small Roller (for paint)
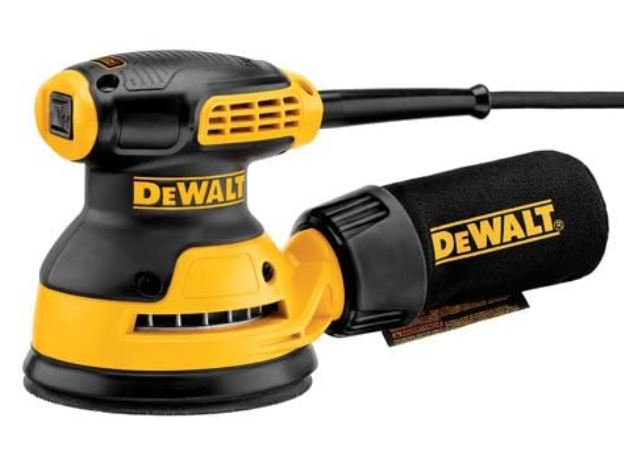
- Sander (Orbital Sander preferred but you can do by hand)
- Saw (can get pieces pre cut at home depot)
- Power Drill
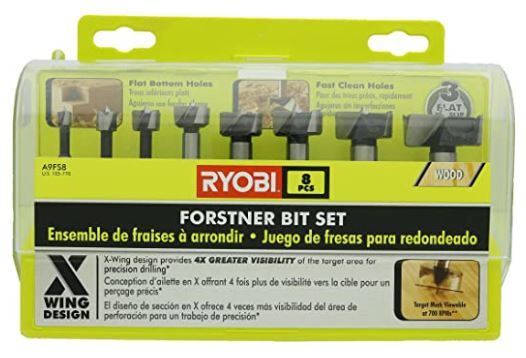
- 1″ Forstner Bit
- Wood Glue
- Rubber mallet
- (2-4) 24″ or greater Clamps for Wood
- Painters Tape (or other that will not leave to much residue)
Links to where you can find these tools at amazon can be found at the end of this tutorial.
Steps To Make This Ladder
Of course you can always change the dimensions of this farmhouse ladder but here are the steps to create a blanket ladder that is 64″ tall and 18.75″ wide.
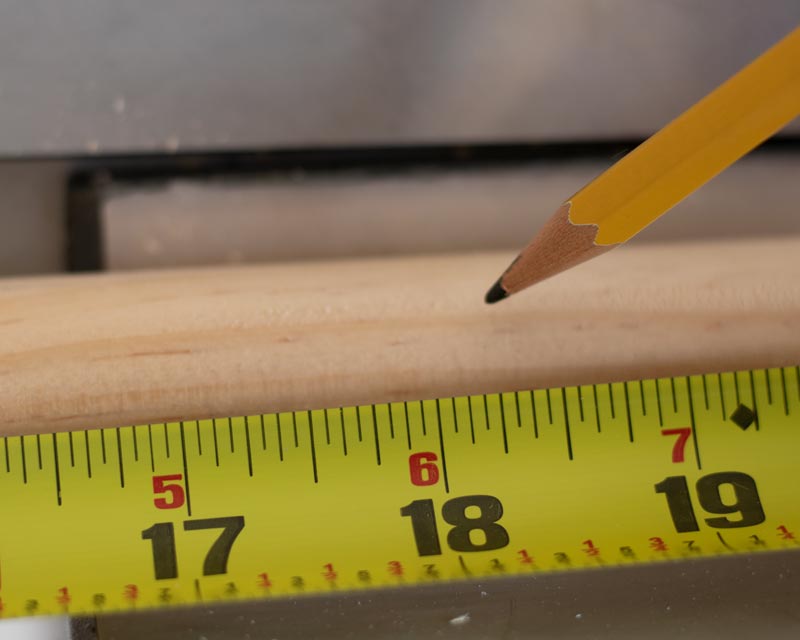
Step 1 – Cut your wood pieces
(2) 3/4″ x 1.5″ wood pieces cut to 64″ long
(4) 1″ diameter wood dowels cut to 18″ long
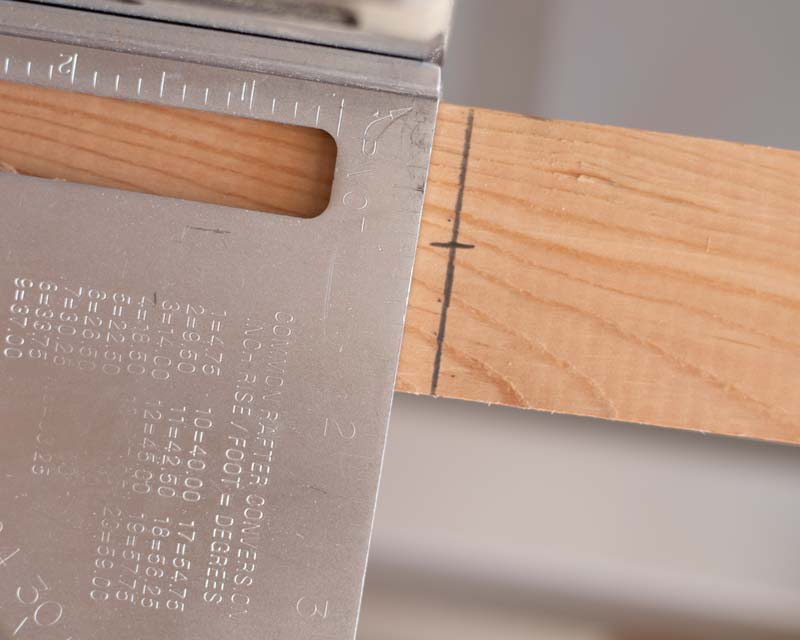
Step 2 – Mark out your holes
Place a mark centered at 12″, 28″, 44″, 60″ on both your 3/4″ x 1.5″ wood pieces.
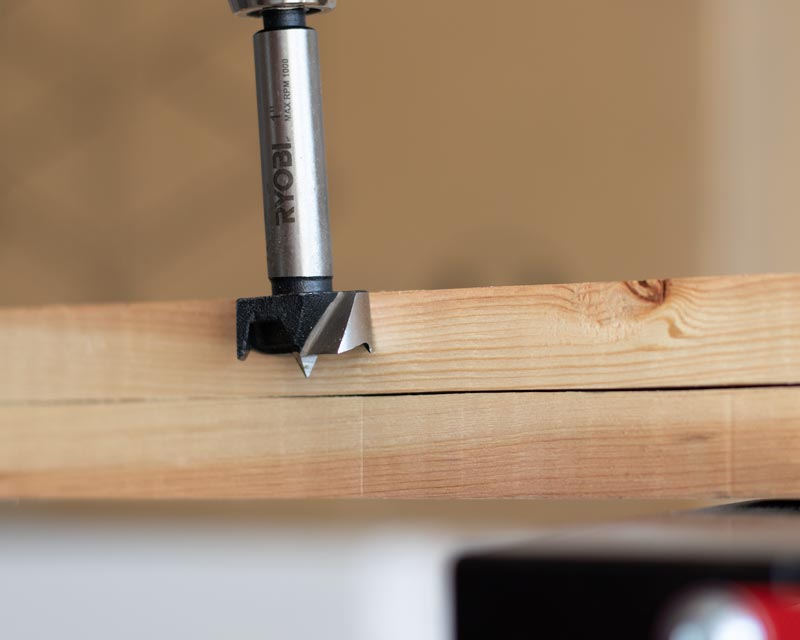
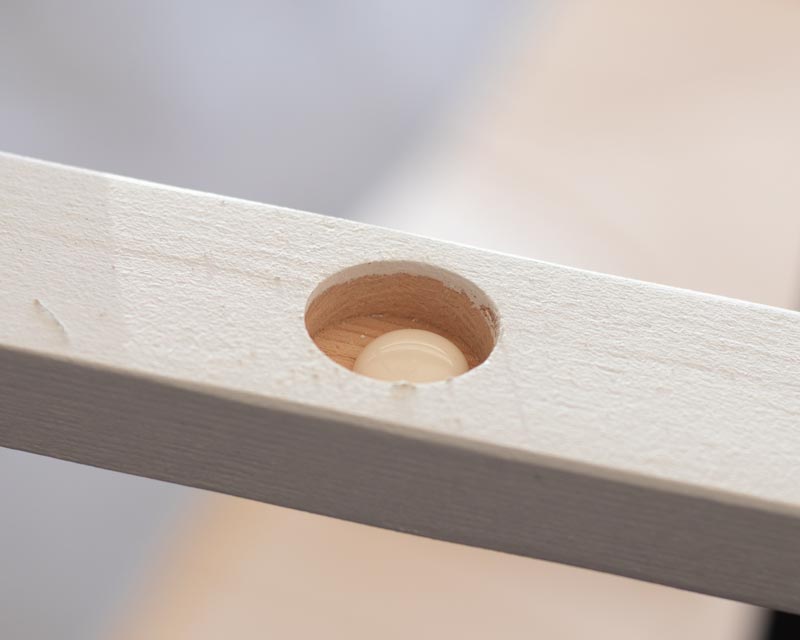
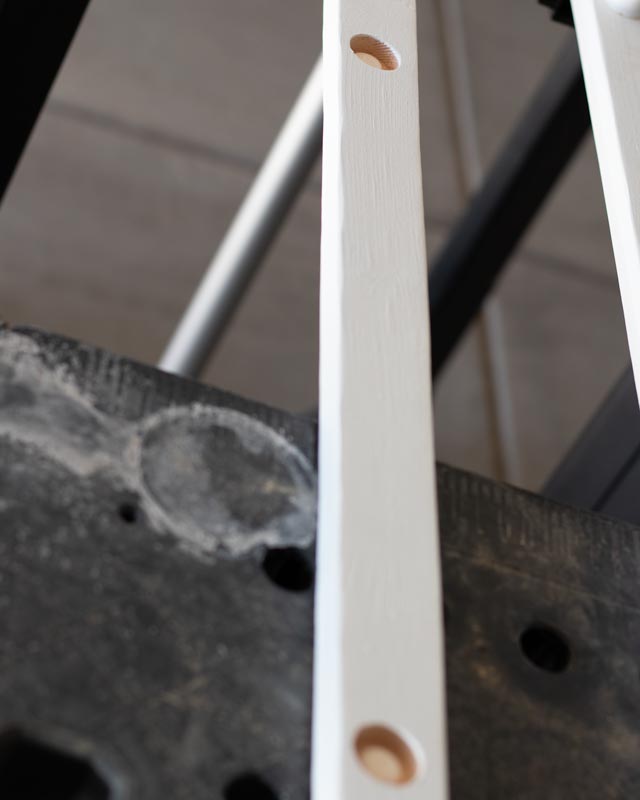
Step 3 – Drill your holes
Drill your holes to a depth of 1/2″ so that you do not go all the way through the wood. With the bit I used, that meant to drill down until the top of the bit was flush with the wood.
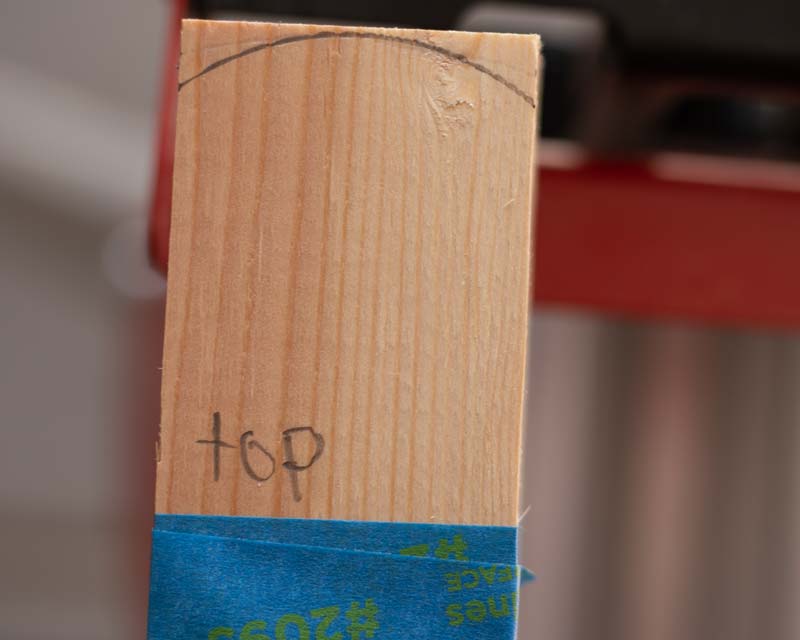
Step 4 – Line Up wood pieces and tape
Take your wood pieces with the holes drilled in and put them together with the holes lined up.
Tape them together and mark the top and the bottom because you should not be able to see the holes at this

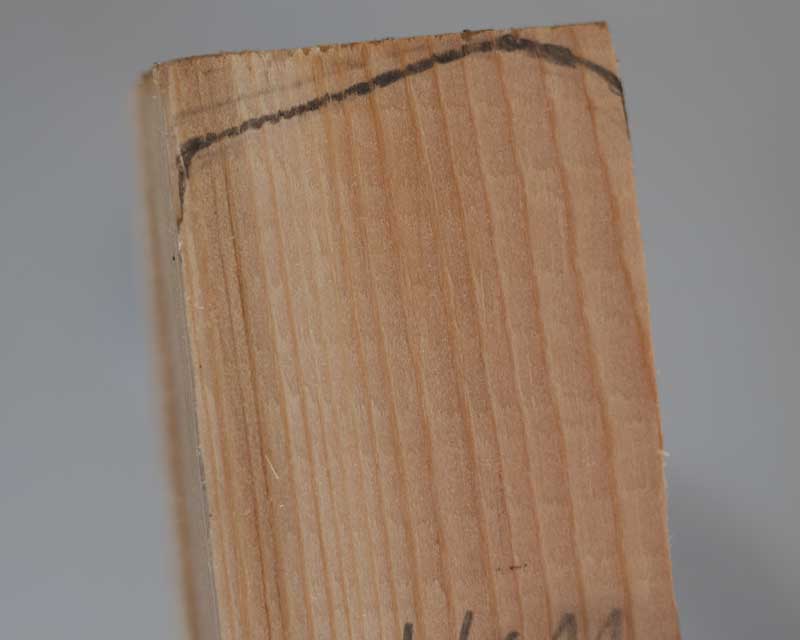
Step 5 – Draw the shape you want your ends
On the Top, I wanted my ends rounded like this.
On the Bottom you want a slight slope so the ladder makes good contact with the ground.
Step 6 – Shape your wood ends
With your wood still taped together sand both pieces at the same time using your line as a guide.
This is where a orbital sander comes in handy because you can slowly shape down the ends to lines. I used 120 grit sandpaper and it made quick work of it.
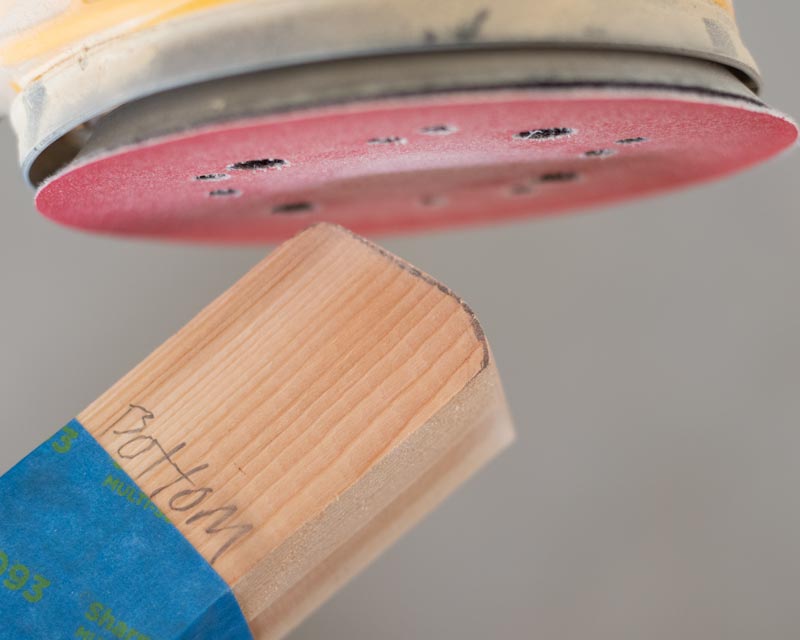
If you do not have a orbital sander you can make cuts with a saw close to the line as possible then sand down by hand.
Step 7 – Sand wood
Go ahead and remove your tape and sand any rough areas on any of your wood pieces you wood like to remove.
I did not want any sharp edges so, I made sure to sand down all the corners.
Step 8 – Paint or Stain your wood
If you paint your wood, you are going to need to apply 2-3 coats. We will also be painting at the very end to do touch ups.
Do not let your holes get caked up with paint. I used a roller for this step. Also, there is no need to paint the ends of your ladder rungs.

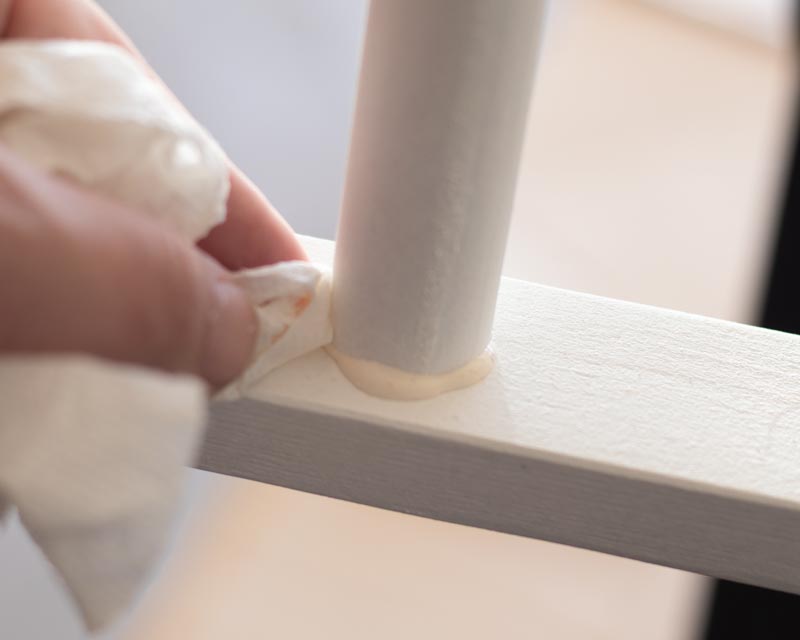
Step 9 – Apply Glue, Stick, and Wipe
Apply a generous amount of glue in the hole.
Stick the wooden dowel in. You should be seeing glue come out the sides.
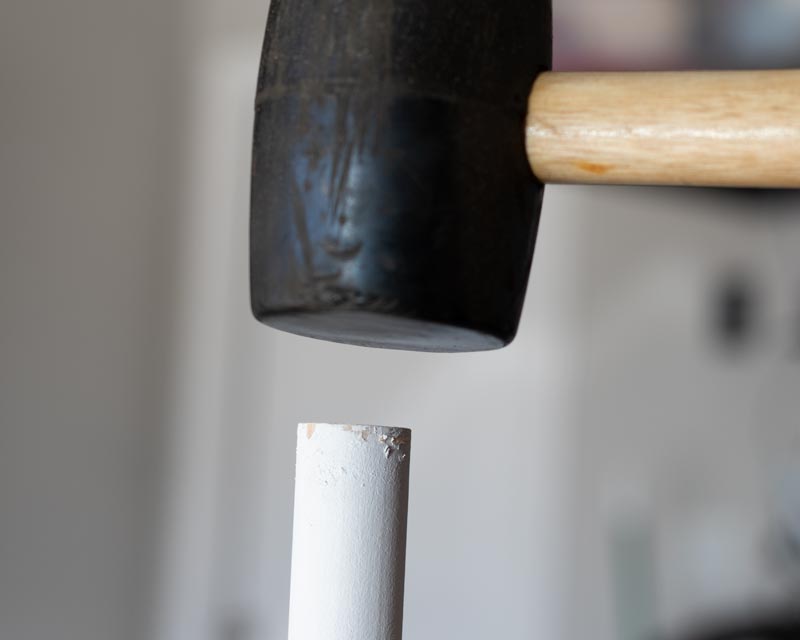
You may need to use a mallet, striking on the top of the dowel if you are having difficulty getting it in.
Wipe away the excess glue as it come out.
Repeat this for all the dowels on one side
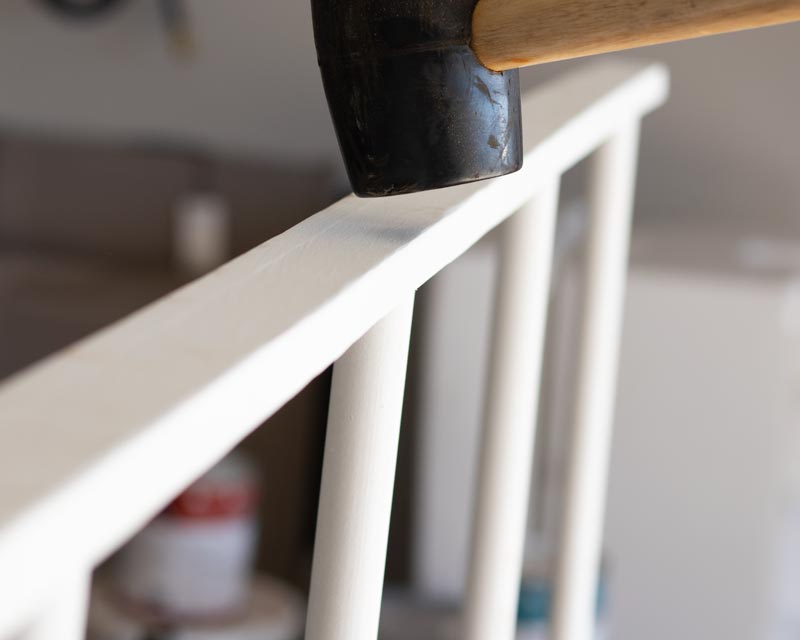
Step 10 – Attach to other side
Place glue in all four holes of your other piece at once.
Flip over the piece that already has the dowels in it, lining up the pegs, drive it down into the other piece that has the fresh glue. (wipe glue that comes out)
Make sure all the pegs are pressed firmly in, so that there is glue coming out. Using a Rubber mallet at this point is very helpful. Strike over there areas that have pegs, as to not break the wood.
Step 11 – Clamp it down
It is preferable to use 4 clamps, one over each peg. However, if you only have two, the most important rungs are going to be the top and the bottom.
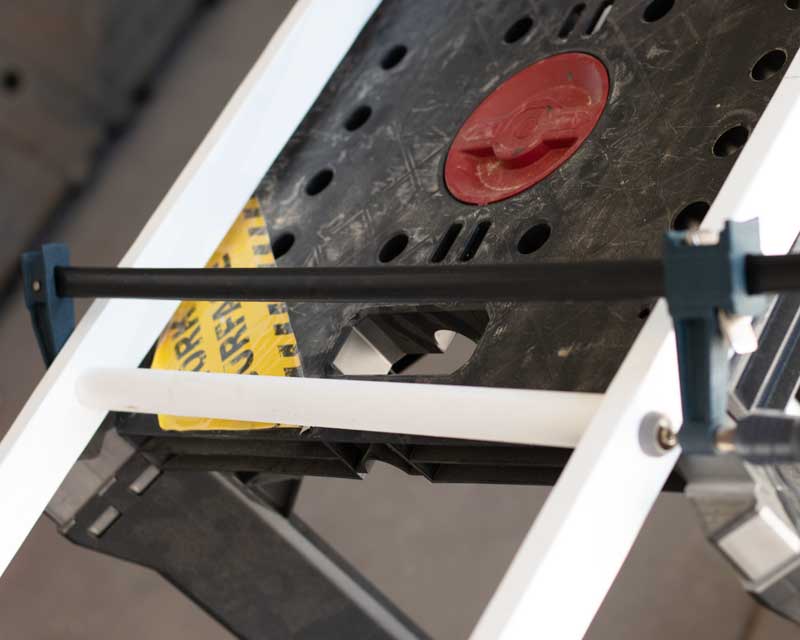
Note: for less then 4 clamps you can use clamps on the inner rungs for a brief moment to make sure those rungs are squeezed together tightly.
Wipe out the excess glue that comes out and let the glue dry while clamped together.
Step 12 – Touch Up
If you opted to paint your ladder white, then will most likely need to touch up the spots that may have gotten smudges. You may also want to paint over areas where glue had seeped out and left residue.

Step 13 – Decorate
Get The Tools Used