
This was a fun project to DIY your Christmas ornaments. These wood slice twine snowflakes look great on my Christmas tree and you can make one too! There are three templates for download, follow the instructions below.
Tools And Supplies
- Wood Slice 3.5″ or bigger (amazon)
- Jute Twine
- Power Drill
- 5/32 or 3/16 Drill Bit
- Mod Podge (amazon)
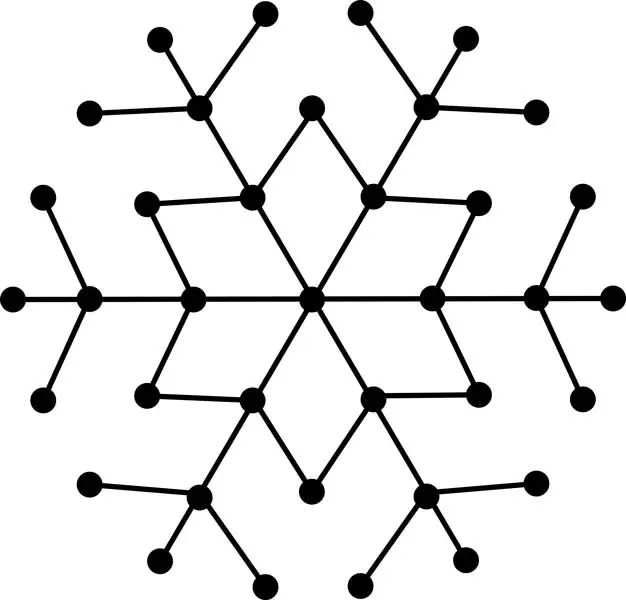
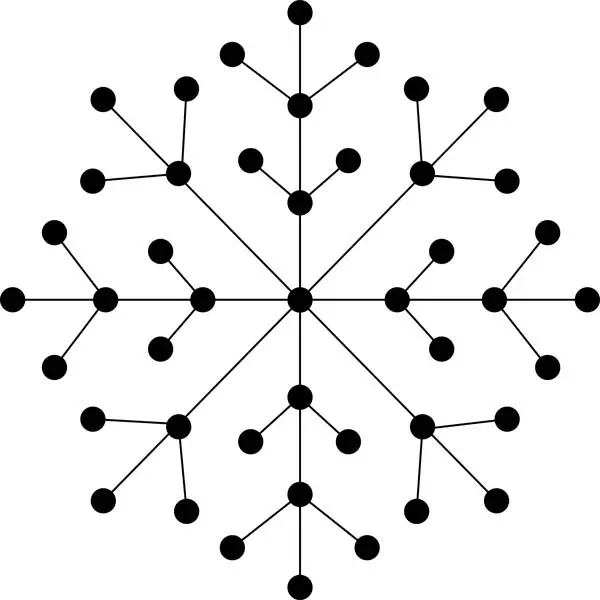
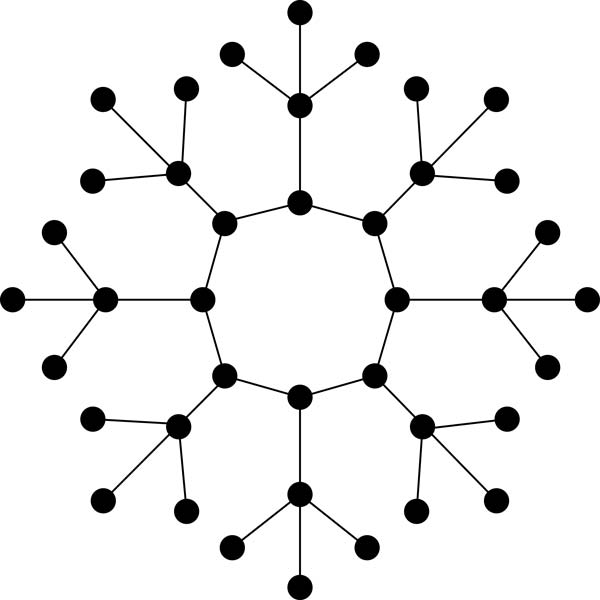
- Free Template
Twine Ornament Instructions
Follow this tutorial to make your own wood slice Christmas Ornament.
Step 1- Sizing Your Template
Measure the your wood slice. Finding the area where you want your snowflake to be. I wanted mine to be 3″ on my 3.5″ wood slice.
Right click on one of the templates above and click Copy Image.
Paste the image program of your choice. I used Microsoft Word, it is a common program most people have, but there a plenty of other options you can use.
Go to View, turn on Ruler, and size you image.

Print your image out.
Step 2- Transfer Snowflake
Cut out your snow flake and tape it to your wood slice.
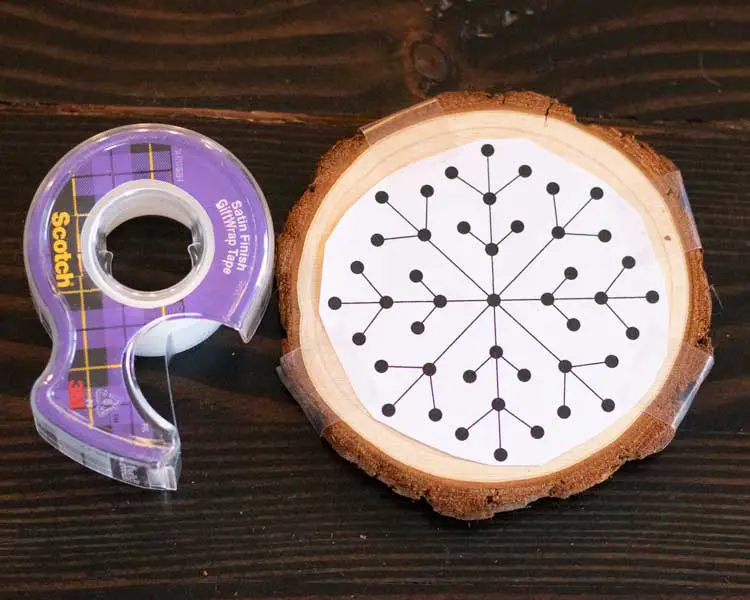
Take a pen and press in the center of each dot so, the ink bleeds through on to the wood.

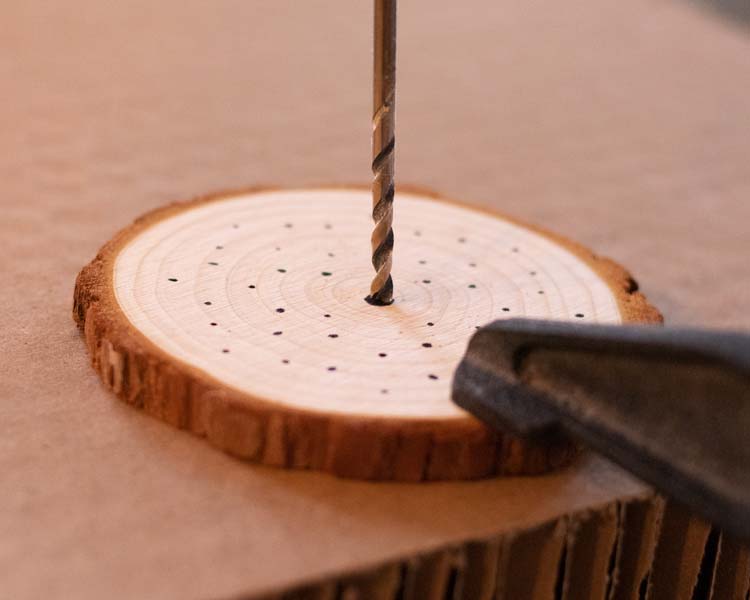
Step 3- Drill Holes
Drill your holes on each dot, do not throw away the template, you will use that as a guide for weaving later.
I used a 5/32 bit but if I had been making this on a bigger wood slice, I would have used a 3/16 bit. The bigger you make the hole the easier the weaving.
I recommend clamping down the wood slice, be sure you are drilling on a surface (I used cardboard), or elevated, so you do not damage anything underneath.
Step 4- Weave Your Twine
Begin weave you twine through your holes.
You will link two holes together with twine, one by one following the pattern, and tying off on one side.
I used slip knots, so I can continually tighten. Making room for more twine in holes that have multiple strands.
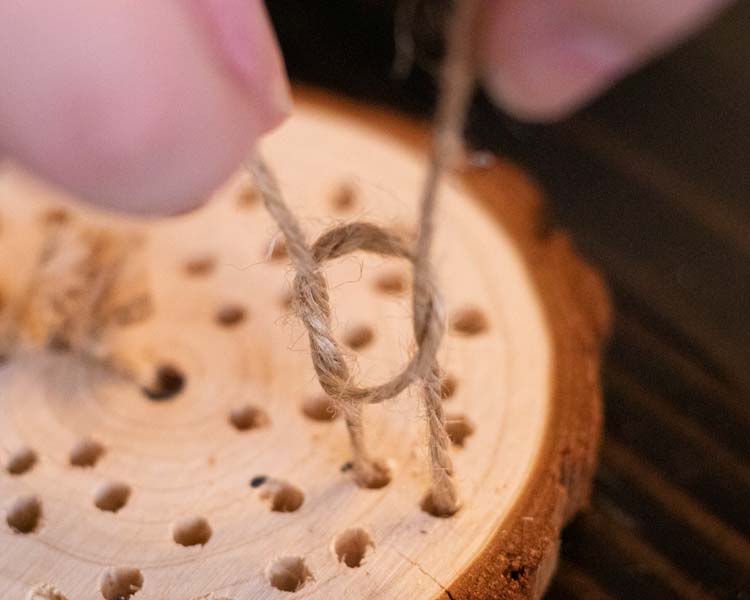
Cut off excess twine as you go. I would recommend leaving more then I did in the photo, making tightening is easier.
I keep a small bowl of water, dipping the the tip, making weaving is easier through the holes.
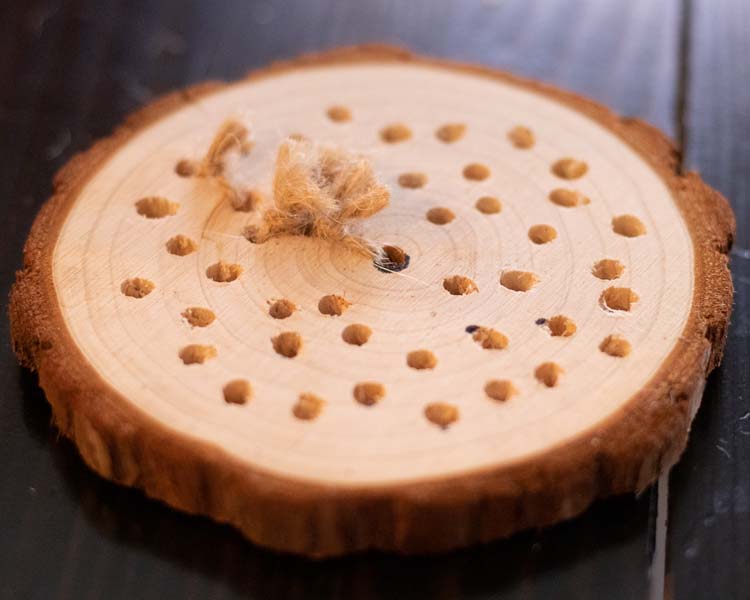
Step 5- Sealing Knots
Cut off excess twine on the back.
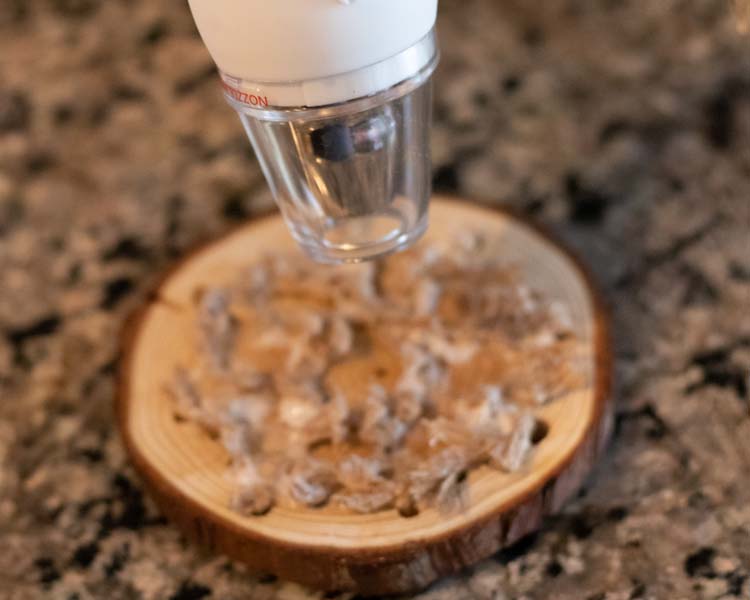
Use Mod Podge on the back to seal your knots.
This will make sure the slip knots do not come loose.

You can use a heat tool to shorten the drying process.
Be careful if you use a heat tool because wood can crack with uneven heat.
Step 6- Hang And Decorate
Add one more peace of twine through one of the holes. Tying it in a loop so you can hang on a Christmas tree.
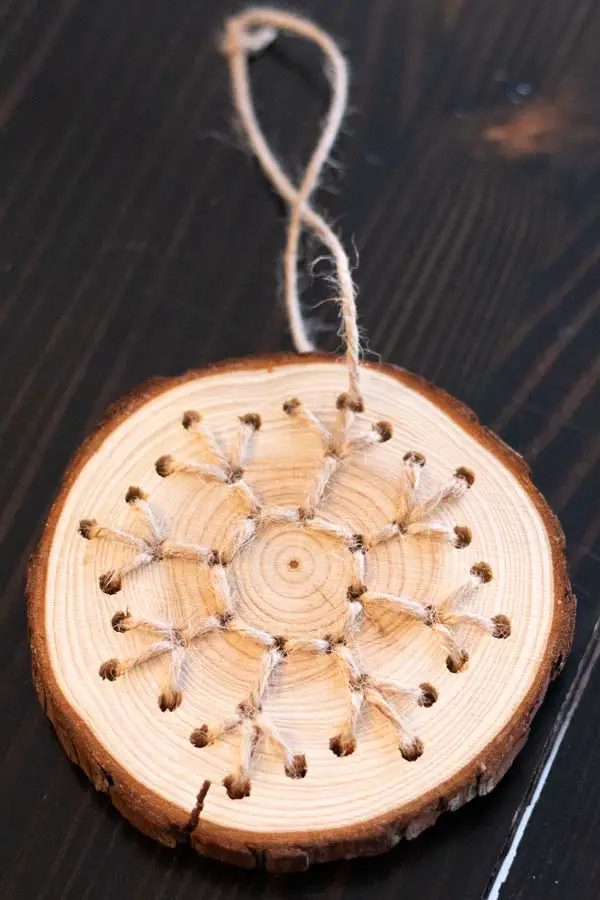
Decorate your Christmas tree, merry Christmas!