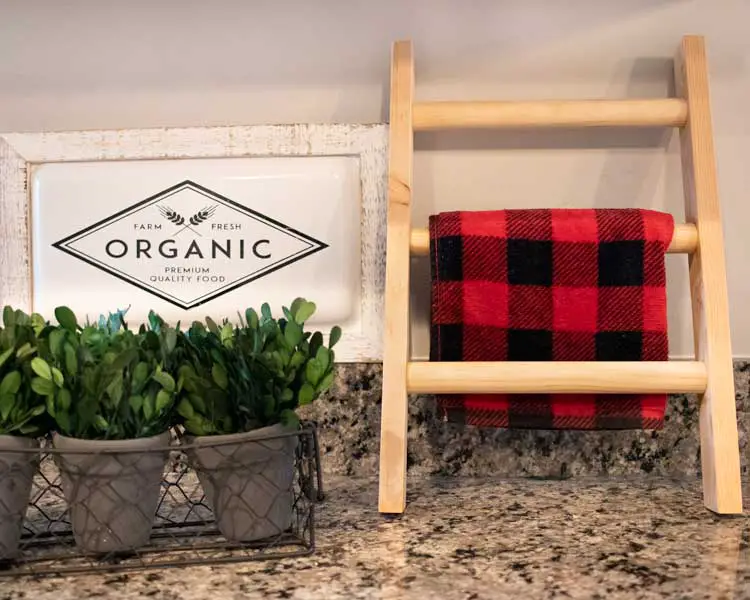
I love making mini-ladders because they are easy to make and are great home décor. I am always coming up with different ways to make them with different techniques, paints, and stains.
This ladder is one of my favorite methods because I do not need to use nails. For a tea towel ladder it is more then strong enough and will hold together extremely well. The wood glue does a great job, and I don’t have to worry about blow outs that nail can sometimes cause.
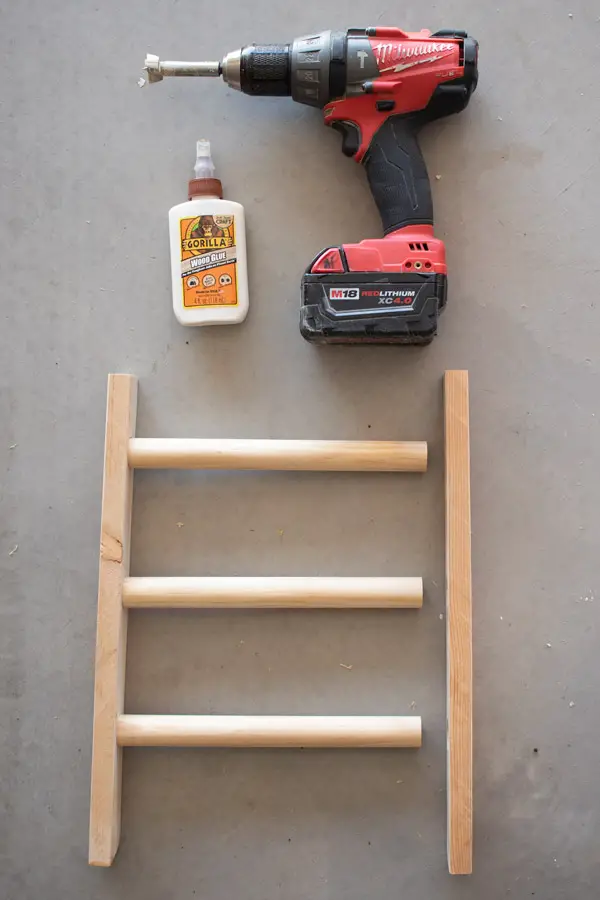
Tools And Supplies
- (2) 16″ long 1″ x 2″
- (3) 10″ long 1″ diameter wooden dowels
- Wood Glue (amazon)
- Stain/paint (optional)
- 1″ Forstner Bit (amazon)
- Power Drill (amazon)
- Miter Saw (some hardware stores will do cuts for you) (amazon)
- Wood Clamps (amazon)
- Sand Paper
Mini Ladder Steps
1. Cut Wood Pieces
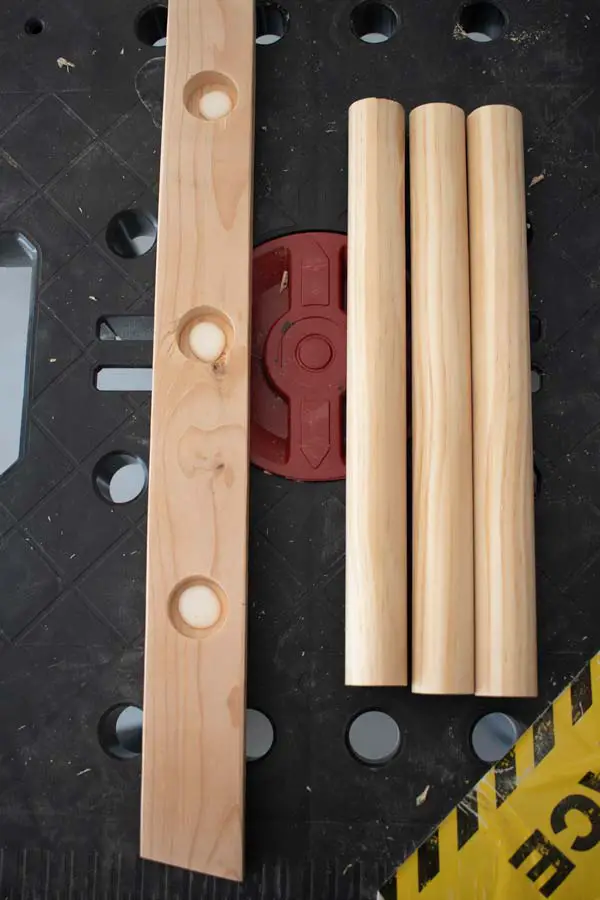
Cut (2) 16″ long pieces out of your 1″ x 2″ wood
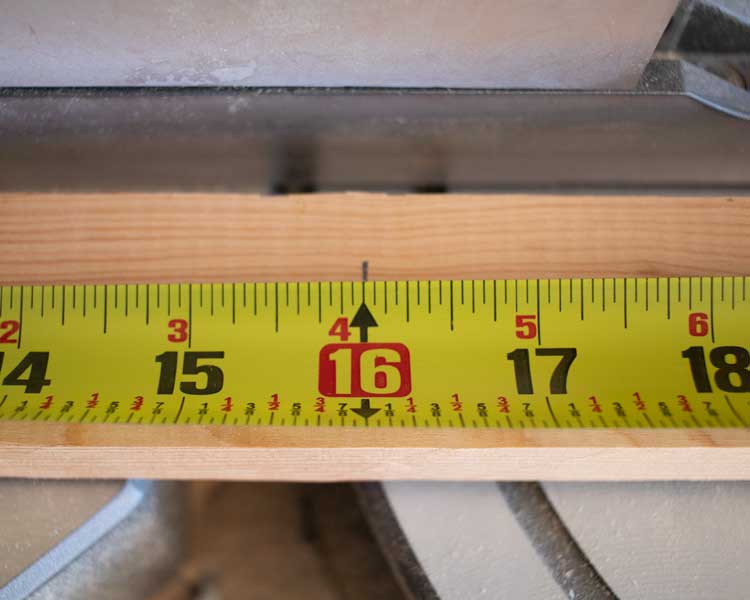
If you want an angled cut that leans better against walls, do that on one side of each of your 16″ pieces.
I angles mine a 12 degrees, which is still very up right with a slight lean.
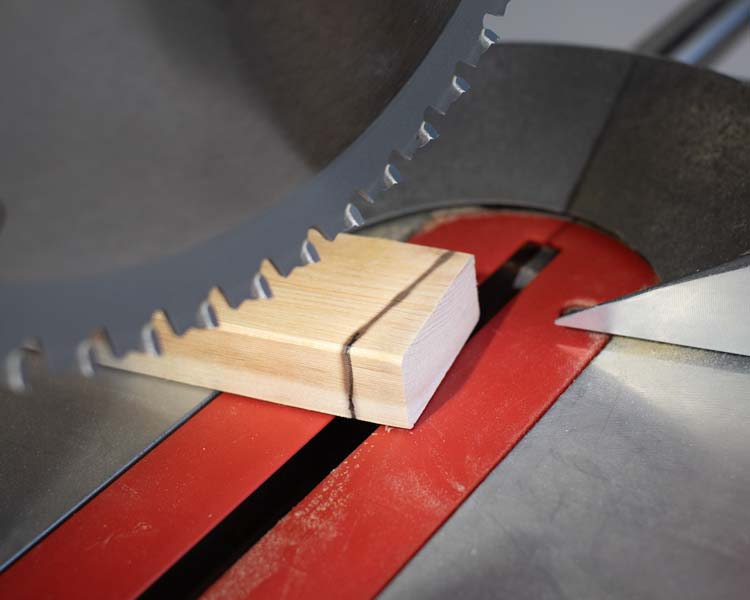
Cut (3) 10″ pieces from your 1″ diameter wooden dowels.

2. Drill Out Holes
Measure out where your holes will be.
From the top of your ladder, make a mark at 2.5″, 7″, 11.5″ in the center of your 16″ pieces.
If you have angled ends, make sure your marks are on the right side of each piece.
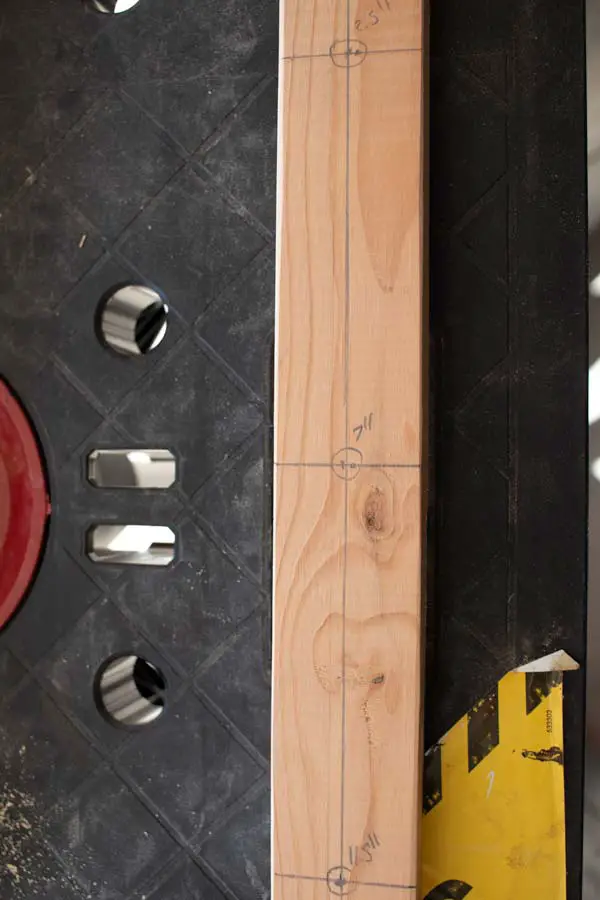
Use you Forstner bit to drill out holes at these marks, going down half an inch, or until the bits top is flush.

3. Sand, Stain, or Paint
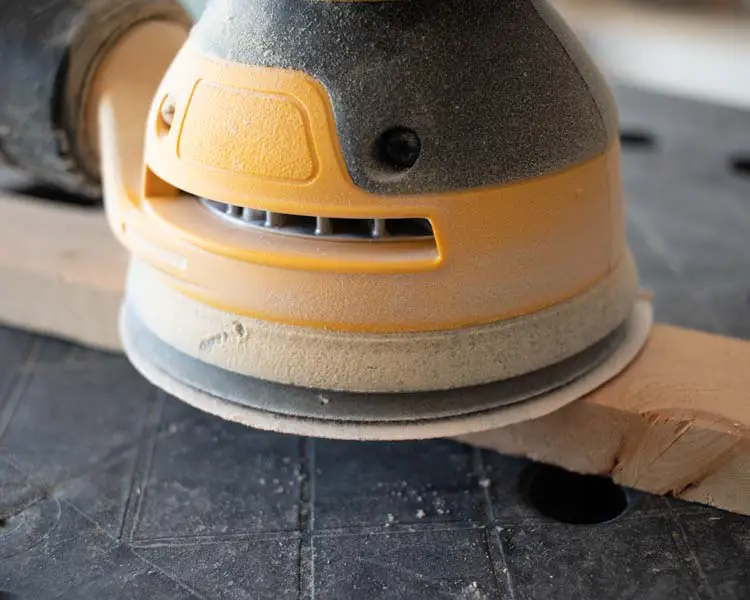
Sand your wood to make it smooth. I use an orbital sander with 120 grit sand paper
I decided to go for a natural wood color for this ladder, but at this point a wood apply my stain or paint.
The glue will stop stain from penetrating the wood so you would definitely want to stain at this point rather then after the ladder is put together.
4. Glue and Clamp
Put in a Nickel size amount of glue in all of the holes and put the pegs in.
Make sure to wipe glue as it comes out around the wooden dowels.
Clamp the ladder together, and continue to wipe the glue as it comes out.
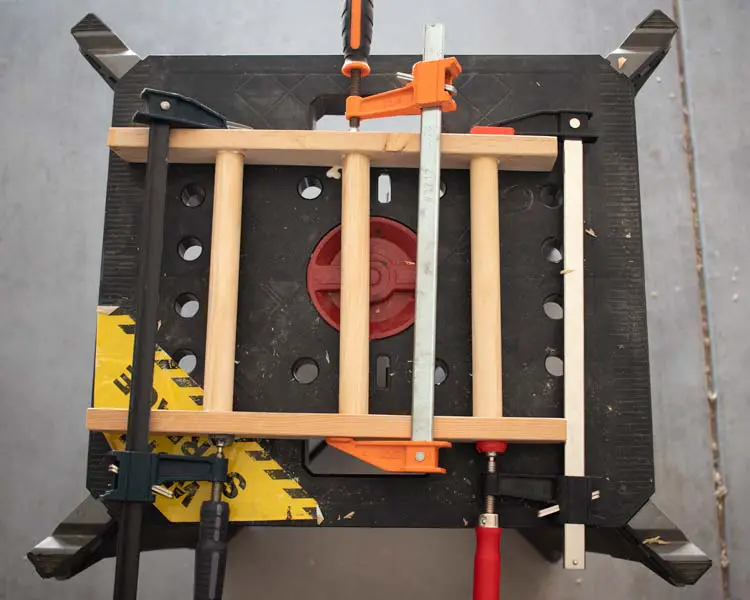
Wait a few hours and the glue should be dry enough you can use it to decorate.
I hope you enjoyed this home décor wood project!