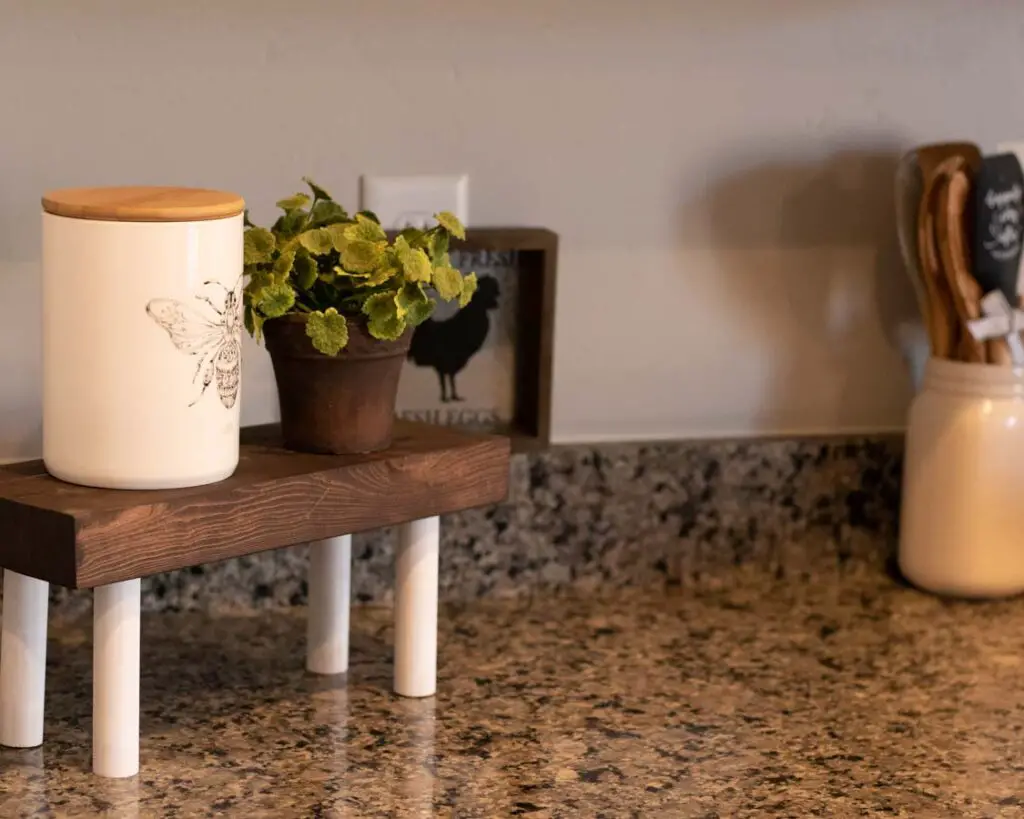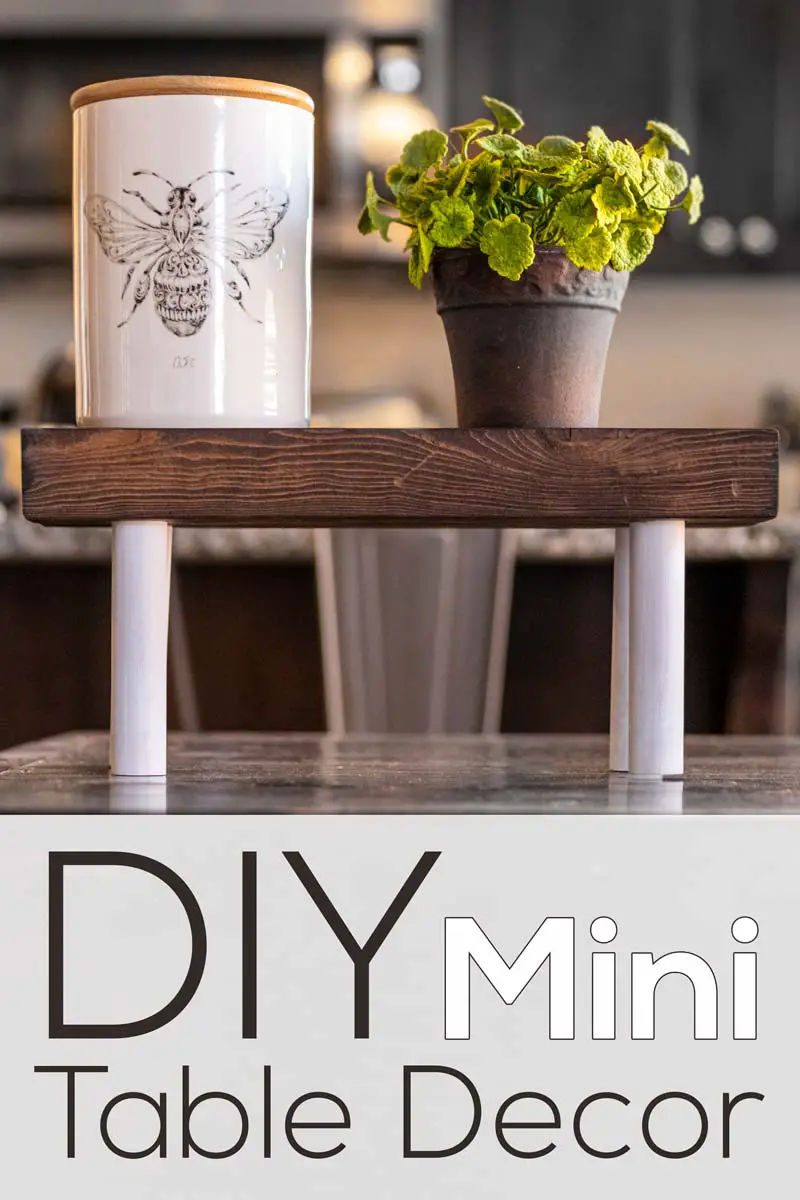
I love the Farmhouse style and the contrast between painted white wood and dark wood stains. That is why I decided to make this little mini countertop accent table.
This is a great pedestal to put cute decorations on all year round and here is a quick tutorial on how to make your own.
Tools And Supplies
- (7) 3/4″ x 1.5″ wood cut 14″ long
- (4) 1″ wooden dowels cut 5.25″ long
- (3) Wood Clamps
- Miter Saw (or pre-cut at store)
- Orbital Sander (or you can sand by hand)
- Power Drill
- Wood Glue
- Varathane Kona Stain
- White Paint
- 1″ Forstner bit (amazon)
You can find links to these products at the end of this post.
The Steps To Make Your Farmhouse Riser
Step-1 Cut Your Wood Pieces
Cut Your 3/4″ x 1.5″ wood into 7 pieces that are 14″ long.

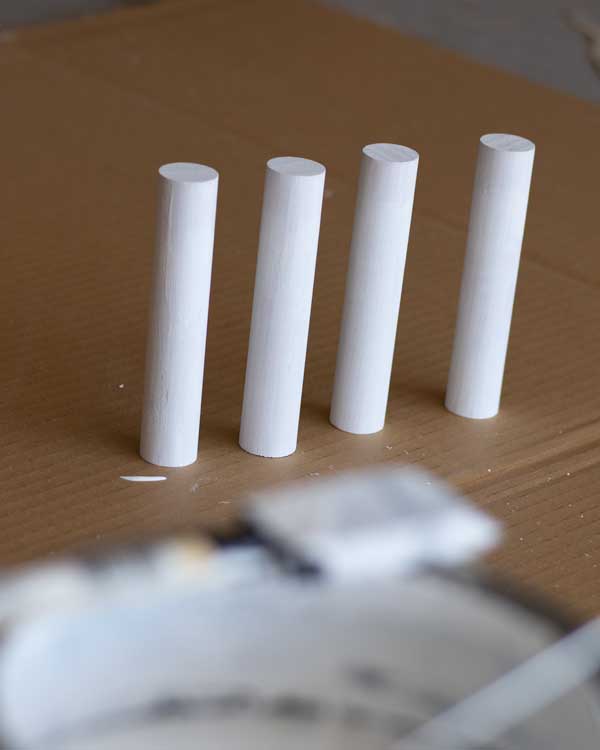
Cut your 1″ dowels to 5.25″ long
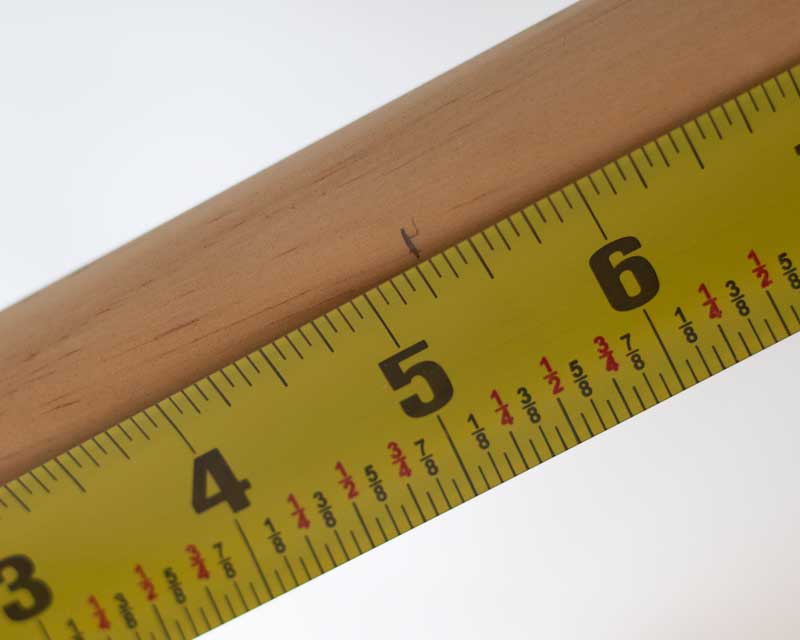
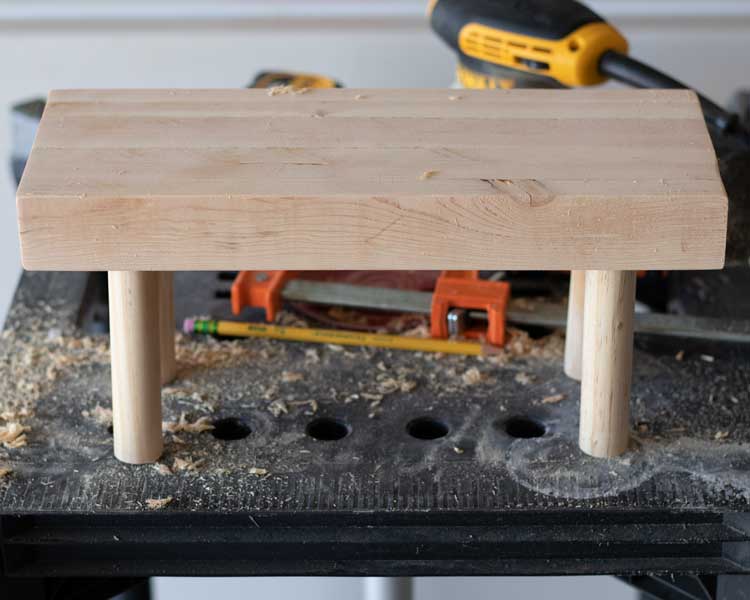
My finished pedestal riser, may be a little to high and could be shorter. If you want yours shorter, go ahead and cut your dowels to 4.25″.
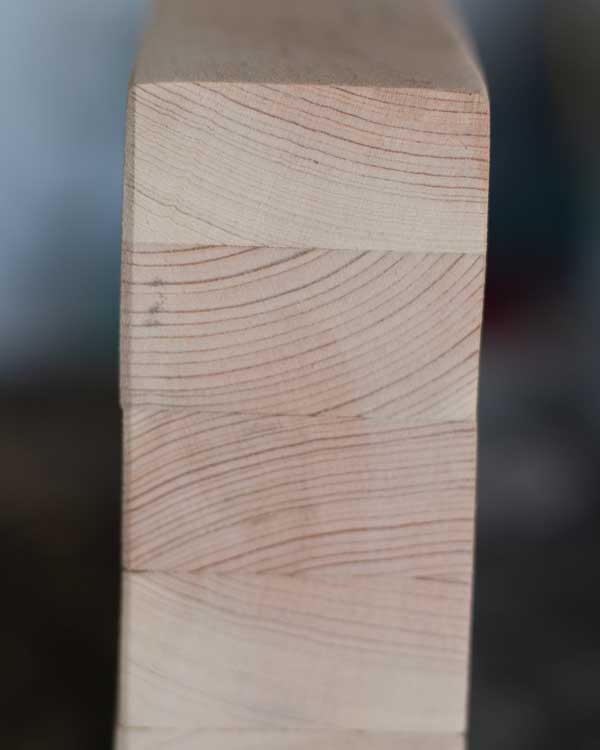
Step-2 Glue Together Table Top
If you have a planer (which I don’t) you can get rid of any bow in your wood and make sure they are perfectly flat. That will provide a tighter fit and better gluing surface.
What I did is rotate and flip the boards until I got the tightest fit possible. This method worked just find and everything held up well.
Apply a generous amount of glue in between boards.
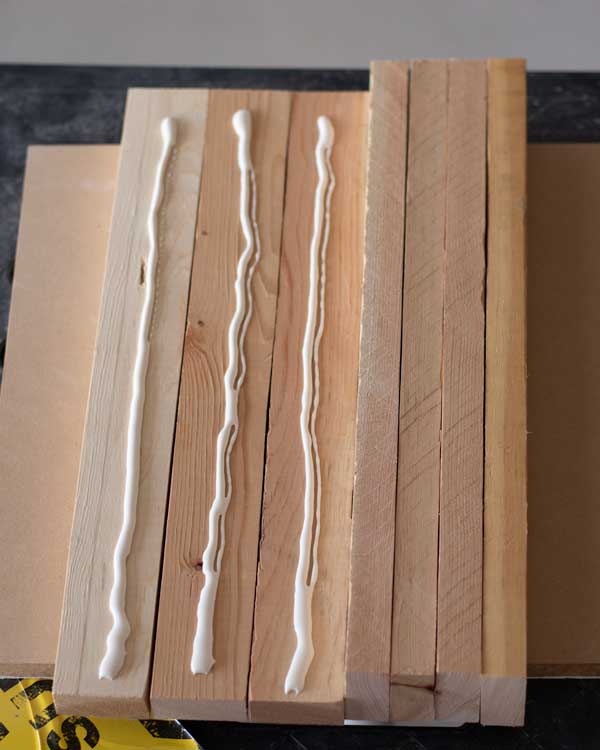
Line up the wood pieces and tightly clamp them together.
Let sit for 24 Hours, any less and you may not get a tight bond

You can wipe off the excess glue that comes out. Wait 24 Hours.
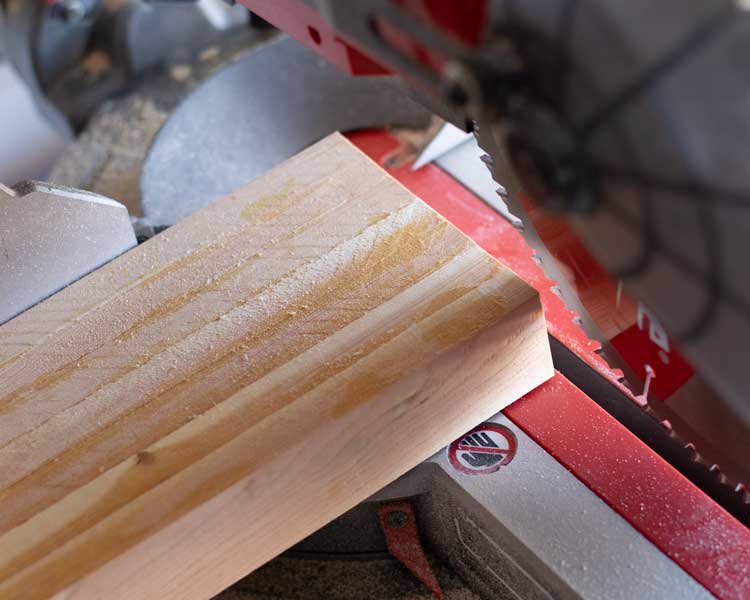
Step-3 Cut Off The Ends
If you have used precut pieces you got from the hardware store. You will need to take more care in the previous step to get ends flat as possible.
If it is a little off don’t worry, you can sand down the ends until they are flush.
If you have a miter saw I would recommend cutting off the ends, so you have less sanding to do later.
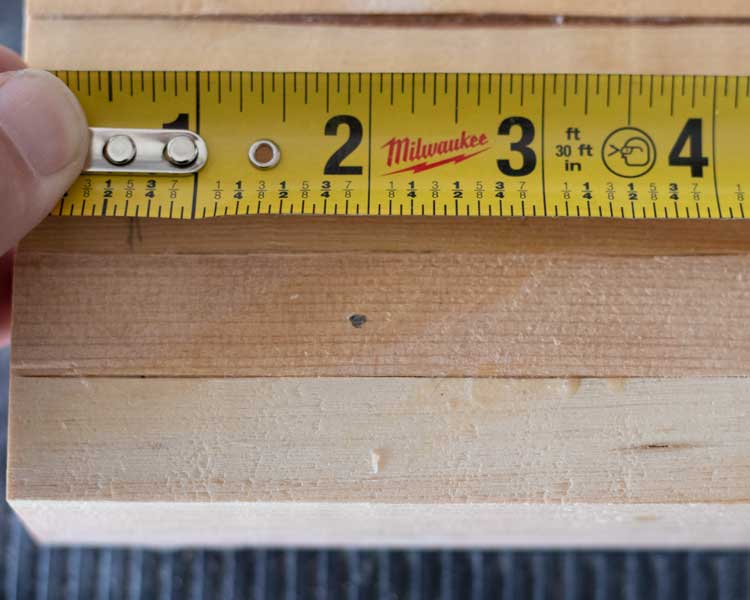
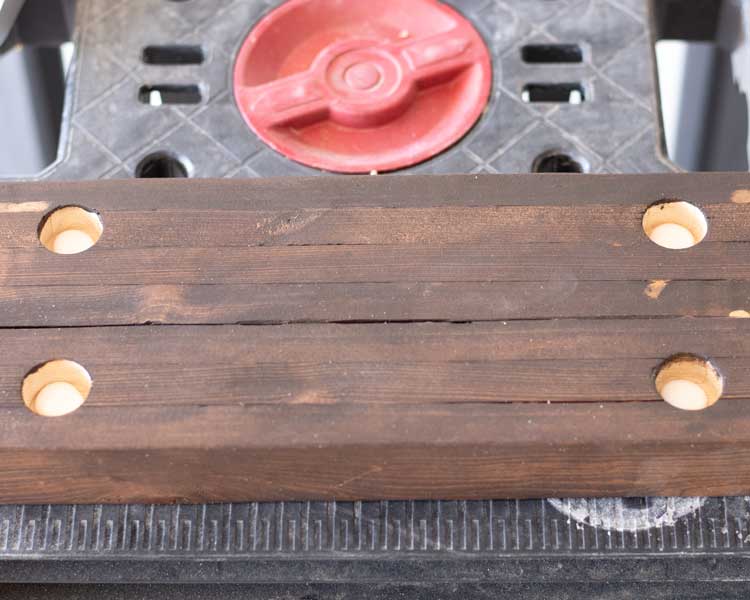
Step-4 Drill Your Holes
Mark where you will make your holes.
Mark 2″ from the end and in the middle of the second board in from the side. Do this on all four corners.
I drilled down 5/8″ with my Forstner. You can do less but it will be less sturdy, or more will be more sturdy.
You want to make sure they are all the same depth, if the depth is off you will have more work later to get the table top level.

Step-5 Sand Smooth
You can do this by hand, but I recommend a orbital sander. Smooth out all the sides so you have no raised edges or rough spots.
Also, make sure there is no residual glue. This will prevent stain from being absorbed in the wood.
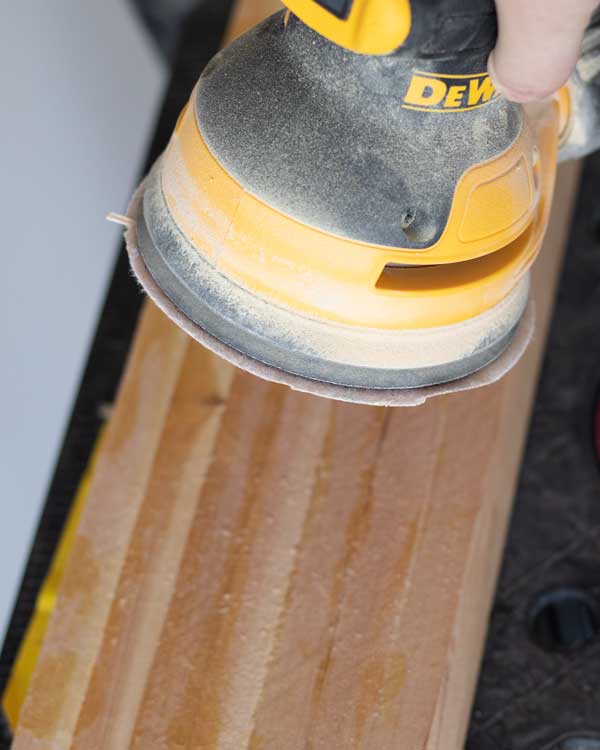
I also prefer soft corners, so I went over those too, and rounded them.
Step-6 Check Your Level
Put your dowel legs in, flip over the full pedestal over, and check if the table top is level.
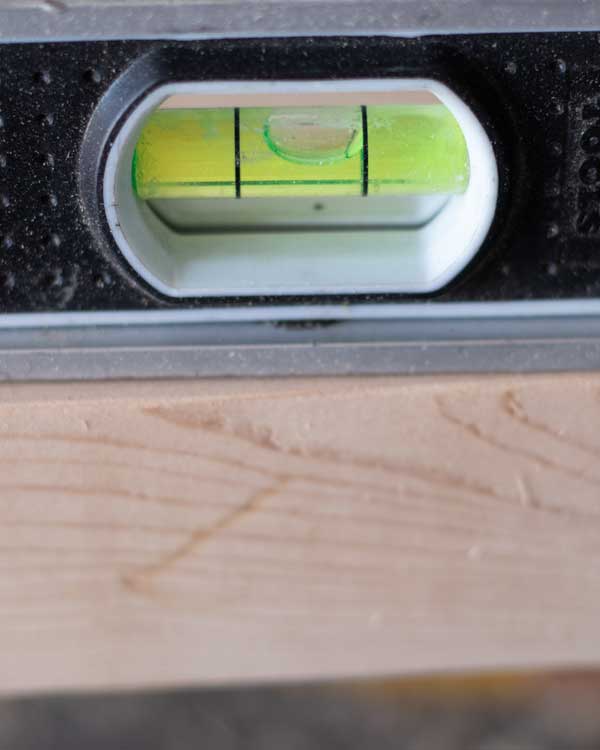
If the table top is not level. Go back in with your Forstner bit if there is a wobble, one of the legs must be sticking out further then the others.
If there is no wobble, and the legs are all making firm contact. You will need to sand down the table top more until level.
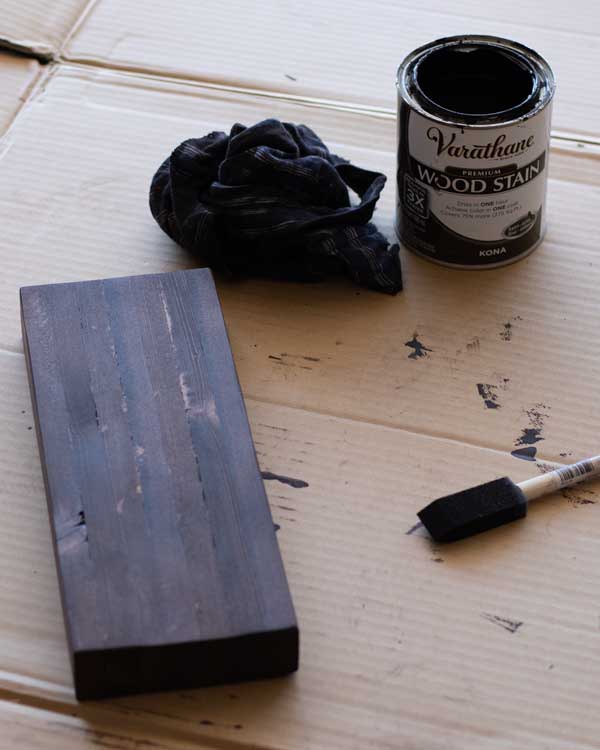
Step-7 Paint And Stain
Stain your table top using a brush and/or rag. I like a rich dark color and used Varathane’s Kona blend.
Apply your stain and then, wipe off with rag. The longer you let the stain sit and the more coats you do the darker the color will be.
I applied 2 coats. I applied my first coat, and quickly wiped if off. After checking the color I applied another coat to make the wood a little darker.
Be sure to not let the stain cake up in the holes where the legs will go.
Paint your wooden dowels as well and let dry. You don’t want the paint to thick, with to many coats, or you will have a hard time putting them into the holes on the table top.
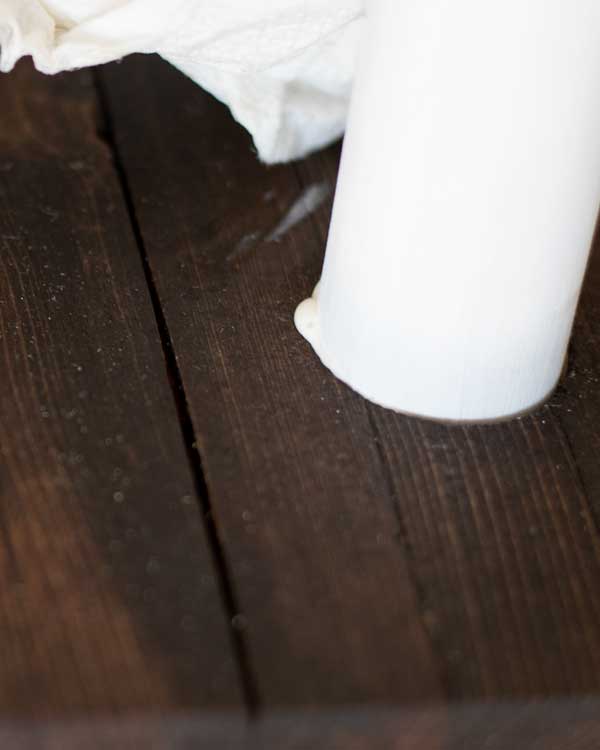
Step-8 Glue Your Mini Table Together
Put glue in all four holes and press in pegs.
Your may need to use a rubber mallet on the top of the legs to drive them into the holes. The Paint coats may prevent you from pressing the dowels all the way down.
You can also use clamps at this point on the four legs are pressed tightly in.
Wipe off the excess glue that comes out.
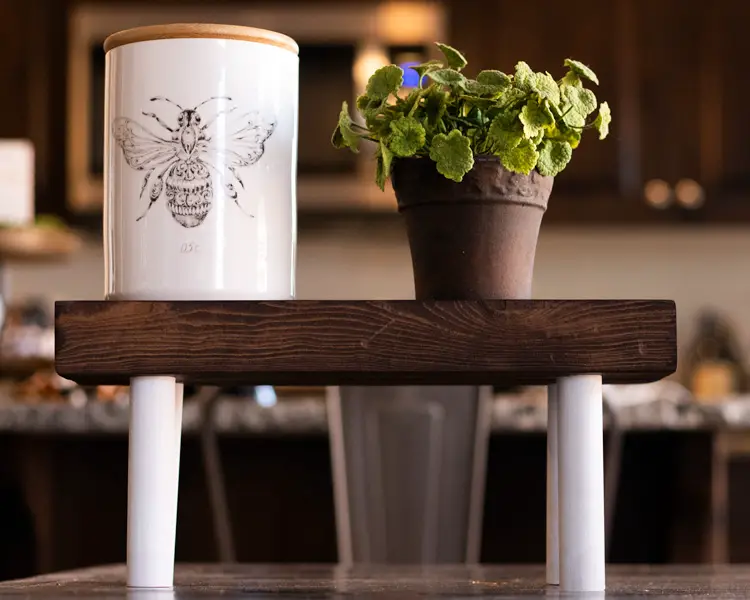
Step-5 Let Dry And Decorate!