
I take a lot of photos, of all sorts of the things, products, people, places. I am always looking to add a new background to my photography and videos.
That is why I made this distressed wood background. I plan to use it in my product photography and cooking videos.
I have made this tutorial on how we made it, so you can make one for your photos too. It would also make as a great background for a home décor sign, and I plan to make one of those soon.
Tools & Supplies
- 1×6 Wood
- 1×2 Wood
- Saw (or pre-cut wood at hardware store)
- Stain (Kona)
- Paint (White house paint)
- Sand Paper (80 Grit, 120 Grit, 220 Grit)
- Orbital Sander (optional)
- Wood Glue
- Wood Clamps
- Kreg pocket hole jig (makes slats more sturdy, but there are other options)
- Drill
- Polyacrylic (optional)
Distressed Wood Backdrop Steps
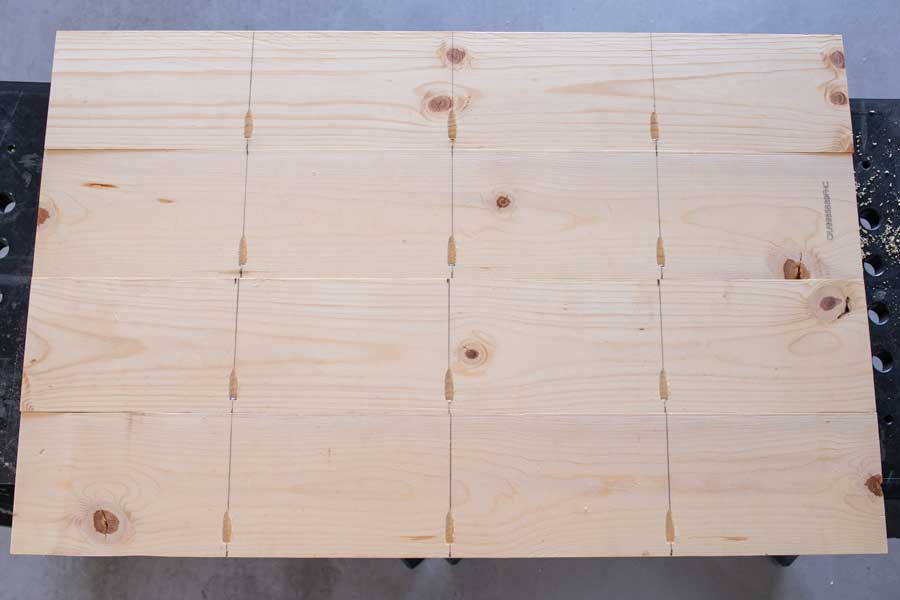
Step 1- Cut Wood Pieces
Cut your wood slats to the length you want them, I cut mine to 34″. I cut 4 slats.
Cut your 1×2 just shy of your width, if you want them hidden. I cut mine to 29″. Cut 2 for back of your backdrop.
Step 2- Drill Pocket Holes
I drilled three pocket holes on 3 of your slats. I did four so I could rearrange them if I wanted before I screwed them together.
I put pocket holes at 8.5″, 17″, 25.5″
Screw you slats together.
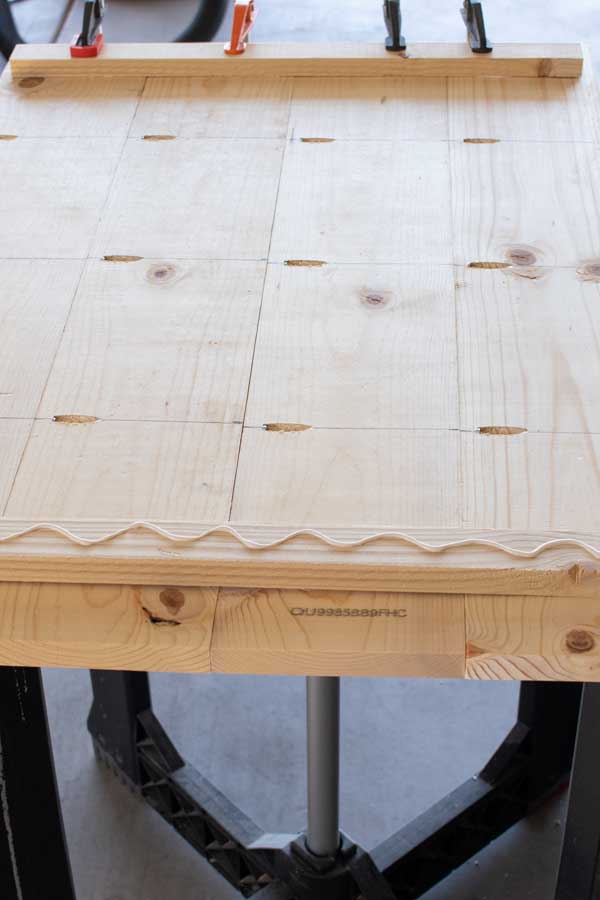
Step 3- Glue on Support Backing
2″ from the sides, centered across you slats, Glue on your 1×2 wood pieces.
Clamp them down and let dry.
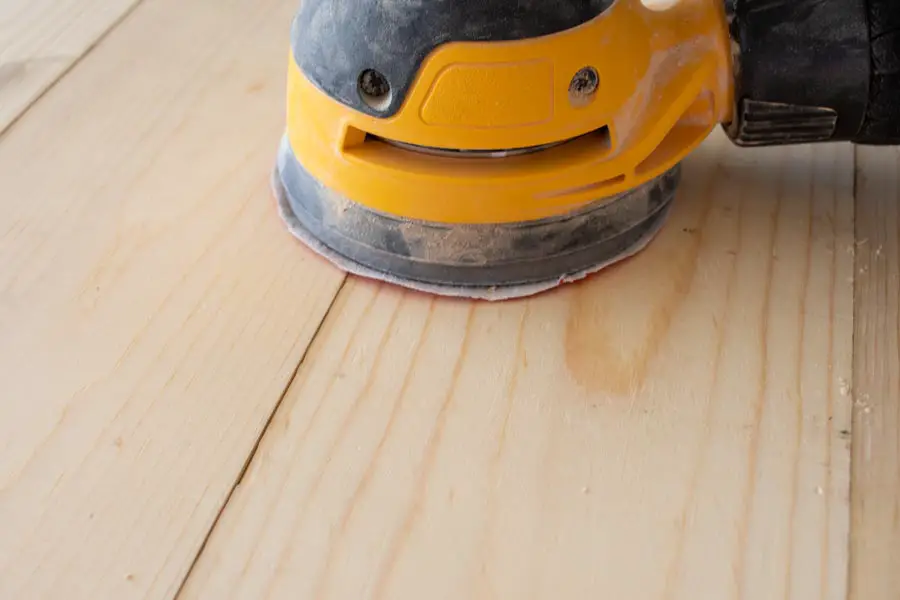
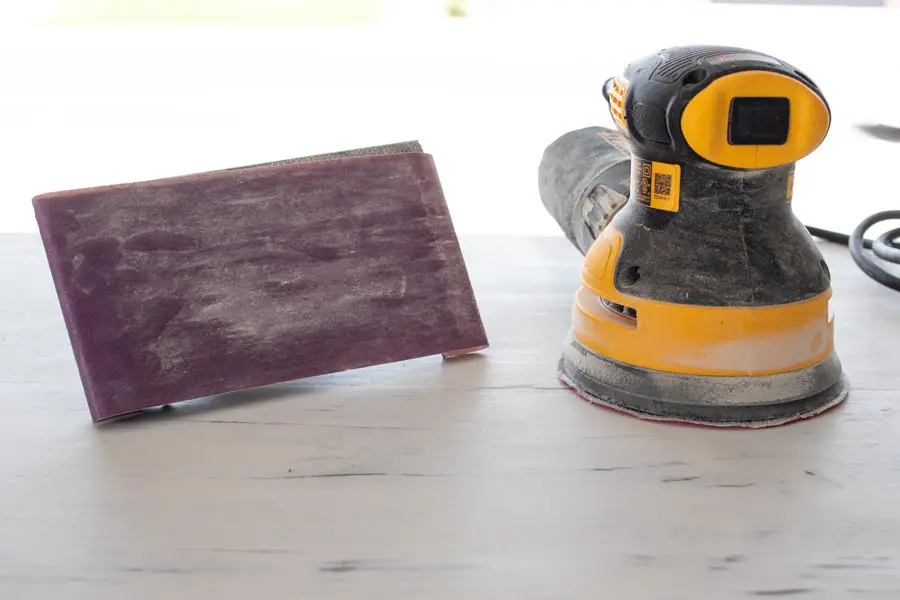
Step 4- Sand Down Surface
It is likely that your wood slats are not completely flat because of wood warp.
Sand down, your wood until it is as flat as you want it.
Use 80 grit to sand down quickly, but use 120 or higher after to make your wood smooth.
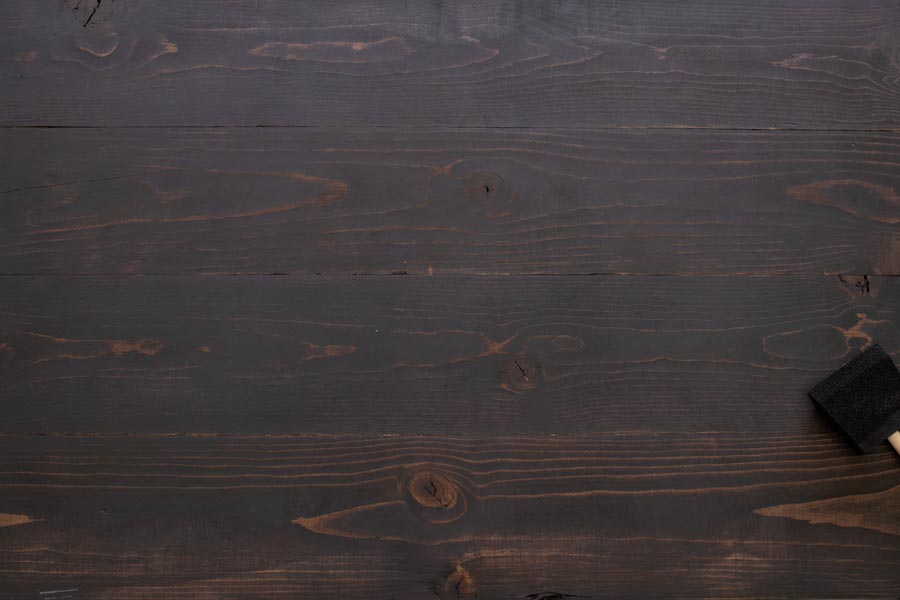
Step 5- Stain & Paint
Apply a coat of stain to your surface, and wipe it off with a rag. Let it completely dry.
Apply two coats of paint, You don’t want the paint to be to thick because you will be sanding a lot of it off in the next step.
Step 6- Distress the Wood
I recommend for this step (and the next) you wear a good mask or a respirator, and do this in a well ventilated area.
Once your paint is dry, Sand down all over with a 120 grit sand paper, and then concentrate in select areas all over until you reach the stain.
Use 80 grit sand paper in select areas to create a scratchy effect.
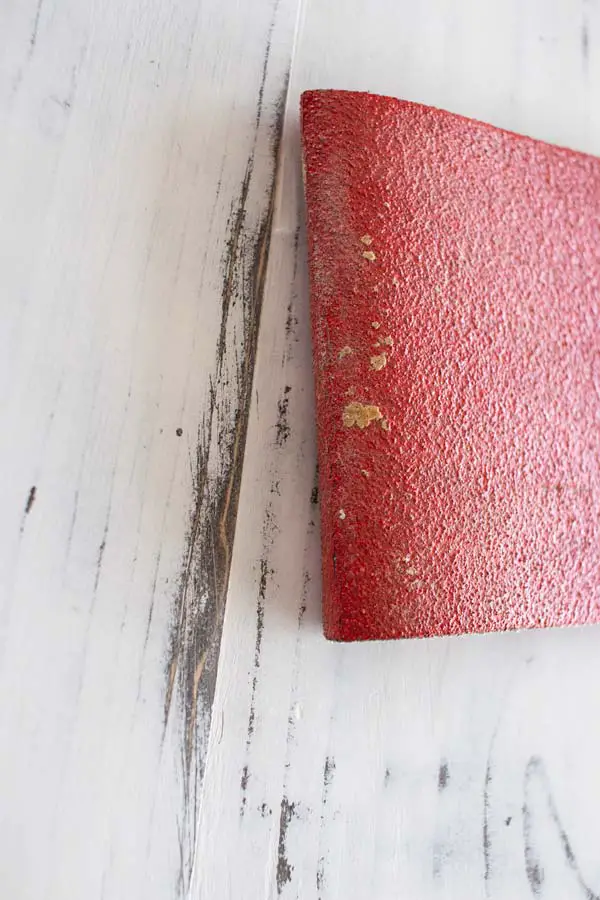
Sand all over with 220 or higher until the surface is smooth. Wipe off the dust when you are done.
Step 7- Seal (optional)
Use Polyacrylic and apply 2 or 3 layers. Use 220 grit sand paper, or higher, between layers to make sure you do not have any bumps.
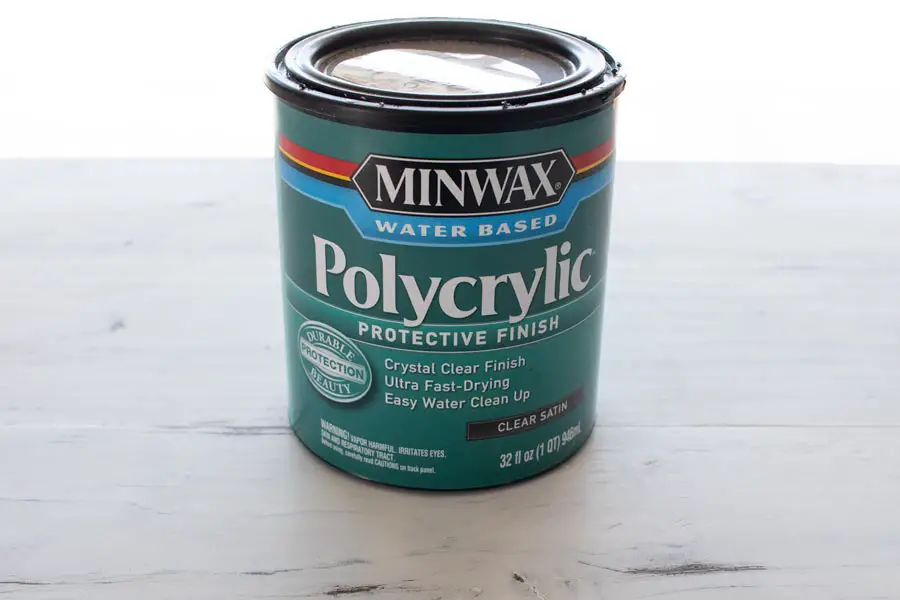
I recommend using a matte finish, or satin. You do not want the surface to be to glossy or your lights will reflect off the surface.
Here is an example of the finished Backdrop.