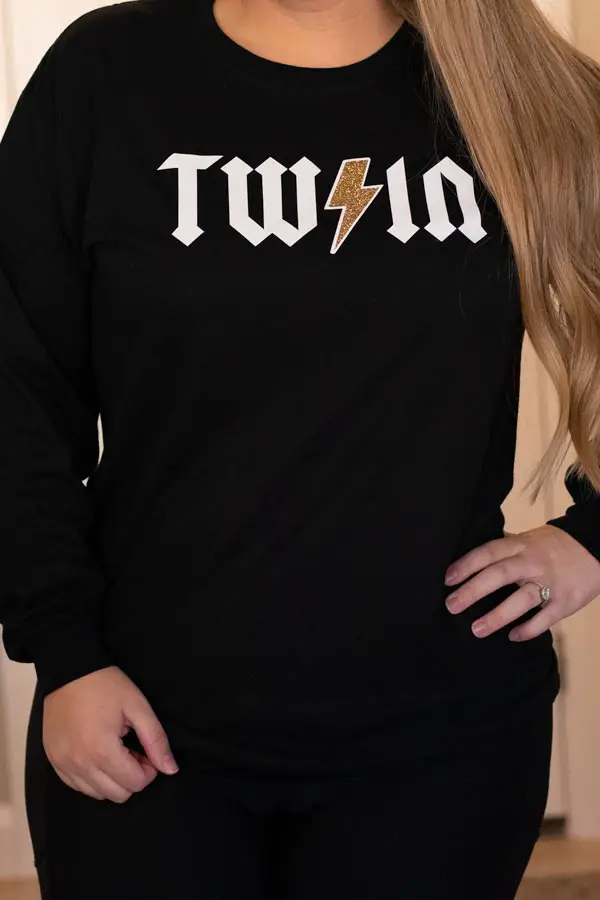
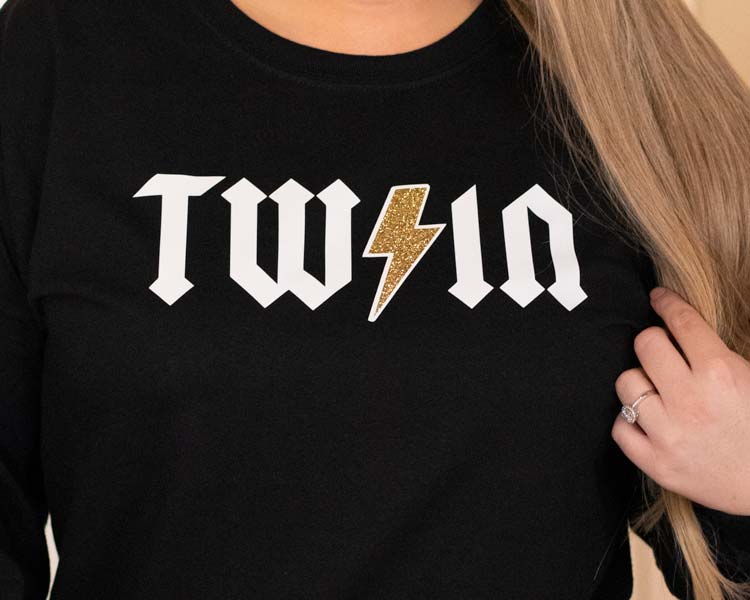
This is an easy techniques I use to line up layered HTV projects. It is simple and removes gaps that can happen when layering vinyl.
It is also a good technique for lining up your heat transfer vinyl layers so they are level and not tilting.
If you like this design and want to recreate it, you can download my thunderbolt SVG from my shop here or you can find it in the resource library. The font used is Squealer on dafont.com.
Removing Gaps From Layered HTV Design
Most the time you are going to have SVG layers the fit perfectly together like this.
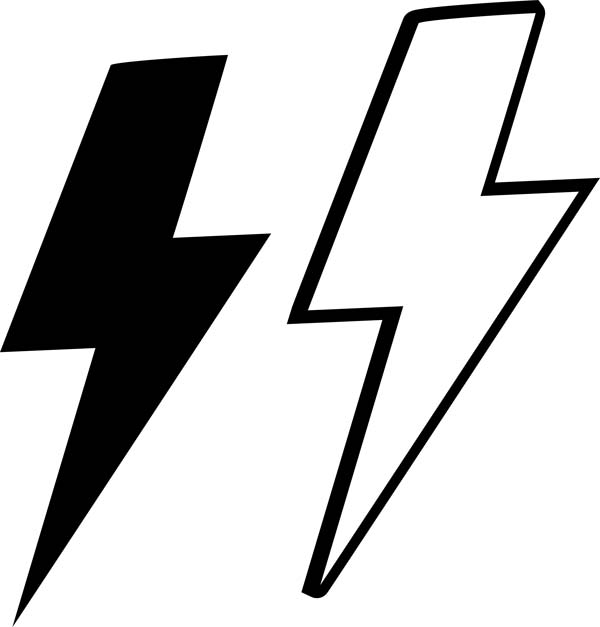
You are going to have a hard time lining these up perfectly. Even if you do, you may still have gaps because of the heat warping the vinyl when pressing.
To fix this you want them to overlap slighlty.
Isolate what is going to be on the bottom layer.
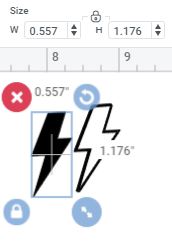
Then increase the size of that layer slightly. You are going to want to do this in the dialogue box to be more precise. Don’t go over board with increasing the size, you only need to add a little.
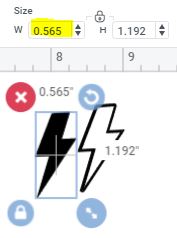
Check and make sure you did not over do it, by changing the color of the bottom layer and putting it over the top of the top layer.
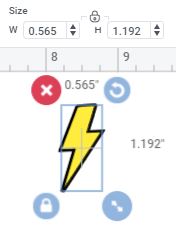
If everything looks good, go ahead and cut and move to the next step.
Lining Up Your HTV Layers
The trick is to press you layers together and then center them on your shirt as a single unit.
You want to make sure that you cut you pieces so you have extra plastic backing on the under layers.
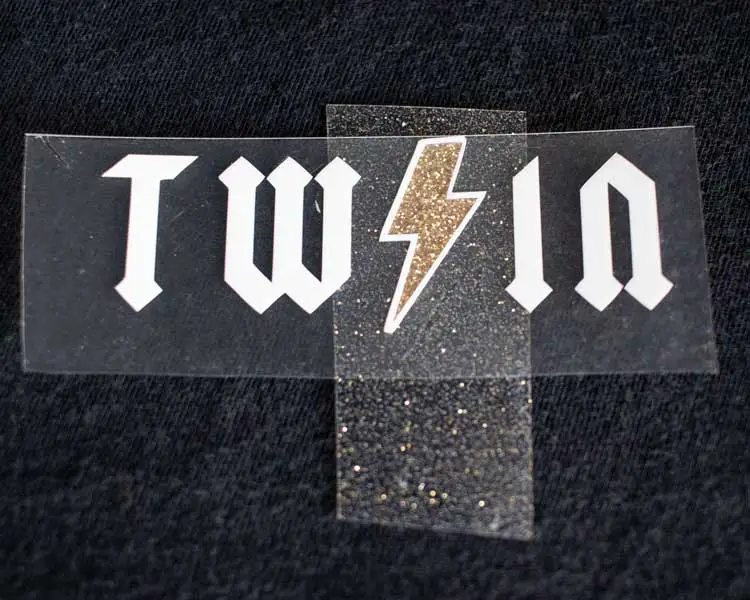
Once your design is lined up, press on the bottom layers tab, and pull off the upper layers.
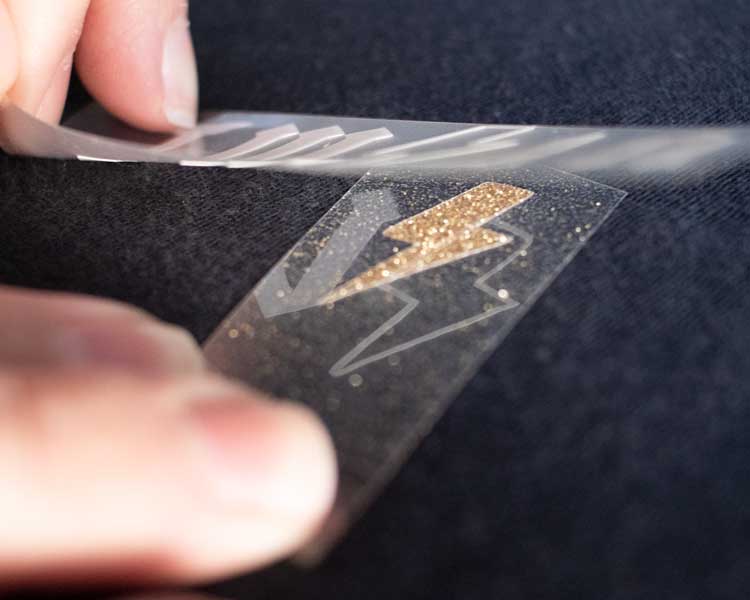
Press on the bottom layer.
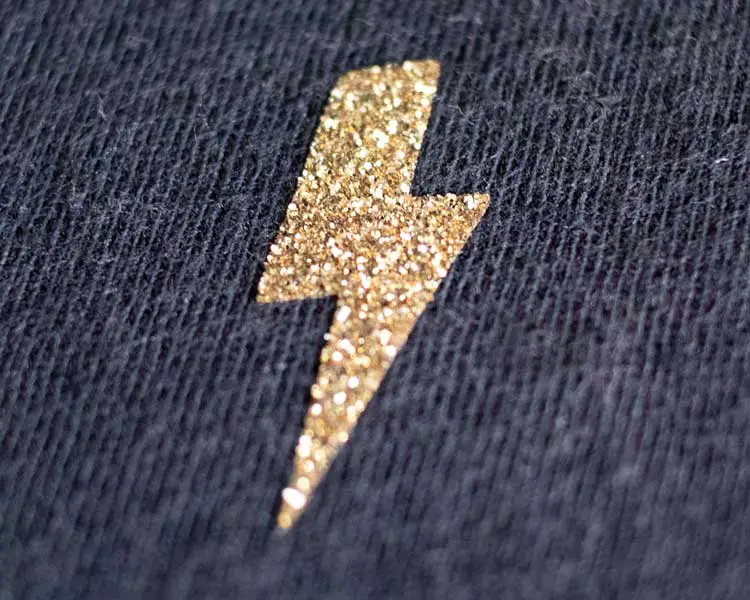
Then line back up and press on the top layer.
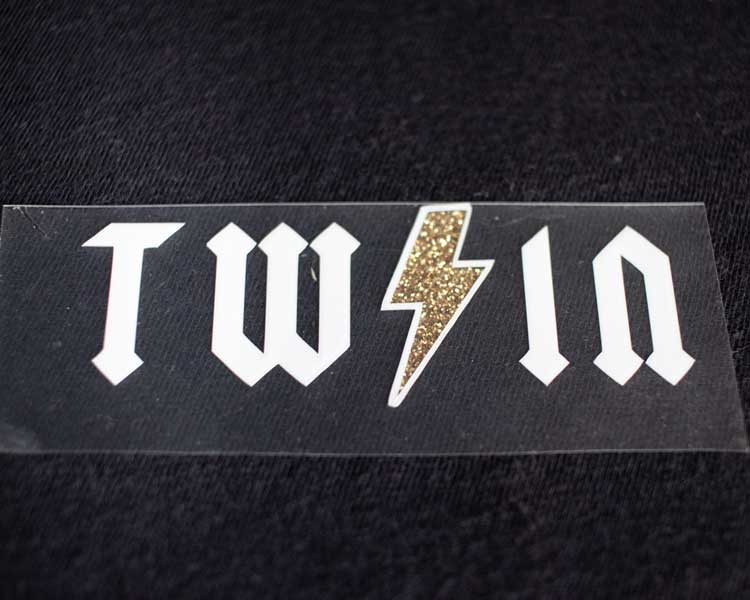
Results, no gaps and straight!
