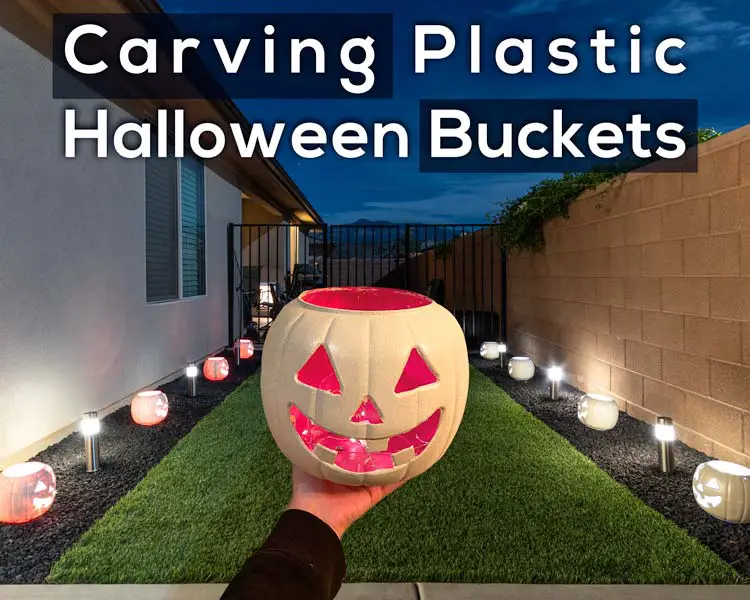
I wanted to decorate our backyard for Halloween so I bought plastic pumpkin buckets, carved the mouths out, painted, and added some fairy lights. This project was pretty easy to do. You only need a few supplies to transform these buckets!
Pumpkin Supplies
- Plastic Pumpkin Buckets (from Walmart)
- Acrylic Paint
- Spray Paint
- Wood Burning Tool with Knife Attachment
- Fairy Lights
- Mask (to wear carving plastic and spray painting)
Carving Your Pumpkin
For this step you need your wood burning tool. Attach the knife part to your tool, and turn on the temp to high. Once your tool is hot, go ahead and start carving the face out of your pumpkin. Take your time with this step so you don’t accidentally cut out of the lines.

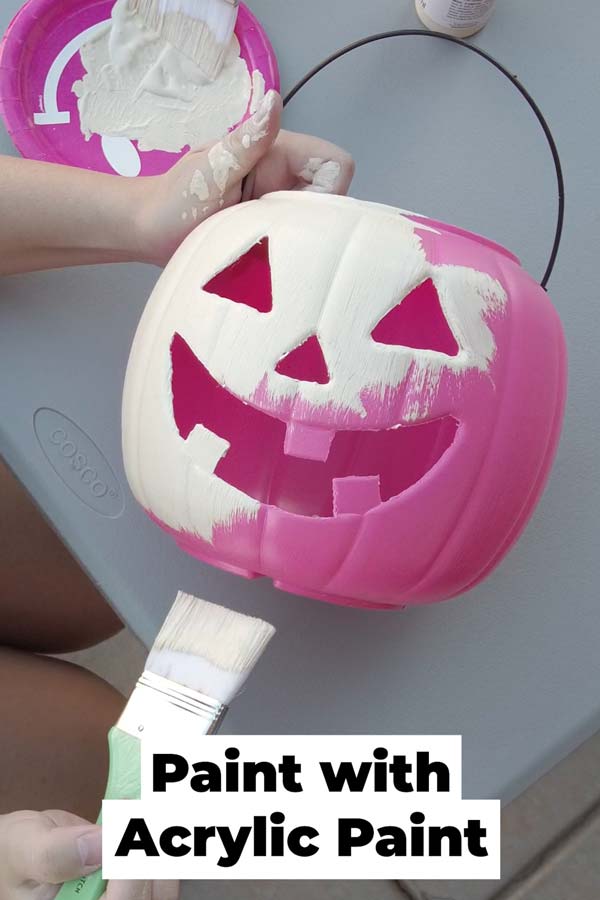
Painting Your Pumpkin
Paint your pumpkin with acrylic paint before you spray paint. We attempted to only spray paint, but kept missing parts so we decided to paint acrylic paint on the pumpkin first, then let dry.
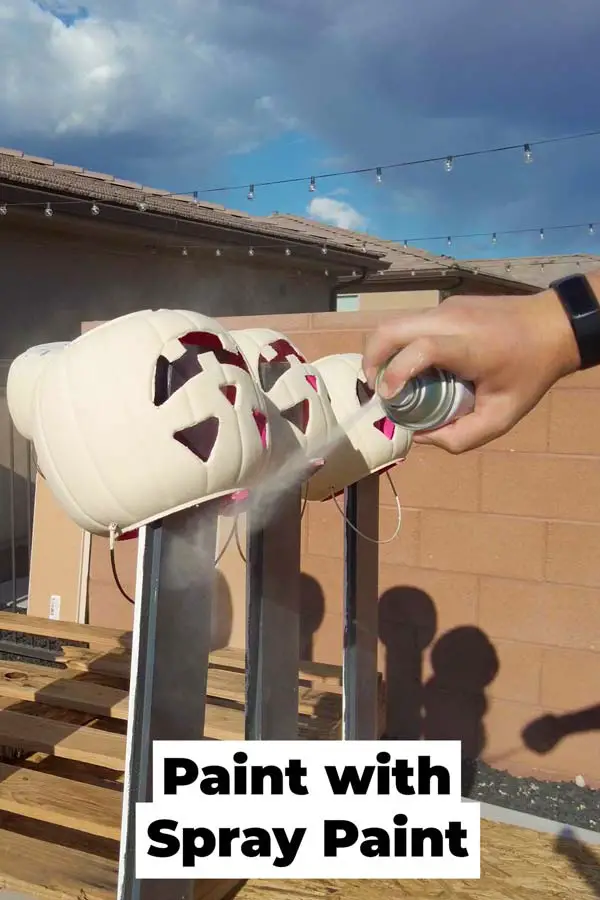
To give the buckets a more smooth coat, we then added a layer of spray paint.
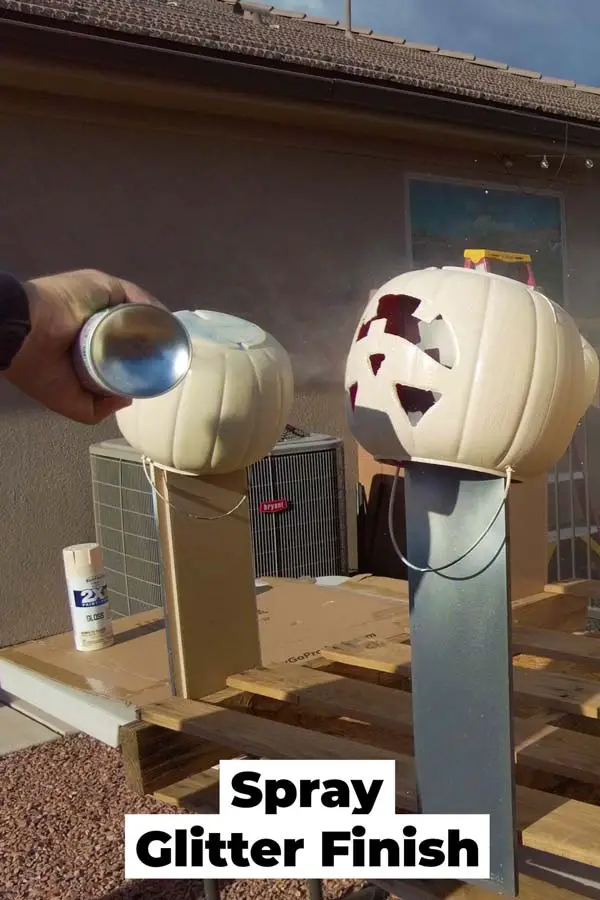
To add a little detail to the buckets we then added a glitter finish while the paint was still a bit wet. Up Close you can tell it is there, but from far away not so much. It’s a totally skippable step.
We did the same steps for the blue and pink pumpkin buckets, but when its dark out you can still see the pink through the white paint. I wish it was less see through, but it still looks cute! The blue buckets aren’t see through though.
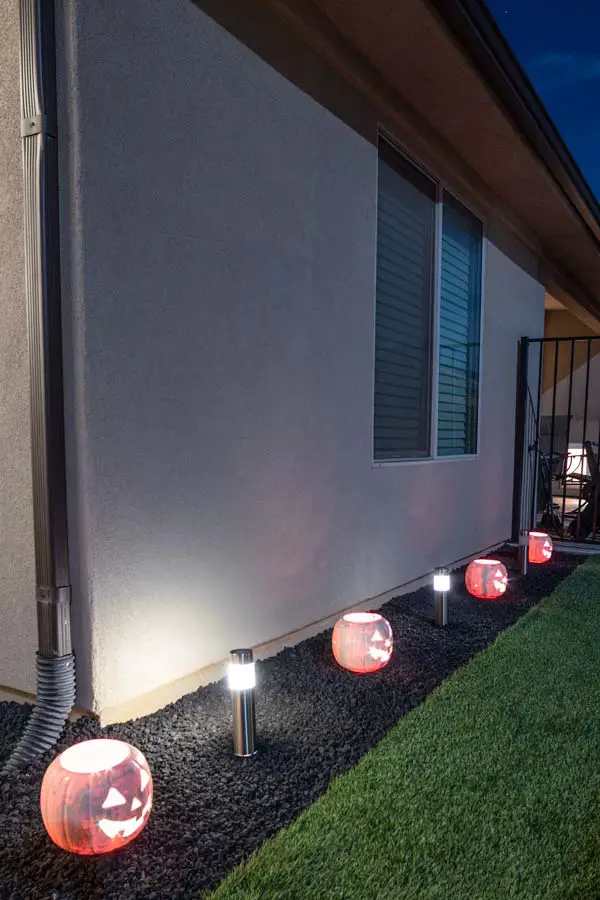
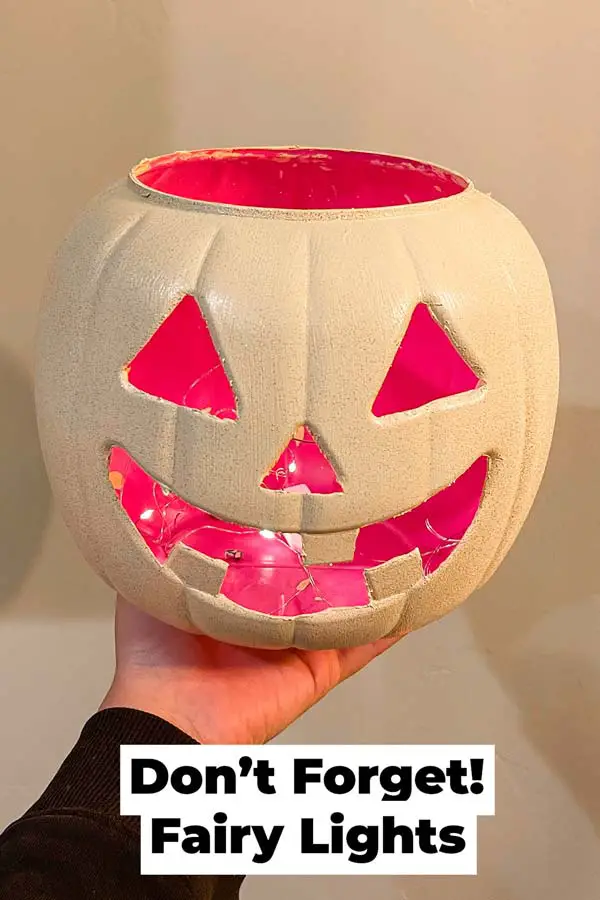
Add Fairy Lights
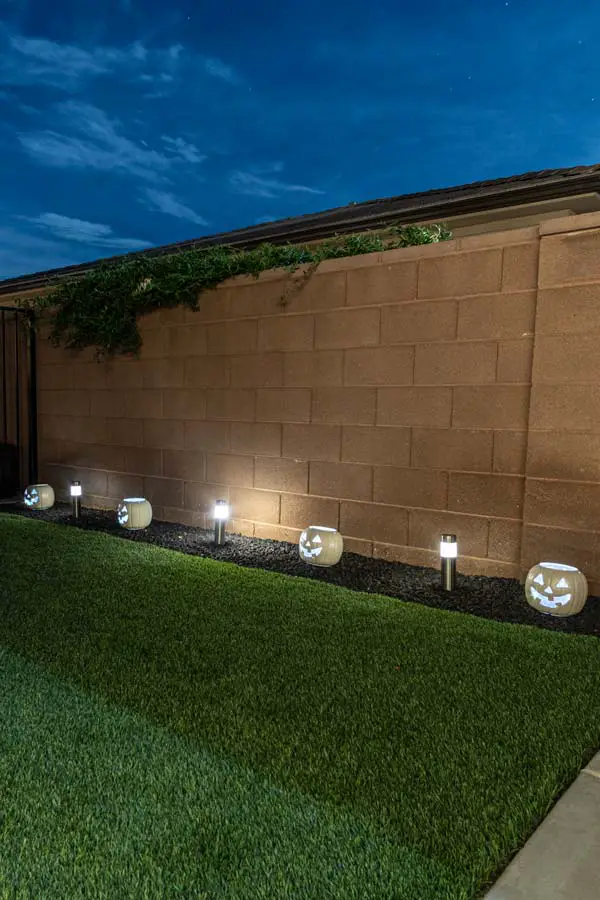
Once all your pumpkins are painted, it’s now time to add fairy lights! You could even add a few tea light candles if you didn’t want to use fairy lights for this project.
Overall I’m happy with how this project turned out! I think they will be a hit when we have our Halloween party!