I based this design off a coffee table that I saw at target. It is very simple to make and the only power tools you will need is a circular saw and a router. The base of the coffee table is made of two interlocking pieces and the table top is prefabricated stain grade blank I got at Lowes.
The best part is you can build this solid wood table for under $100 bucks! With current wood prices that is pretty amazing.
Tools And Supplies
- 1-in x 36-in RadiusEdge Unfinished Pine Board
- 3/4-in x 20-in x 6-ft Square Edge Unfinished Spruce Pine Fir Board
- Circular Saw
- Clamps
- Router
- Flush Trim Bit
- Drill
- Square
- Glue
- Sand Paper
- L Brackets
- Stain (I used Odie’s Oil and Creative Colors)
Coffee Table Building Steps
Steps 1- Cut Your Base Pieces From Panel Board
Tip: Make sure your circular saw will make square cuts, using a square.
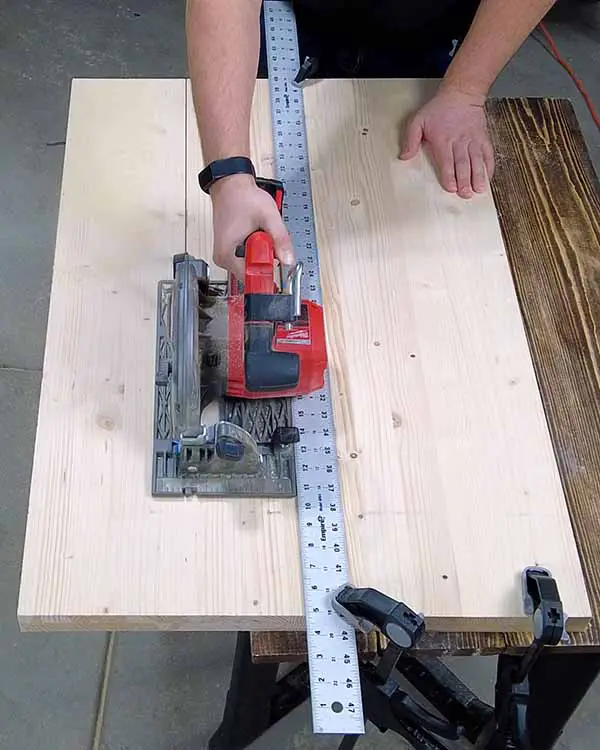
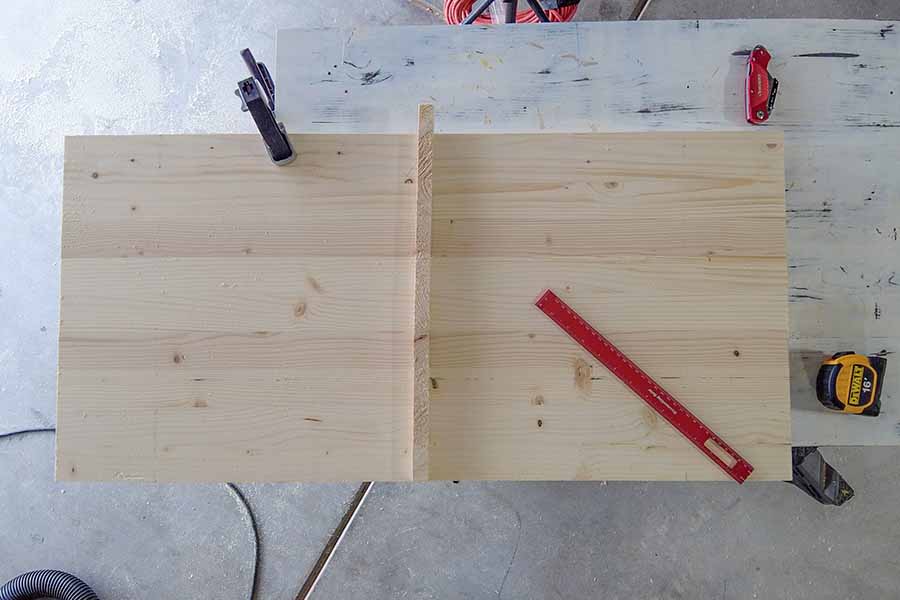
Cut down two pieces of your board to 35 1/4″ inches. You want to cut is shorter then the diameter of the table top because of the rounded edges. If you where able to make or purchase a table top that hasn’t been rounded over then I would cut to the exact length as the table top.
You can cut your first piece off the whole board. Use something with a straight edge as a guide rail for your circular saw.

Using the same method above cut your other long piece down to the same size, 35 1/4″.
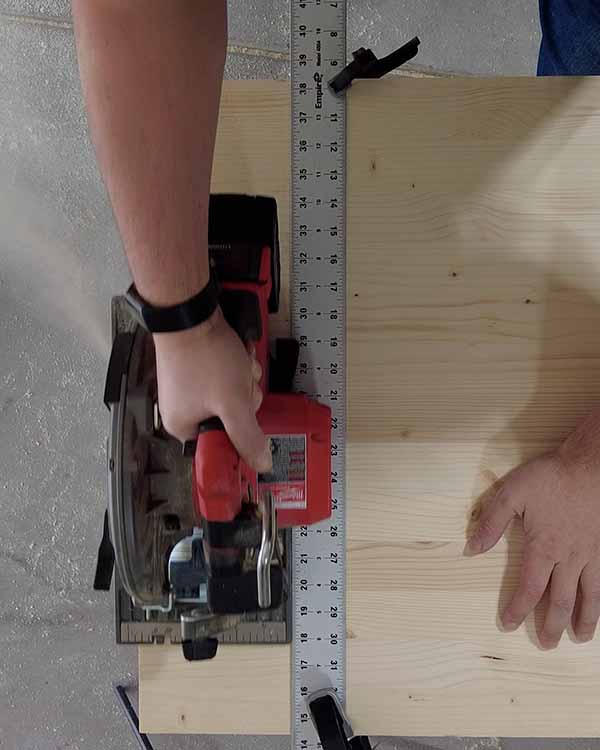
With both your pieces cut lay them over the top of each other and match the corners up. Clamp the together tightly.
Tip: if they are not lining up perfectly, Line up the sides that you know are square from the factory and then run the table saw over you cut edges using a ruler as a guide and making sure the ruler is square with the board with a combination square.
Cut you boards length wise for your desired table height. I cut my pieces to 17″, which gave me a final table height of 18″. If you prefer to cut your boards individually you can, but cutting them together will make sure the line up perfectly.
Step 2- Routing Out Your Grooves
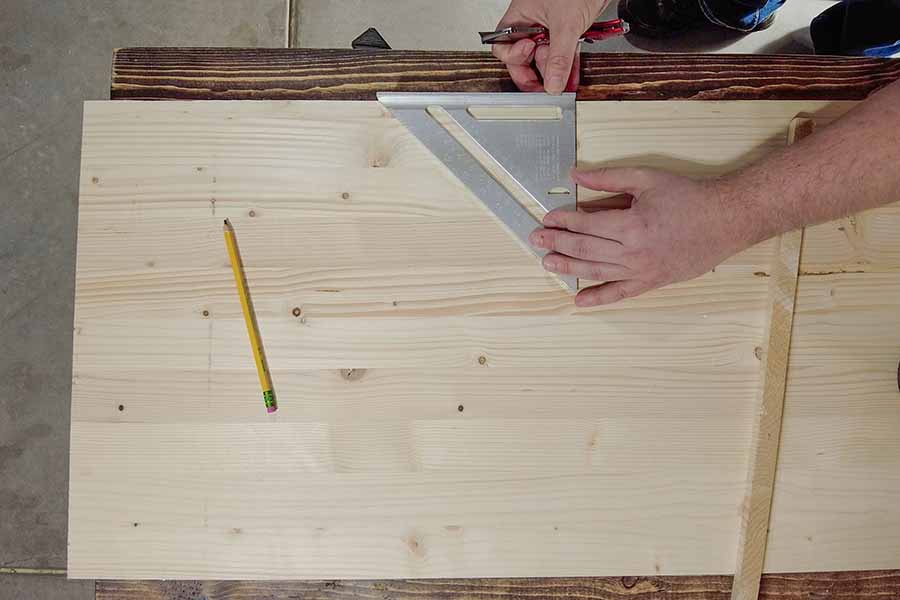
The next step is to make these two pieces interlock by cutting out a gap in the center of the boards halfway through.
Measure and mark the to the center of your boards, that is by length and width. Then mark center on boards on one of the long sides. You are going to draw out with a ruler the notch you will be cutting out.
Tip: You can use a cut off piece as a template, but still use a ruler for drawing you lines because the wood may have bowed.
Draw out a rectangle that is in the exact cent of your boards that extends from one side to the center. FYI it is better to go just paste center then it is to go just under. If you under cut you boards won’t interlock so the top and bottom are flush.
Tip: Use a mechanical pencil or a razor blade to draw out your notch. You want these boards to have tight of a fit as possible and a regular pencil will bump your line out.
Build a template for your router. I used some scrap pieces of plywood that had straight edges.
Very Important: If you build your template this way make sure it is clamped down hard. I didn’t and my templated ended up shifting on me, messing up my cut.
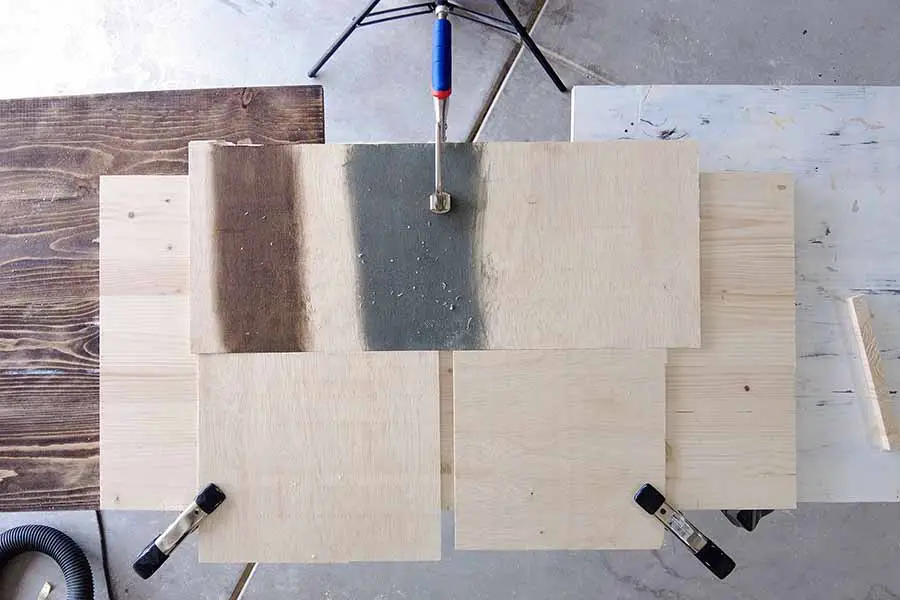
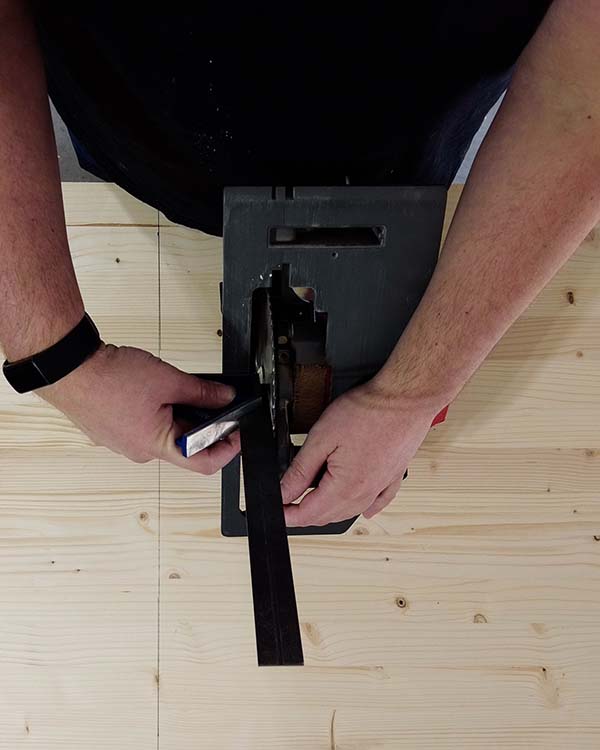
Using a flush trim bit with the bearing on the bottom. Use your template to cut out your notch on both boards. Remember to over cut to the center so the pieces lock all the way. You can cut exactly to the center but you will need to use a chisel to square off the end because the router will end with a circular notch and not a square one.
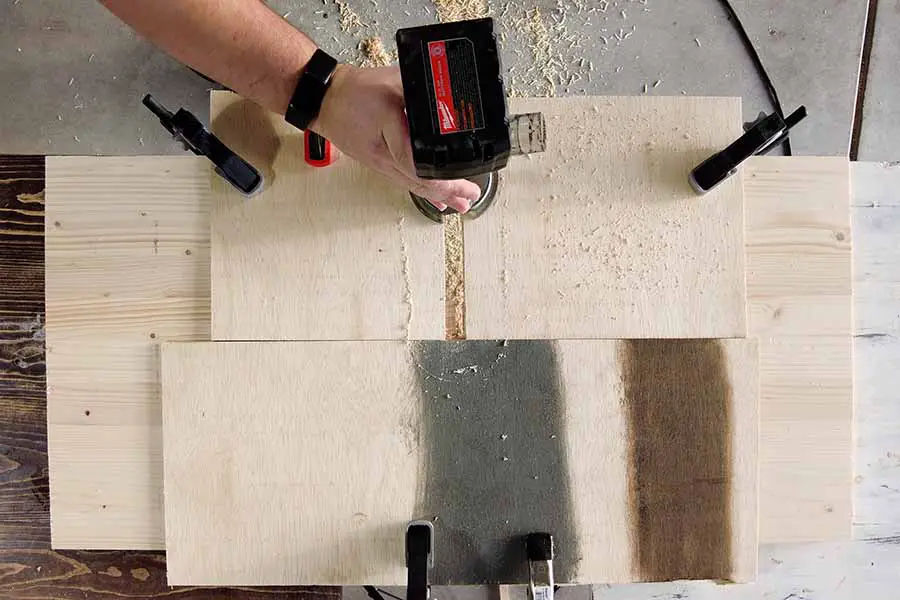
Tip: Once you have your first piece routed out you can now use that as a template to cut the second.
Step 3- Sand And Stain
First thing is to sand everything down, I like to use and orbital sander and get up to a 220 grit.
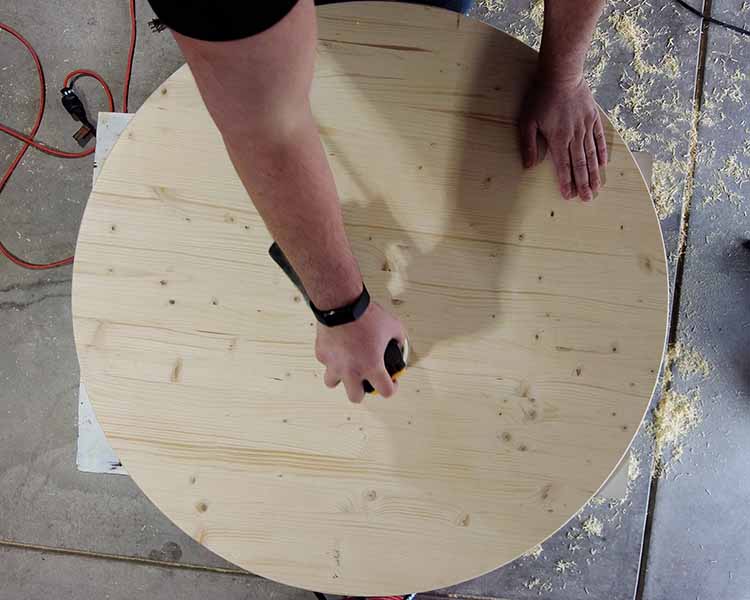
After you wipe off all your dust it is time to apply your stain and finish.
For this project I used Odie’s Super Duper Oil, which is nice to work with because it is non toxic and smells really good.
I mixed Odie’s Super Duper Oil with to color pigments they offer. The first was Titanium White, and the second was Coffee.
Note: Be careful adding to much pigment like I did, it made it a real pain to buff it out. If you use a modest amount of pigment you should have no trouble.
Apply your Odie’s Oil Mixture Using a white Scotch-Brite pad.
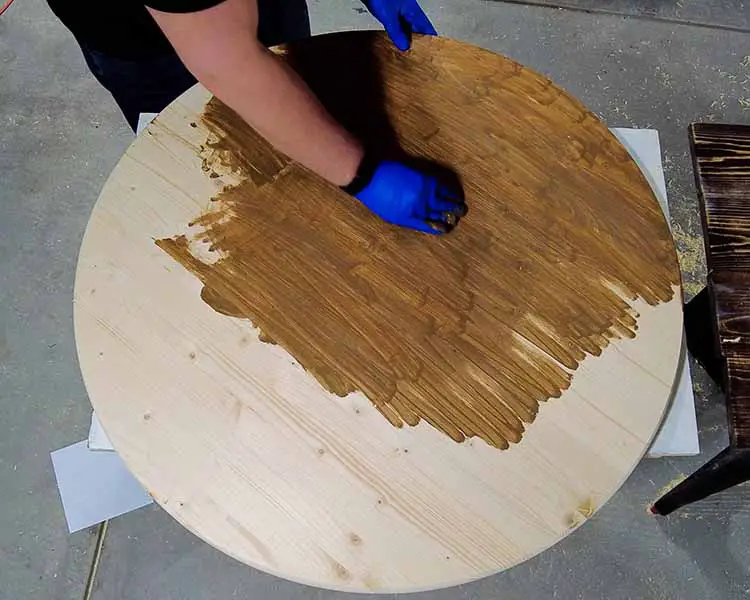
After you let it sit for 5 minutes, buff it out with a small towel.
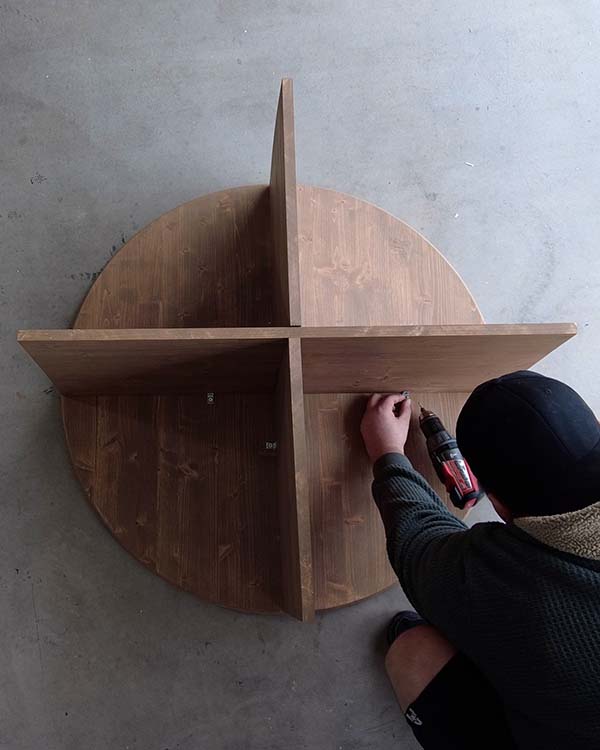
Step 4- Putting The Table Together
Using a touch of glue interlock your base pieces, wipe off any glue that may run out. If you routed your notch out well they should fit snug.

Once those pieces are locked together add glue to the top and place your table top on.
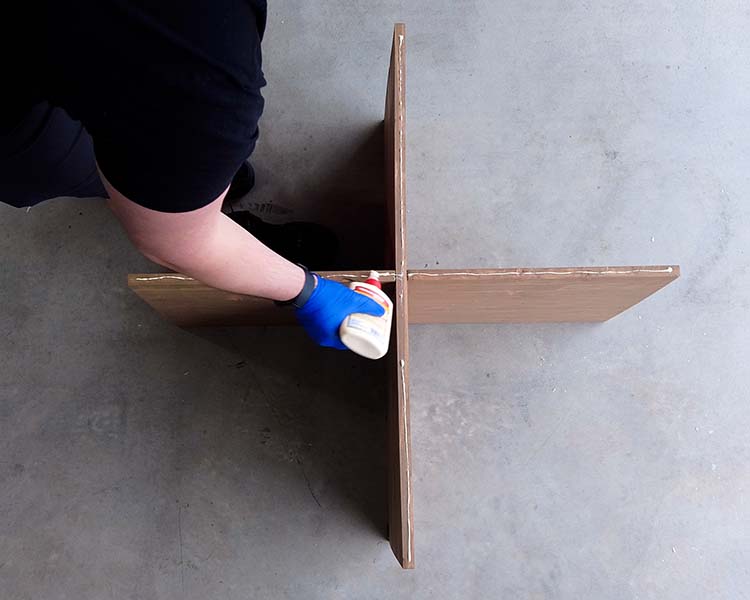
Place something heavy on top, so the table top gets pressed down onto the glue.
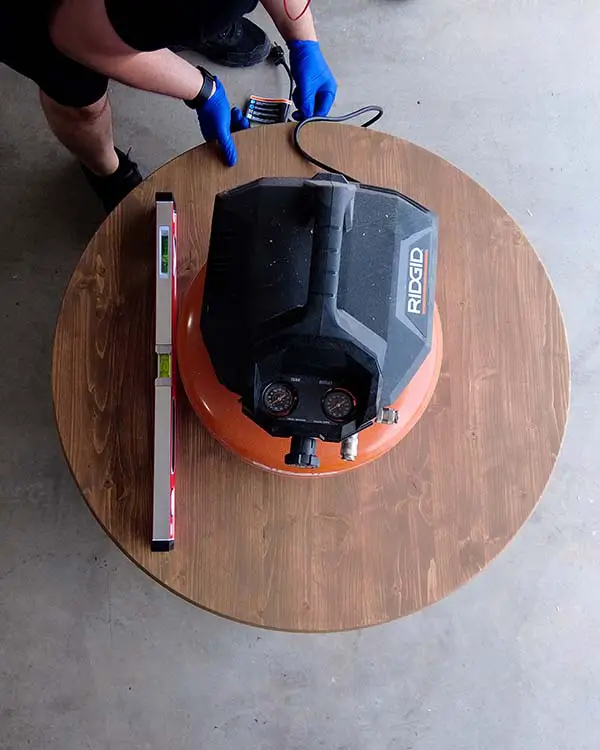
once the glue has had a few hours to dry, you can flip over your table and add some extra support. I used small L brackets.
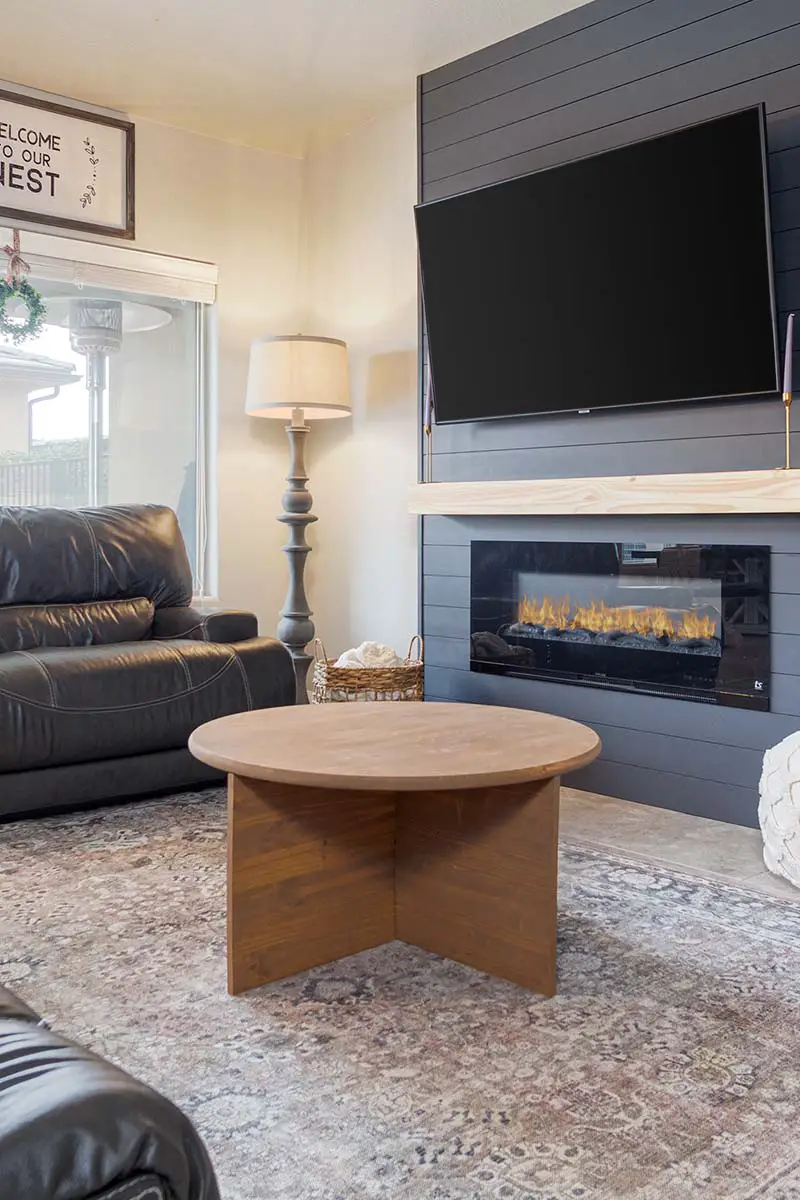
Here is a picture of the table all completed.