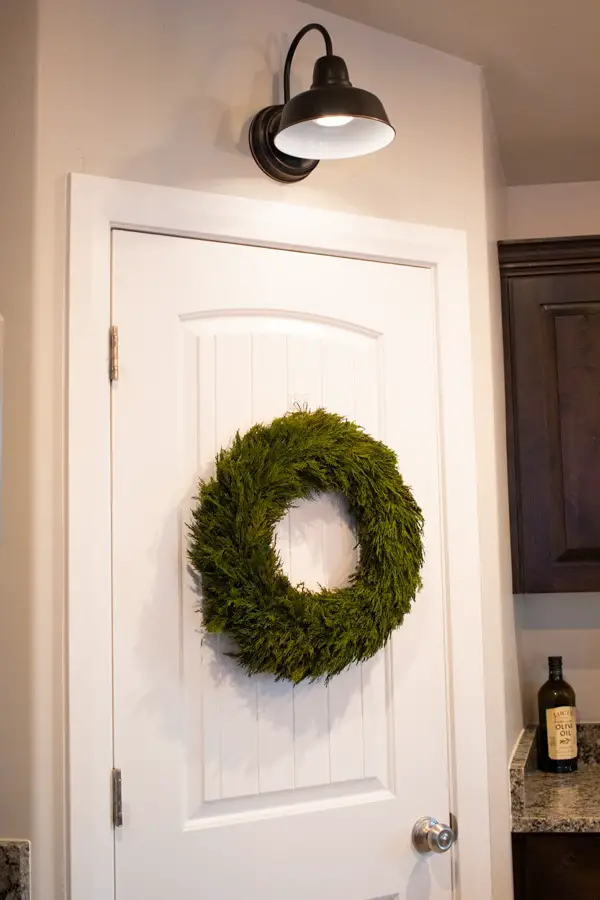
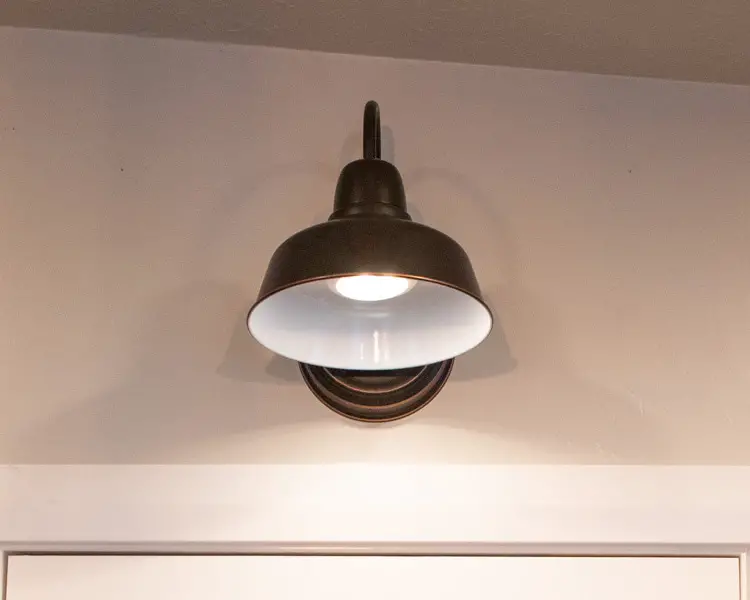
I have been wanting to add a light over my pantry for a while now, but didn’t want to deal with running any wires! I then came a cross this hack on Instagram from nesting with grace.
Tools and Supplies
- Light Fixture (amazon)
- Puck Light (amazon)
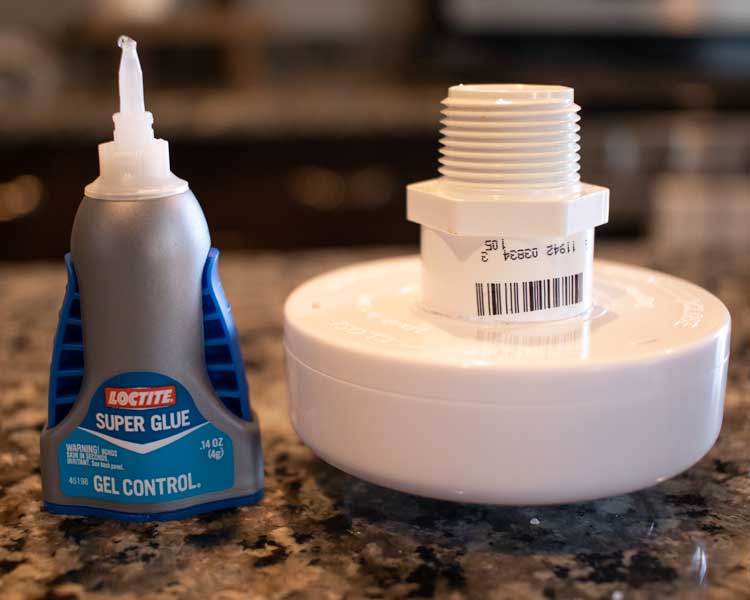
- 3/4″ threaded male PVC Adapter
- Super Glue
- Drill
- Hammer
- Wall anchors
- Half inch Bit
Wireless Light Instructions
I would recommend getting puck lights that use a remote, check on the amazon link above to get the same ones I used.
Step 1- Glue
Take your 3/4 inch threaded male adapter and glue it to the back of your puck light. Once the glue has dried you can screw it into your light fixture.

Step 2- Install Your Lights Backing
Since you are not installing this to an electrical box you will need to anchor the fixture to the wall.
Start by taking the metal strip (usually used to screw into a electrical box) that will come with your light fixture and mark out where you will put your holes on the wall.

Take your screws and pound them into the wall where you made your marks.
If you hit a stud on one side, you will screw into the wood for that side and not use a anchor.

Pull the screws out and then put in your plastic anchors

If you screw in your metal strip now you will not be able to get the light to sit flush. You need to make room for the threaded metal tube your light fixture attaches to.
TIP: To make sure you make a hole in the right place go ahead a screw in the metal strip enough it leave an indent in the wall. Now you now exactly where to put your hole.
Take a 1/2″ drill bit, I used a paddle bit, and drill your hole.

Step 3- Install Your Light Fixture
Screw in your metal strip backing and make adjustments to the metal tube as needed to get the light to lay flat.

Once your done, you will have a brand new light with no wiring required!


