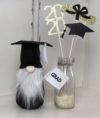
Graduation is just around the corner, and class of 2020 will definitely be one that we remember forever! I decided to make some fun and easy graduation pieces that you can place around the house. Below you will find my step by step tutorial.
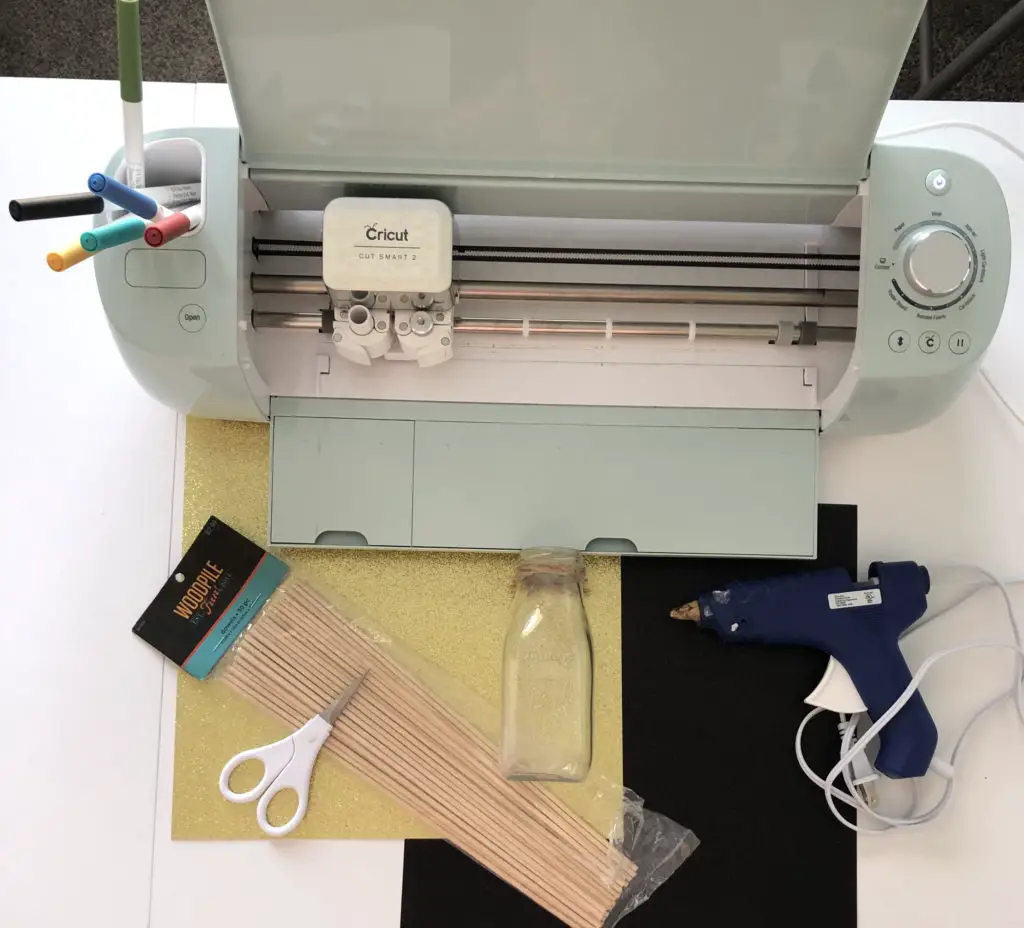
Supplies You Will Need
- Colored Cardstock of your choice (I used Recollections from Michael’s)
- Free Graduation Cut Images from my shop or in the resource library
- Wood Dowels (Purchased from Hobby Lobby, you could use straws)
- Scissors
- Hot Glue
- Vase or Jar (I used a milk jar)
- Cut Machine of your choice (I used my Cricut ExploreAir2)
- Blue Cutting Mat for your Cardstock
One STEP At A Time
Step 1- Upload your images into Cricut Design Space or whatever design program you are working with.
Step 2- Pick out the color choice of cardstock that you want your images. You can make them all the same color or you can mix and match like I did with mine. If you are using multiple colors, you can go ahead and color code your images so that they cut separately.

Step 3- Size the images to your liking. (I did a test cut on a regular piece of paper in case I needed to make them bigger or smaller on my final cut).
Step 4- You are now ready to cut your designs out onto your cardstock. Make sure to set your dial to the setting “Cardstock”.
Step 5- Your cardstock is now cut and you are ready to glue the wood dowels onto the back with your hot glue.
Step 6- Time to decorate! I used a small milk bottle and filled mine up with rice so that the dowels wouldn’t move around too much. A vase with flowers would look really cute, too! *To complete my look, I added these cute Graduation Gnomes that you can purchase from my shop*

