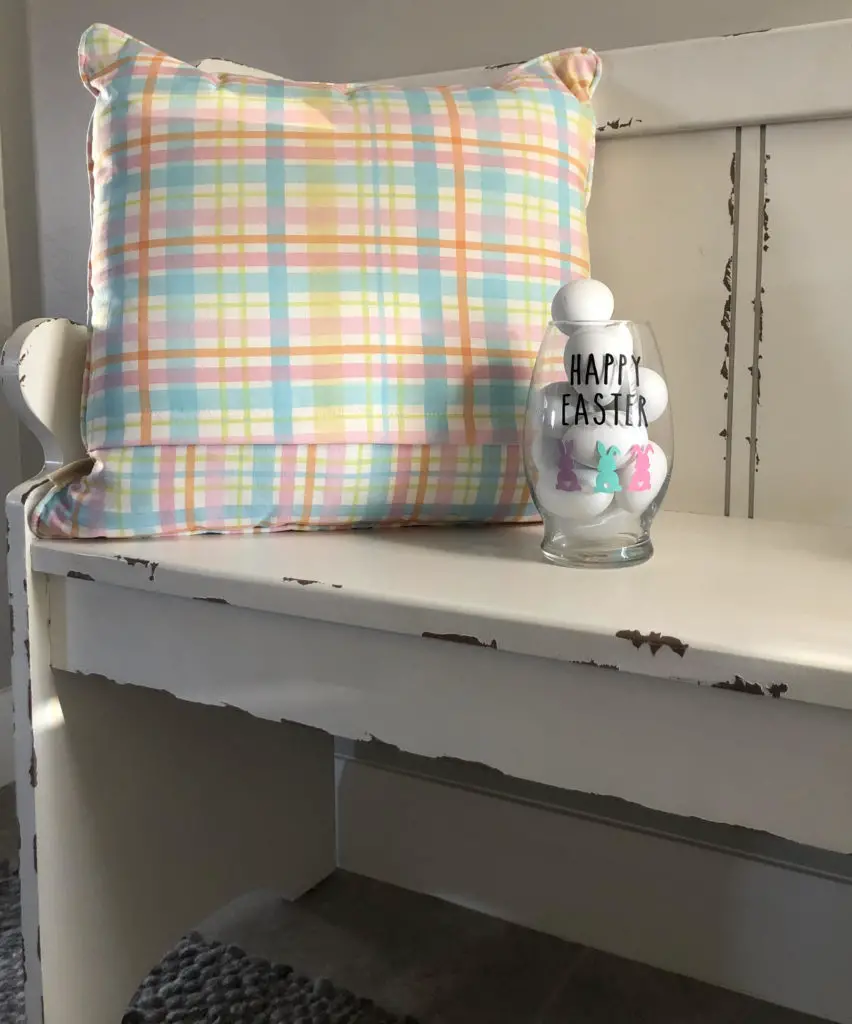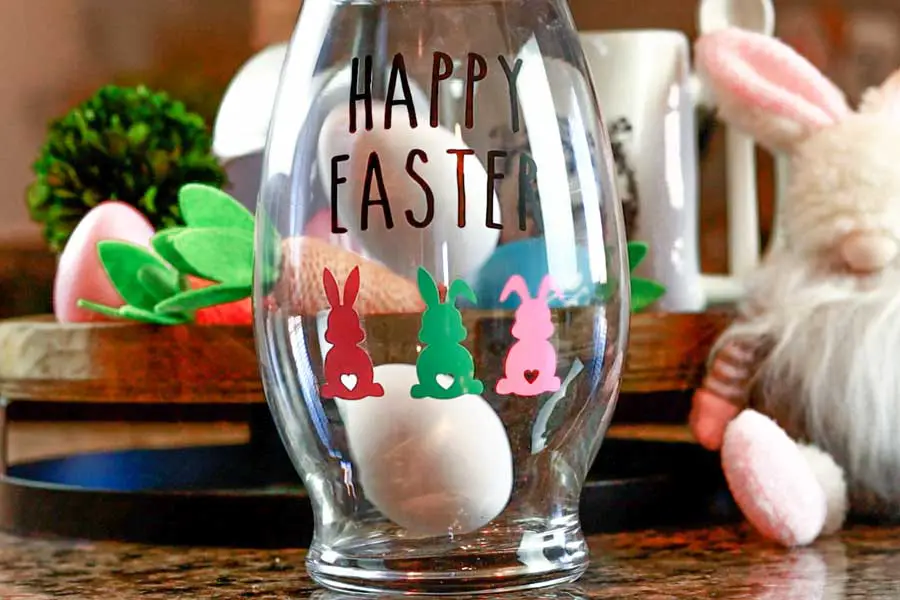
It’s finally March and the Spring Fever is REAL over here! I had these cute fake white eggs laying around the house, but wasn’t sure what to do with them. So, I went to the craft store to browse around and see what I could come up with. I looked at their glassware, and of course they had cute stuff but… I wasn’t about to pay $30 for a glass vase! Instead, I went next door to The Dollar Store to look at their glassware, and that’s where I found this cute vase for only $1…SCORE! I knew I could spice it up by adding some vinyl to it for Easter. You will find a Step by Step Tutorial below.
What You Will Need
- Glass Vase of your choice (I found mine at The Dollar Store)
- Rubbing Alcohol (This is for prepping your vase before the vinyl)
- Fake carton of eggs (I found these at my local Walmart in the Easter aisle)
- Permanent Vinyl (I used Oracle 651)
- Transfer Tape (I used Cricut brand)
- Cut Machine (I use the Cricut Explore Air2)
Easter Vase Steps
Step 1: Prep your glass vase by putting some rubbing alcohol onto a cotton ball and rub the surface of your glass to get the fingerprints and debris off. Set aside to let air dry.
Step 2: Find the image that you would like to put on your vase. I found the cute bunny image off of Etsy. I used “The Skinny Bold” font from dafont.com.
Step 3: Once you have your image/design into your Cricut Design Space, it is time to cut your Permanent Vinyl.
Step 4: Weed your vinyl and apply transfer tape.
Step 5: Place your image onto your vase and start rubbing the image onto the surface. You can use your “squeegee” or you can use your fingers instead (this is what works best for me) until it is adhered well and you can remove the transfer tape.
Step 6: Now you are ready to add your fake eggs into your vase!