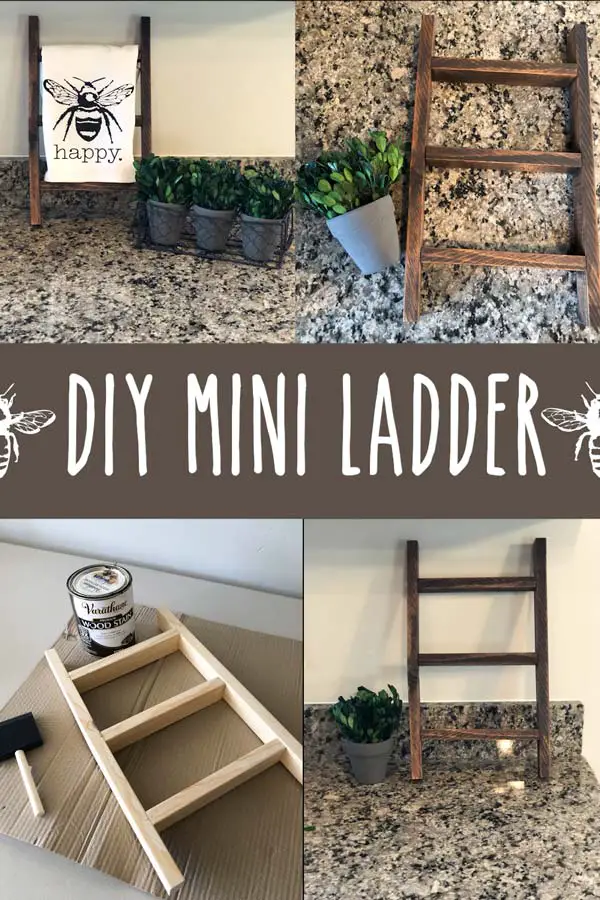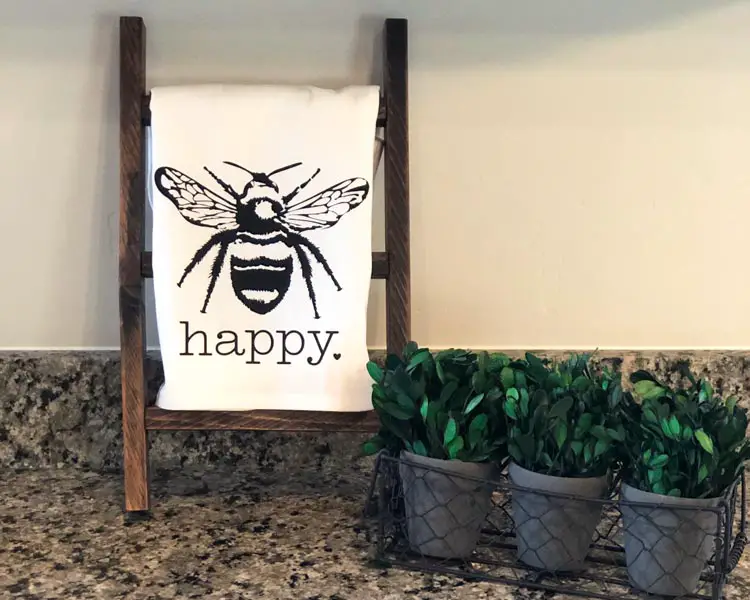
I am OBSESSED with these cute mini ladder’s! I’ve been making some Tea Towel’s, and wanted to put them in a place where I could easily show them off. It goes perfectly in my kitchen. I have made a simple Tutorial on how to build one for yourself!
Tools & Material
- 3-8″pieces of 1″x2″ wood (Pre-cut or cut with Miter saw at home)
- 2-16″ pieces of 1″x2″ wood (Pre-cut or cut with Miter saw at home)
- Wood Stain of your choice (I used Varathane in the Kona color)
- Brad Nailer (amazon)
- 2″ Brad Nails (amazon)
- Wood Filler (amazon)
- Measuring Tape
- Pencil for making your measurements
- Sand Paper (I like to use my Orbital Sander)
Instructions For Mini Ladder
Optional Step- I like to pre sand my entire piece of 1″x2″ wood before cutting. If you are having your wood cut in store, then you can sand later.
Step 1- Cut out your wood. You are going to cut 3-8″ piece for your ladder steps, and then you are going to cut out 2-16″ pieces for your ladder sides. I used a Miter Saw at home, but if you don’t have a saw then your local Home Depot will usually give you some free cuts.
TIP- if you want you ladder to lean against the wall with a flat bottom at an angle, try cutting one edge of both your 16″ pieces at a 15 degree angle.

Step 2- Take one of your 16″ pieces and make a mark at 3″, 8″, and 13″ this is where you will line up your ladder steps.
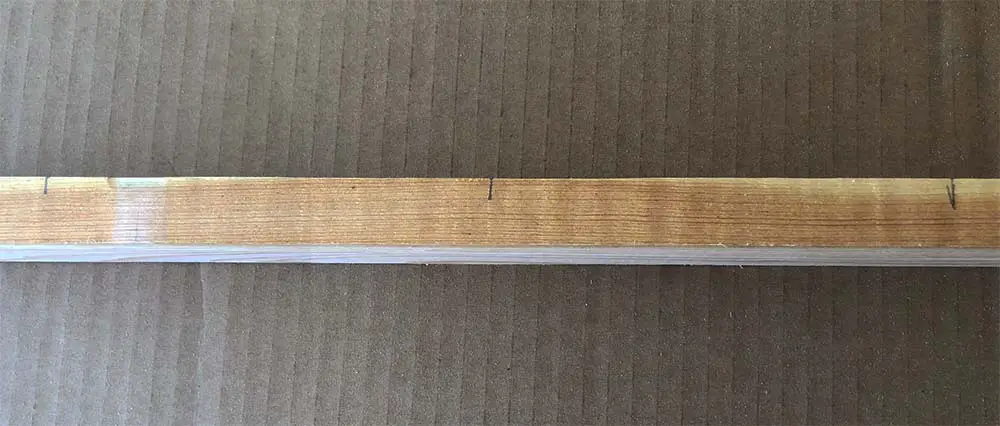
Step 3- Take each one of your 8″ pieces (steps) and make a mark in the middle of each step.
Step 4- Grab one of your steps and line up your markings. What I like to do is find a flat surface that I can press up against when nailing.
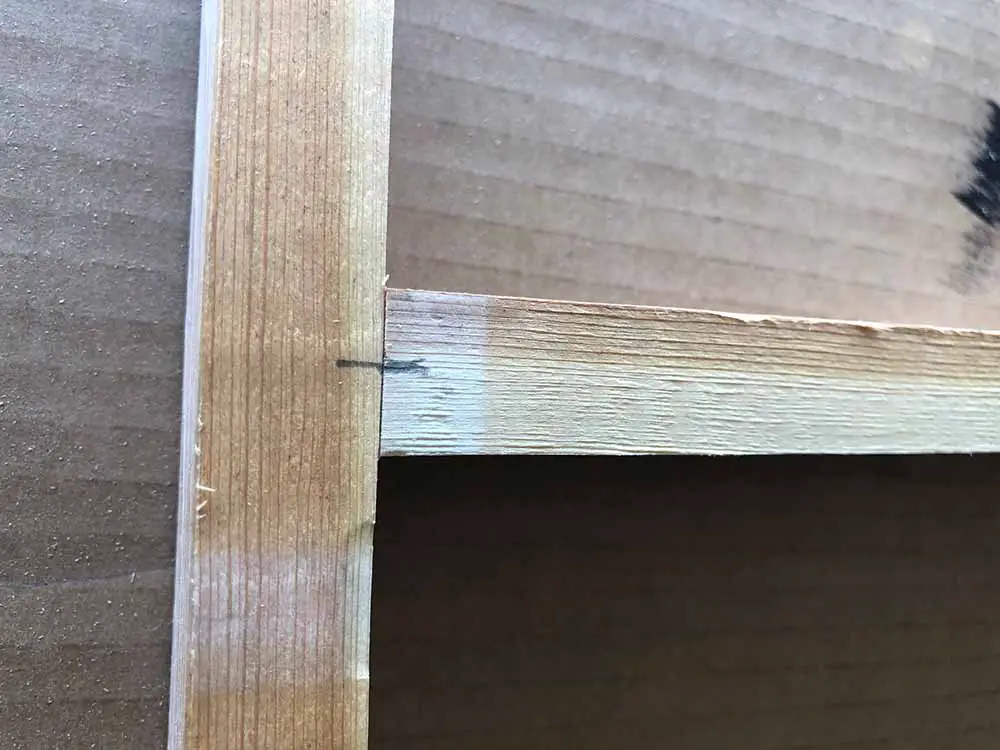
Step 5- Use your Nail Gun and start nailing. Pressing tightly up against a wall, I start by putting a single nail into each step. Then I flip over the ladder and put a nail in, on the opposite side.

Step 6- Flip over the Ladder and put on the other 16″ piece, lining it up the same you did with the other side. Put two nails in each step of the ladder.
Step 7- Your ladder should be nailed together. Take your wood filler and fill in the dents that your nails made to give it a smooth finish on the sides. Sand off once dry.

Step 8- Take your wood stain, and start staining your entire ladder. Make sure you get every spot covered. Let sit for the amount of time your stain recommends and wipe off. *let completely dry before decorating with it*.