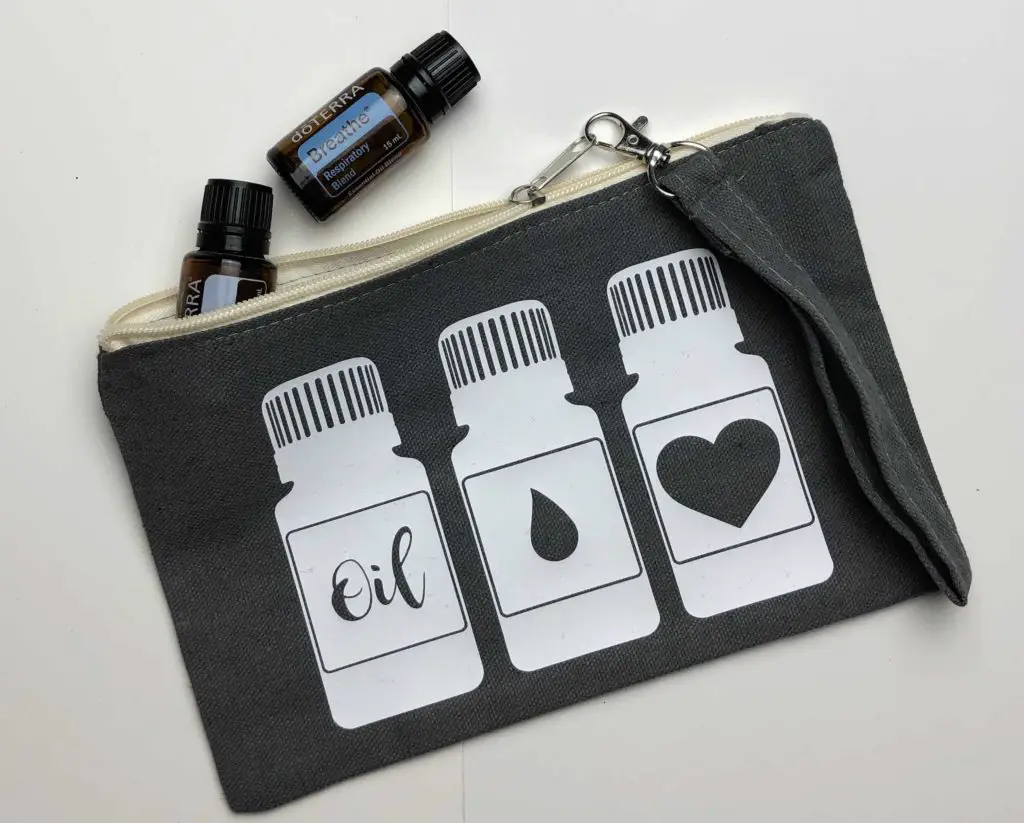
Who else loves Essential Oils?! The past couple years I have been growing my oil collection. They’re usually just sitting in my cabinet or on the counter, but today I had to make myself a cute bag to keep them in. Follow below for a fun easy Tutorial on how I made my bag, and don’t forget to grab your free SVG in my shop or in the resource library.
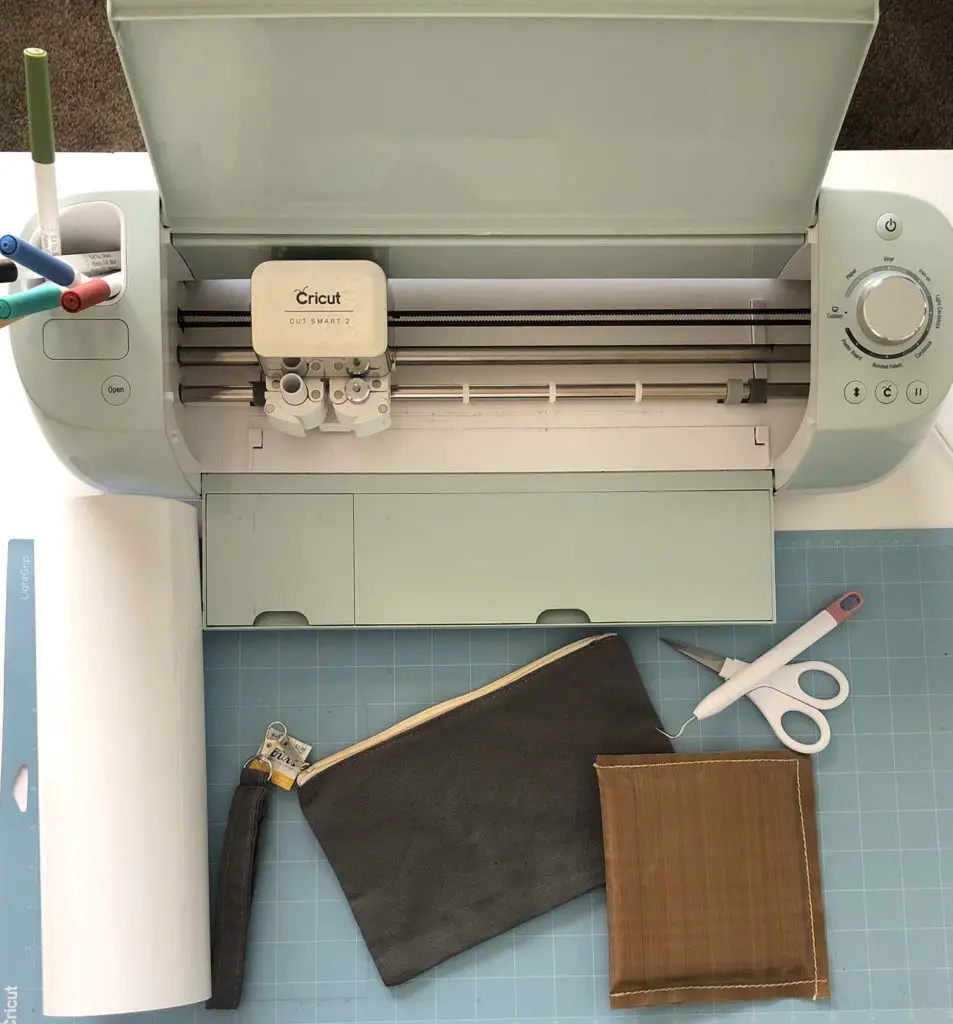
What You Will Need
- Beauty Bag of your choice (I found mine at Hobby Lobby)
- HTV (Iron On) of your choice (My fav is ThermoFlex Plus)
- Pressing Pillow or Folded up towel (To raise your seams)
- Scissors
- Weeding Tool
- Blue Mat cutting mat (I personally use my Blue Mat for most projects)
- Cut Machine (I am using my Cricut Explore Air2)
- Heat press or Iron
- Teflon Sheet or Parchment Paper for pressing
- SVG
Step By Step
Step 1- Download my free oil SVG from my shop or in the resource library.
Step 2- Upload your SVG into Ciruct Design Space or whatever program you are working with.
Step 3- Depending on the size of the beauty bag you are using, measure with a ruler to see how big you need to make your image.
Step 4- Once you have sized your image correctly, it is now time to cut your image out onto your HTV (iron-on). **DON’T FORGET TO MIRROR YOUR IMAGE**
Step 5- Your image is now cut and weeded out so you are ready to iron your image onto your bag. Set your heat press or iron on the recommended temp that the HTV you are using. For a quick Temperature Guide you can click here or google the brand that you are using.
Step 6- Place your design onto your bag where you want it to lay. Once you have it placed, put your Pressing Pillow inside your beauty bag. If you don’t have a Pressing Pillow, a folded up towel will work, too. You want to do this so that you can bring the seams of the beauty bag up so that your HTV will stick.

Step 7- Once your heat press or iron is set to the correct temp, put your teflon sheet or parchment paper over the design and start pressing for the recommended time for your HTV. *I like to press half the recommended time then pull the carrier sheet off and then repress for a few more seconds so that my design is on there good*. You should be able to see the fibers of your bag through your HTV once pressed.
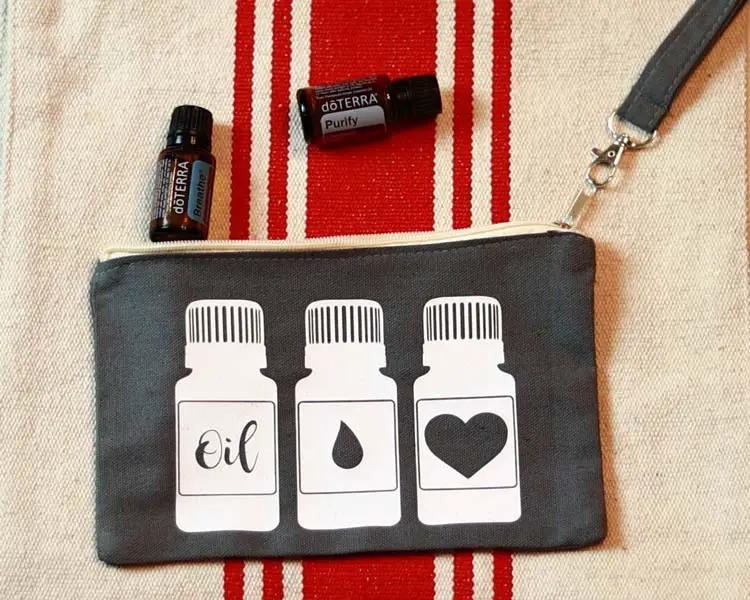
Step 8- You are now ready to add your oil collection into your cute bag!