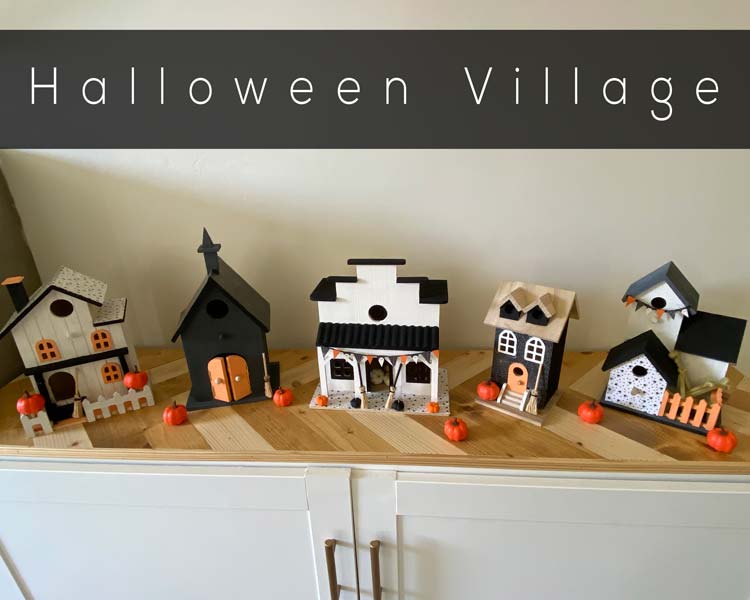
Its still over 100 degrees here in Southern Utah, but we are soooo ready for Spooky Season! My sister in law and I worked on our cute Halloween Village over Labor Day weekend. The best part about this Village is its made out of birdhouses! Super easy and very affordable. Stick around to see our Christmas Villages in the near future!
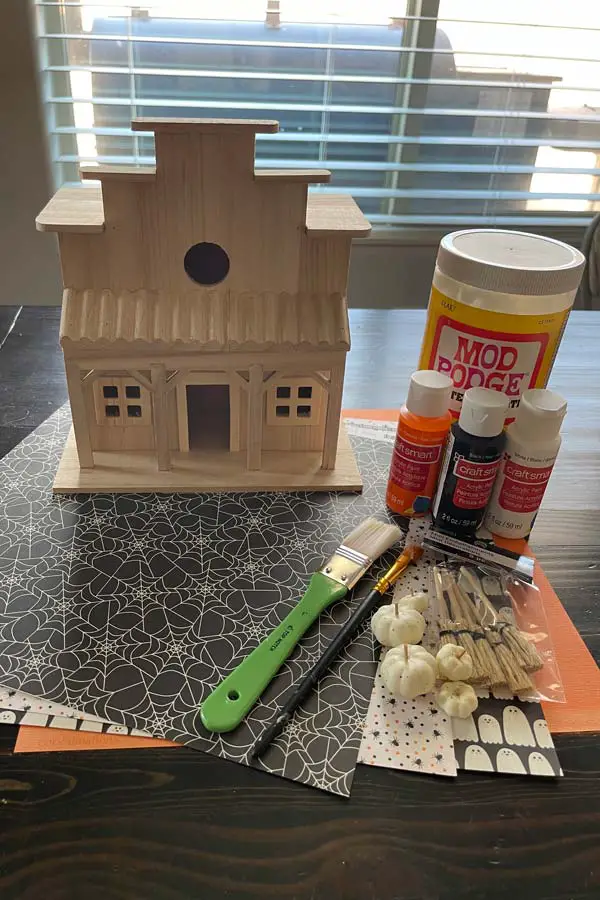
Halloween Village Supplies
- Birdhouses
- Paint
- Patterned Paper
- Paint Brushes
- Mod Podge
- Miniature decorative pieces
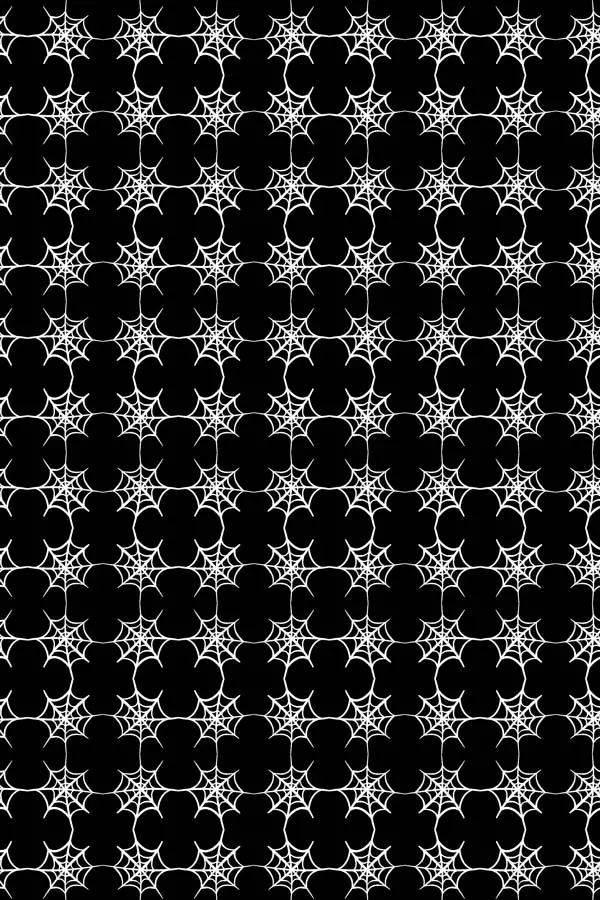
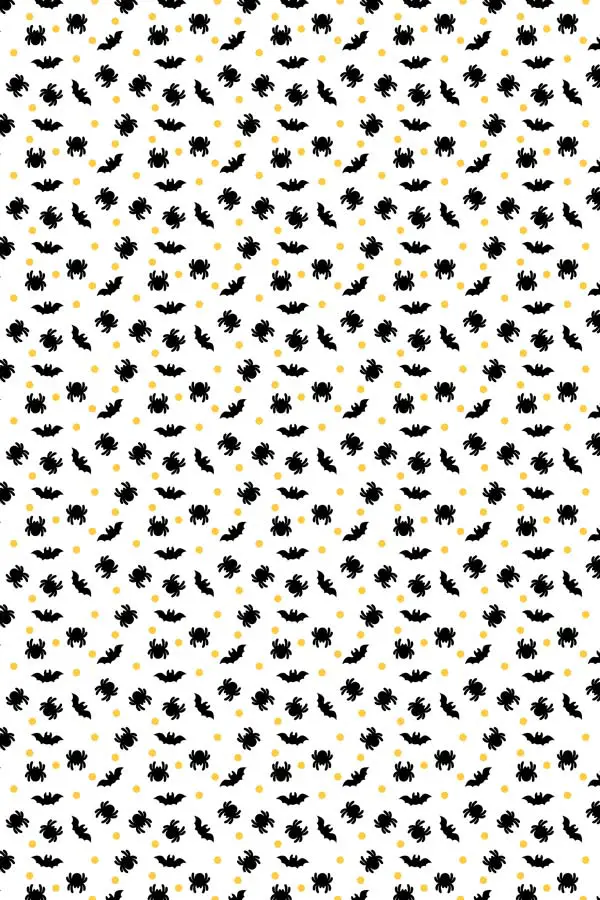
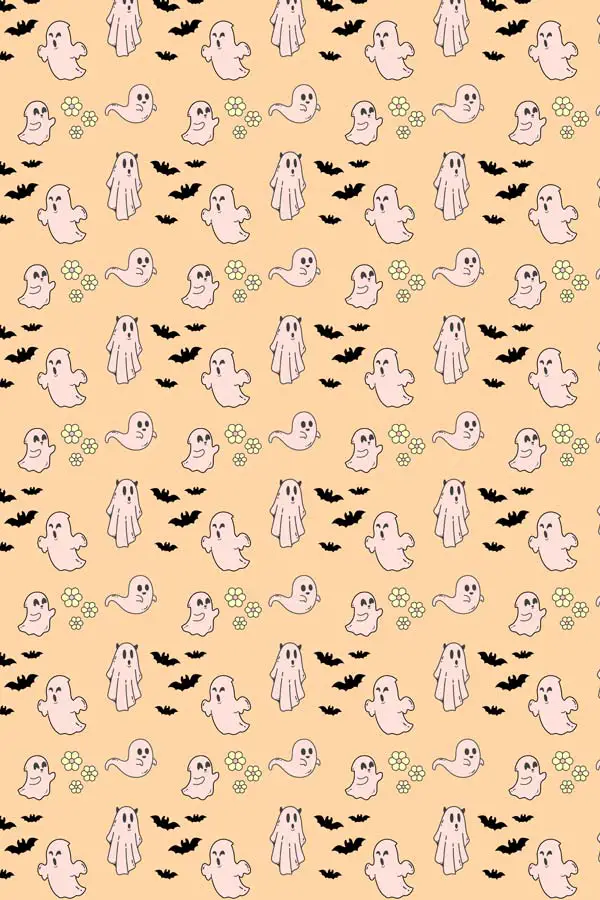
Free Halloween Printable Patterns
Here are some free patterns that I made that you can print off and use as wall paper or make banners from, for your Halloween Village. We also used pattern cardstock we bought from Joann’s.
Painting Your Village
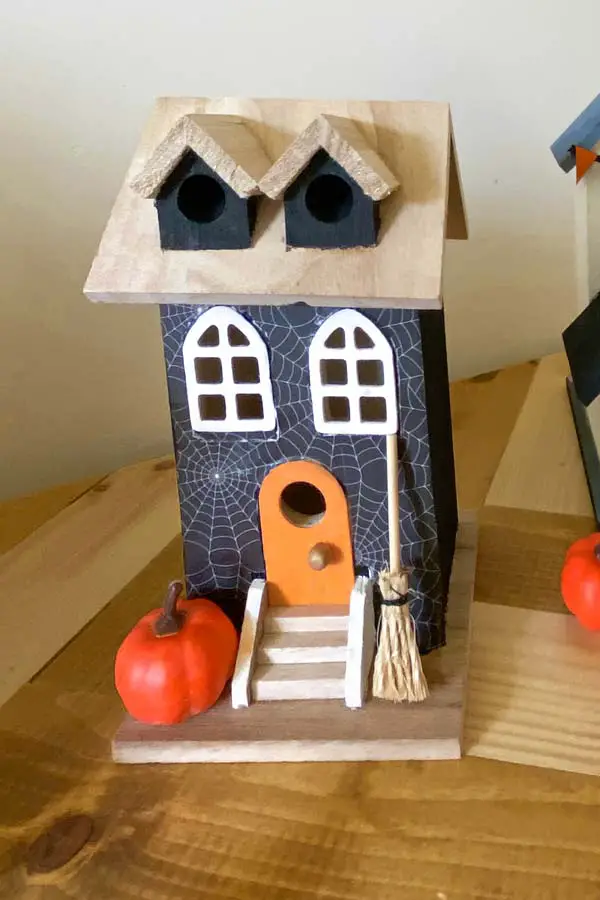
Figure out what color theme you are going with. We kept ours pretty traditional Halloween colors, but skies the limit with this project! Paint your bird houses.
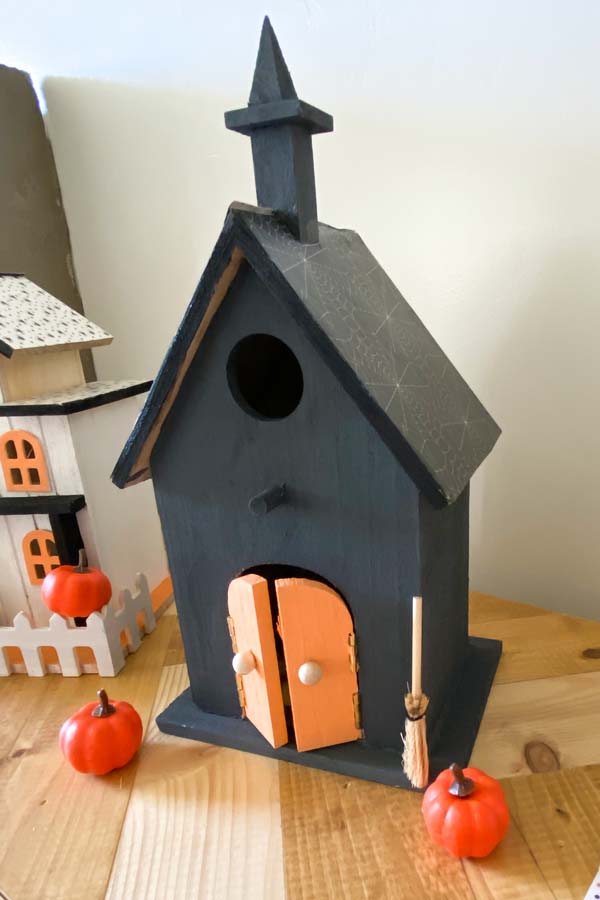
Adding Your Patterned Paper
Take your patterned paper and trace around the areas on the birdhouse that you want to put your paper on. This part can be tricky so just be patient. Once you’ve cut out your sections, apply some mod podge to the area and put your paper over the mod podge.
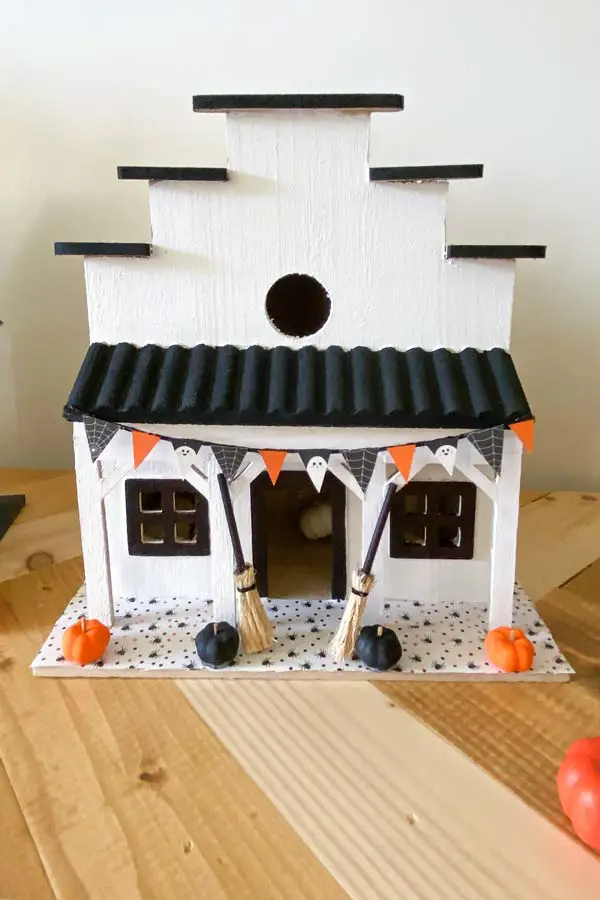
I took 3 different patterns of paper and cut some triangles and attached them to a piece of twine to make a mini “banner” across a couple of the houses.
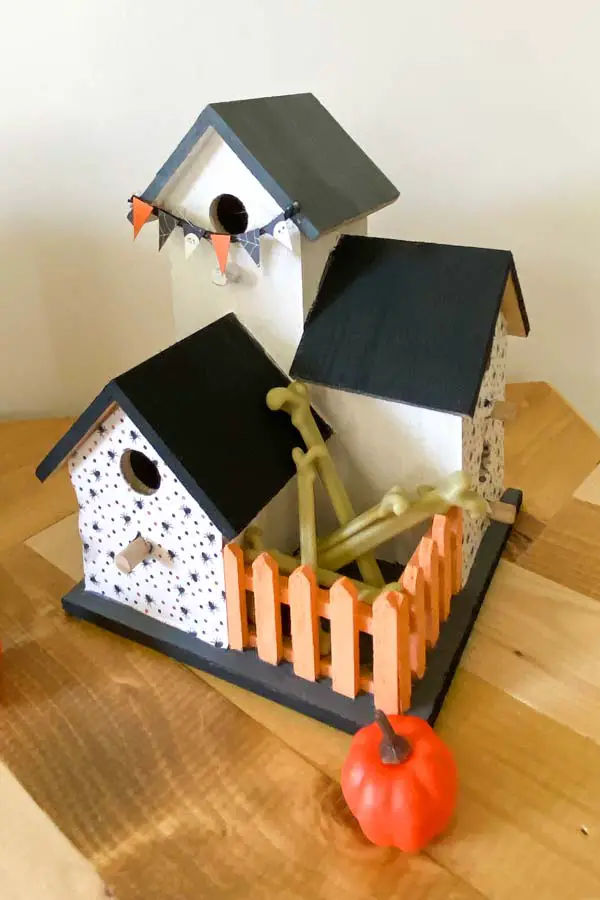
Decorate With Miniature Décor Pieces

We found our mini pumpkins, mini brooms, and mini skeleton bones at Michaels and The Dollar Store. Michaels has a miniature craft section and I was able to find the mini brooms there. I’m sure Hobby Lobby would have a bigger variety or you can always look for mini dollhouse decor online. We added these around the village to make it pop! I love how it all turned out! You could even add some colored fairy lights around your area.