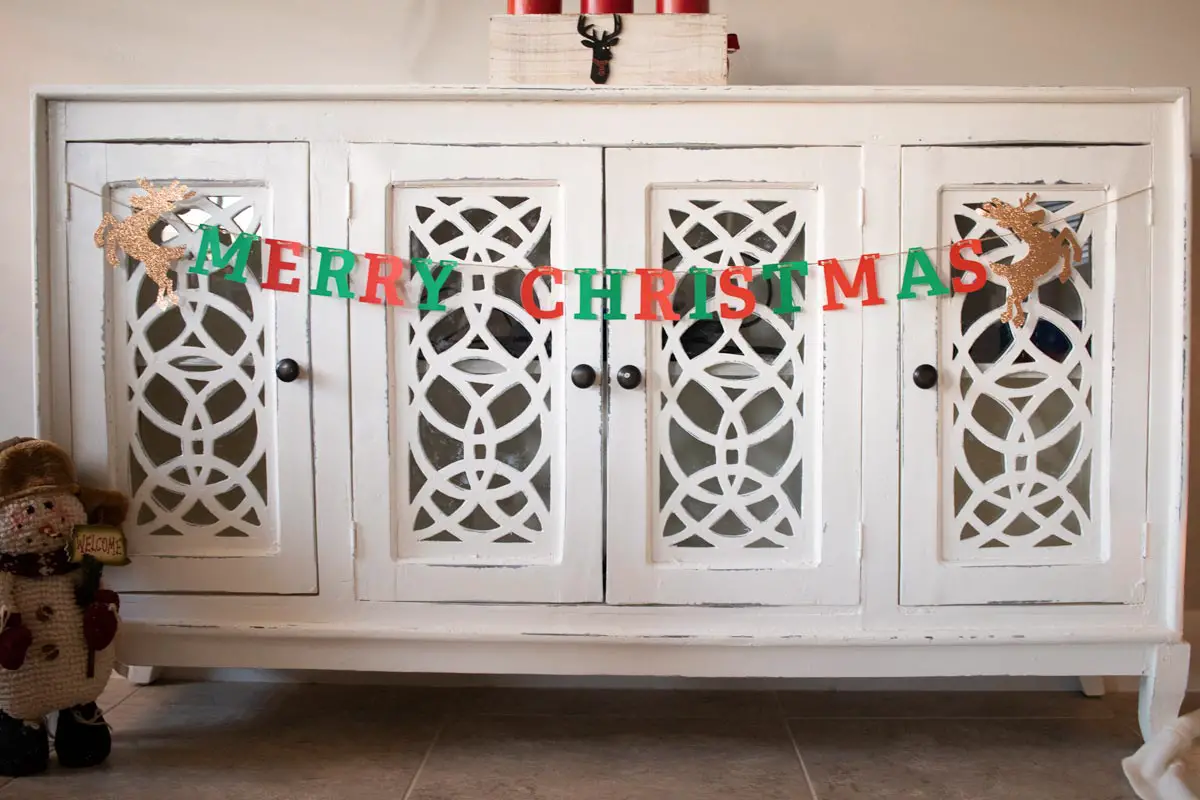
I love garlands, and I love Christmas! I made this Merry Christmas Garland to hang on my tv stand. Using my Cricut, Cardstock, and some twine I was able make something super cute. I have provided a free SVG so you can make your own Christmas garland!

What You Need
- Cricut (cutting machine)
- Cardstock
- Twine
- Free SVG in my shop or in the resource library .
Lets Make It (Super Quick)
Step 1– Download free SVG
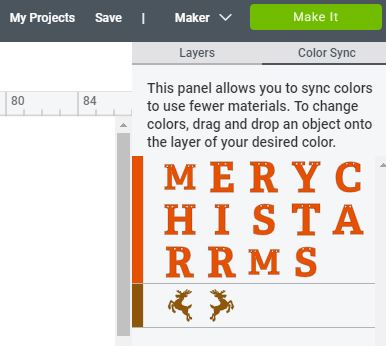
Step 2- Color Sync your layers to the colors you want to use. I used red, green, and gold glitter cardstock. If you are not changing the colors you can skip this step because there are already three separated colors in this design.
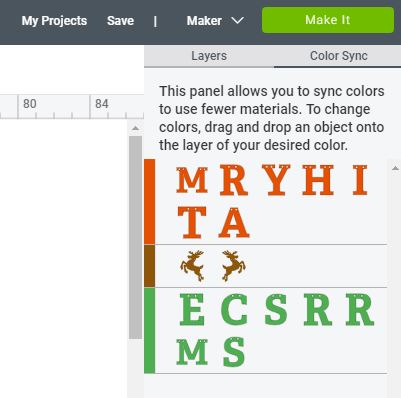
Change the fill color of select letters by grabbing and dragging them to the color you want.
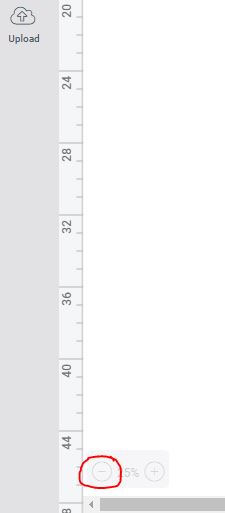
Step 3- Size your design, I did mine at 4ft (48″). If you are in design space you can zoom way out down here in the corner.
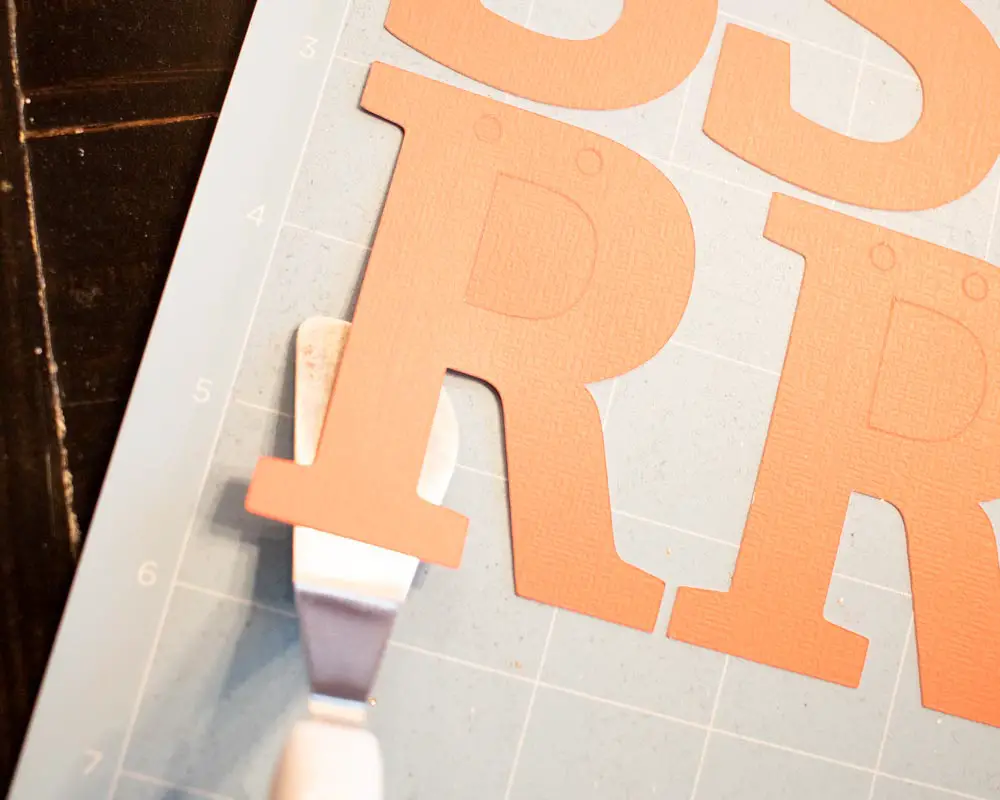
Step 4- Cut out the cardstock letters and use the spatula to remove them from the mat, so your pieces do not rip.
Step 5- Cut your twine, giving you an extra 12″ to 18″ inches on either side. So if your garland is going to be 48″ cut your twine at 72″ or 84″.
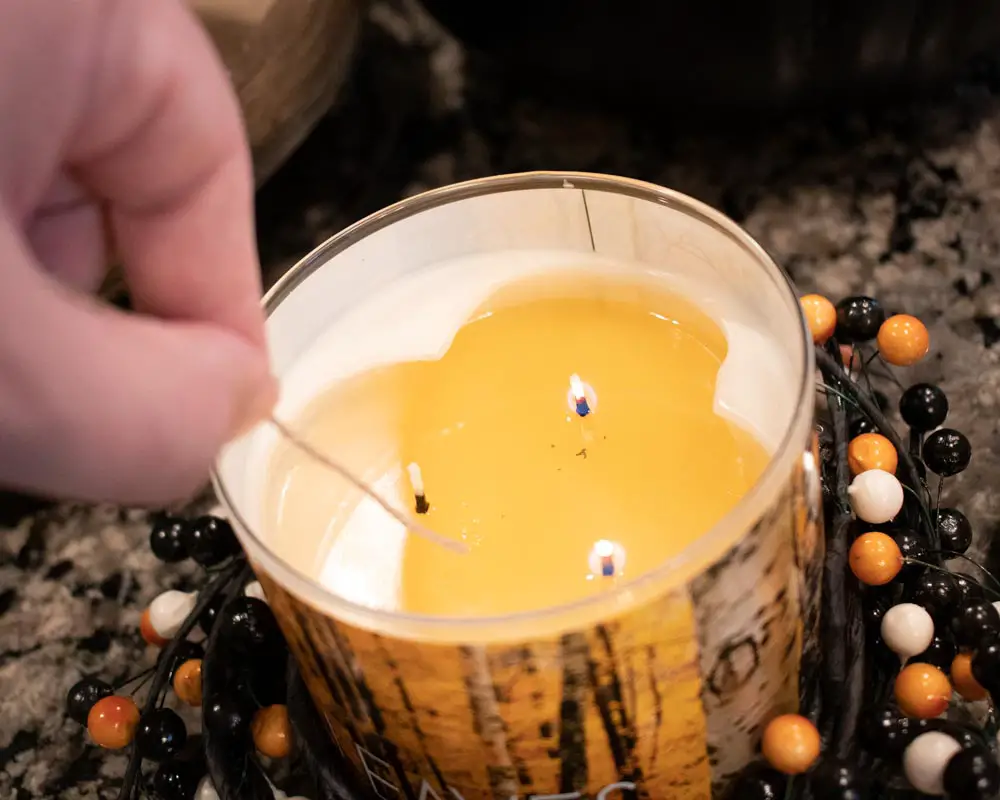
TIP– If you you want to make weaving through the design easy. Dip the end of the twine in some candle wax and roll it in your fingers. Once the end is hardened it will stop fraying.
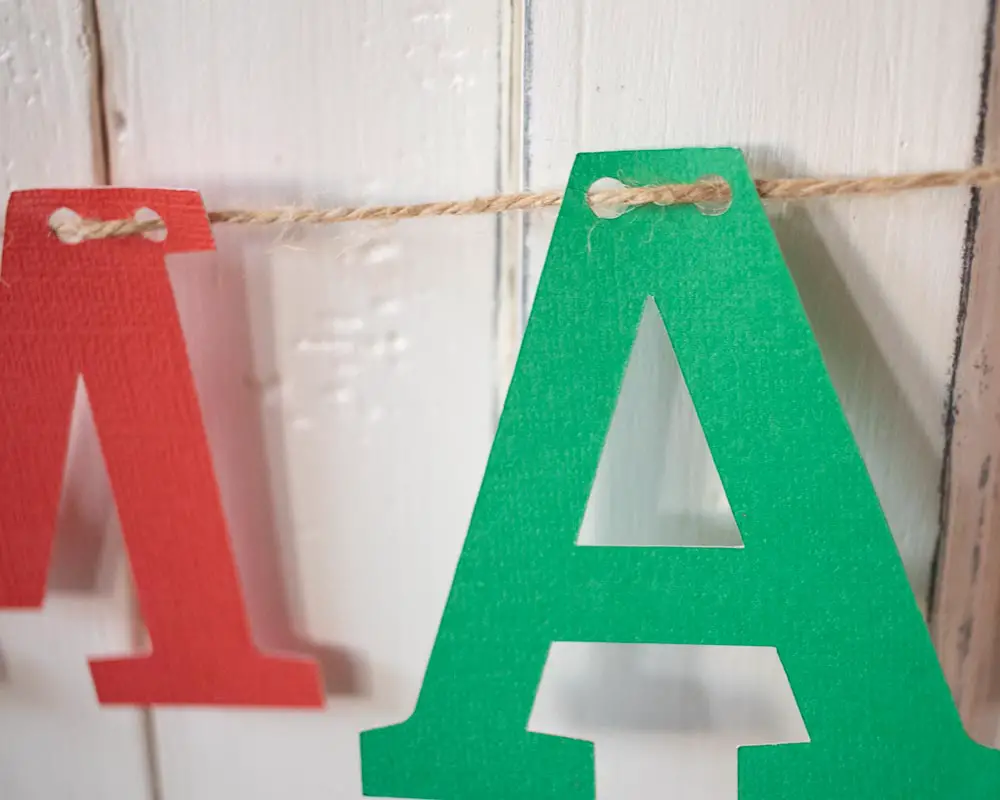
Step 6- Weave your twine through the holes in order. I prefer to have the twine in the front center like this.
Step 7- Tie a knot on both ends, and hang it up!
