
I have had trouble finding a cute backdrop for my shirts in my shop. I usually either put them on the carpet or the tile to take pictures to advertise. I knew I wanted something cute and fun, but I kept finding the “cloth” backdrops that are mainly used for photography or poster board that never had cute designs and became flimsy after a while. So, I decided to make a couple of my own, and now I am hooked! I have so many fun ideas that I want to do that would go well with the products I make. If you follow below, I have made an easy Tutorial on how to make a cute one for yourself! Don’t forget to tag me if you try it!
Backdrop Supplies
- 2×4 MDF Wood (You can make a smaller board if you want)
- Paint color of your choice (I use Behr that has primer already in it)
- Paint Roller
- Sand Paper (MDF is pretty smooth already, but I went over mine with 220 grit)
- Permanent Vinyl (I used Oracle 651, this is for your designs)
- Ruler (To measure where you are putting your designs)
- Pencil (For marking where to place your vinyl designs)
- Cut Machine (I used my Cricut ExploreAir2 to cut out your vinyl)
Let’s Get Started
Step 1- Take your MDF Wood and your sandpaper and give it a good sand down. MDF is already pretty smooth so this part won’t take you long. Once sanded, take a paper towel or rag and wipe off the debris.
Step 2- Grab your paint and paint your MDF Wood. I did 3 coats of paint. Letting each coat dry before applying the next.

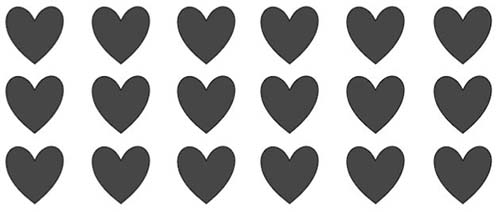
Step 3- When your last coat of paint is drying, hop onto your computer and upload the design you want your vinyl to be on your backdrop to your Cricut Design Space (or whichever program you’re working with). I did hearts on this backdrop. Each heart was 1″x1″. Cut your image out onto your permanent vinyl.
Step 4- Now that your vinyl is cut and weeded out, it is time to measure and stick it to your backdrop.
Step 5- I made a little mark at every 3 1/2 inches on the entire board, starting near the right edge. The next column is 3 1/2 inches over, and the marks in this row are centered between the ones you have already made in the first column. Once you have your first mark, you are able to make a mark every 3 1/2 inches up the next column .
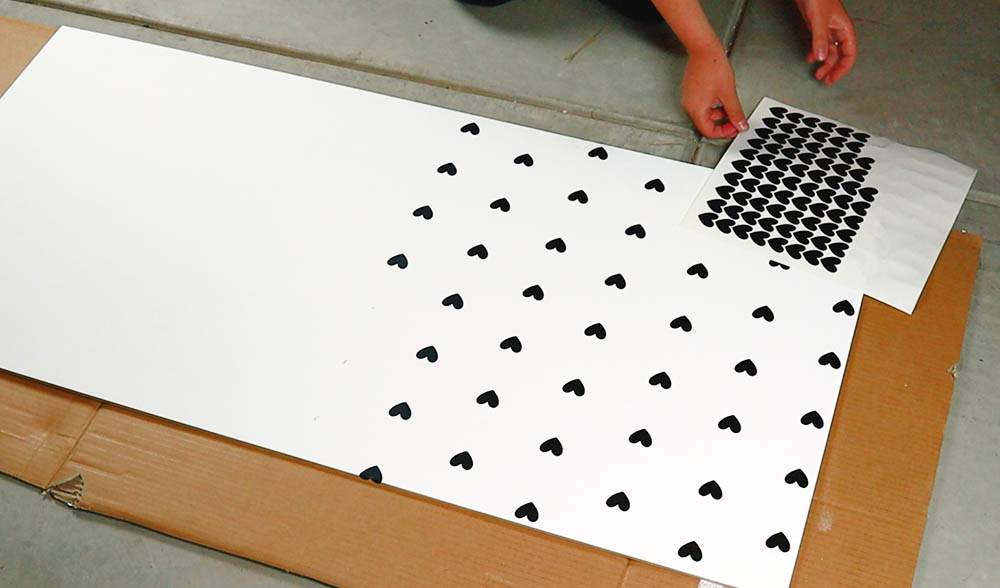
Step 6- Once all your hearts are placed on your backdrop, you are now ready to use it! I love how clean and bright it looks and makes pictures of my products so much more appealing.